
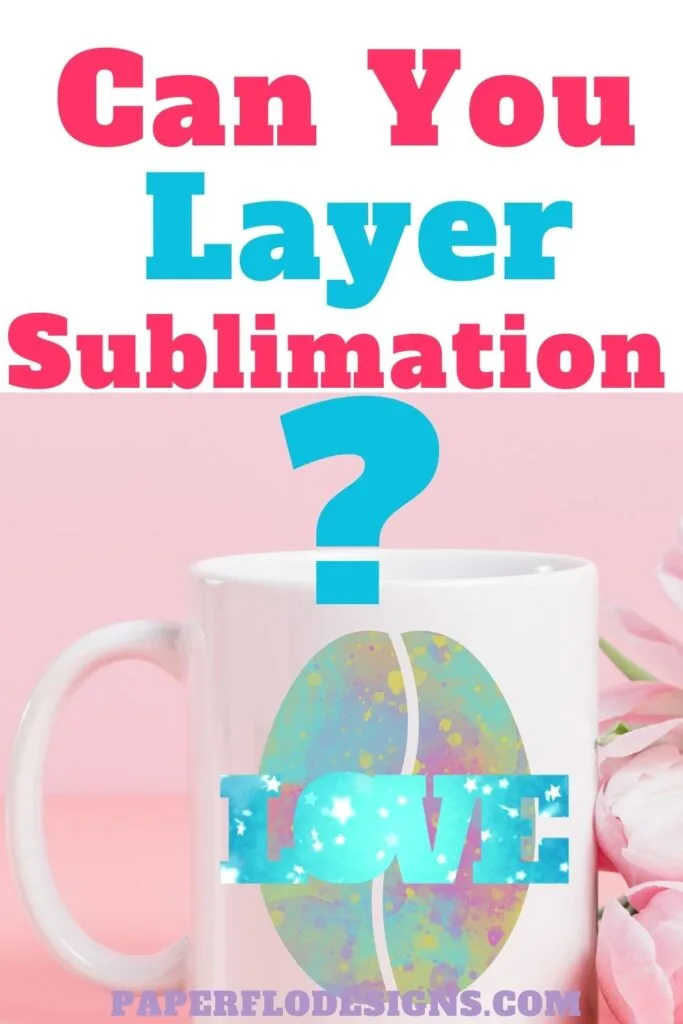
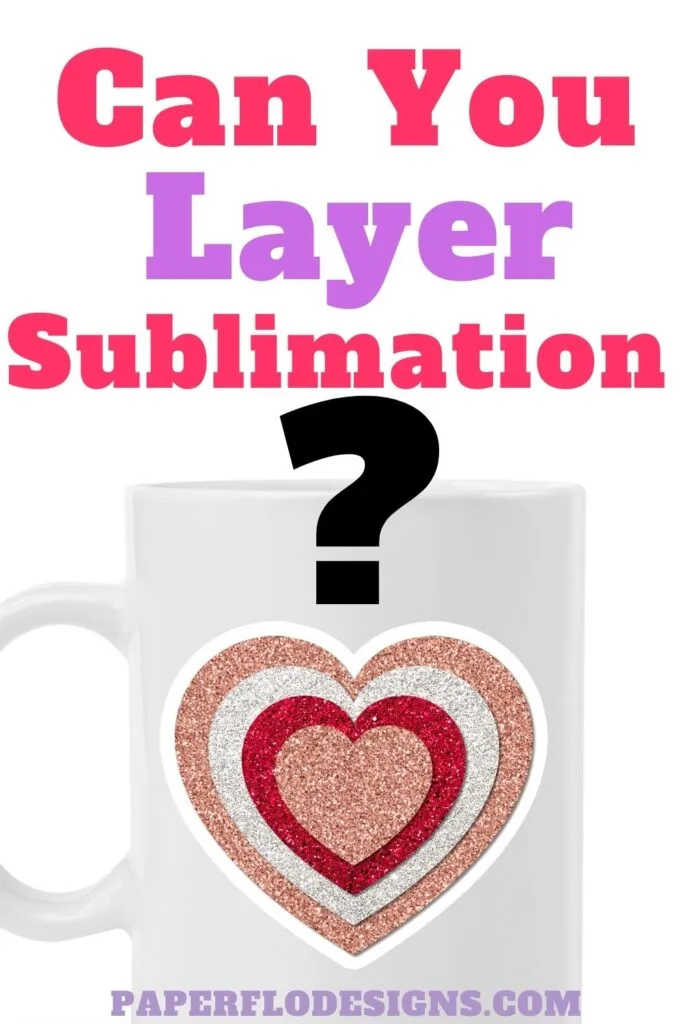
Can You Layer Sublimation?
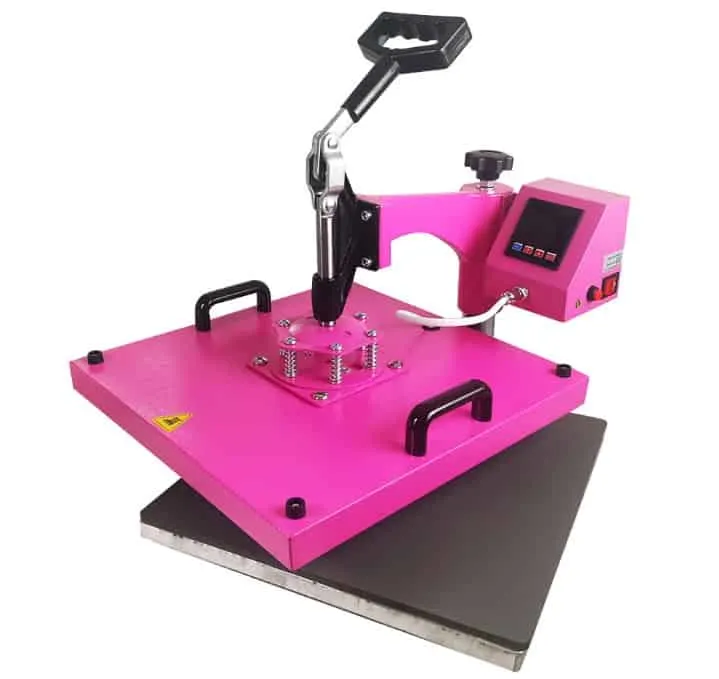
If you love making crafts like a lot of people, then you’ve probably heard of sublimation printing. It’s a popular form of printing that involves transferring a design onto an item using special ink, sublimation paper, different sublimation blanks, and a heat press.
But did you know that you can layer sublimation too? It’s true, and it’s a great way to add an extra bit of fun and creativity to your projects.
What is Sublimation?
So, what exactly is layering sublimation? It’s a technique that involves using a heat press to print multiple layers of designs onto one item. This can be done in several ways. To layer sublimation, you can press two layers in two steps, or press two layers at once. Both methods allow you to create unique and eye-catching projects.

I get commissions for purchases made through some of the links in this post. There is no extra cost to you. See my full disclosure here.
Two Layers in Two Steps
You’ll need to press your first design, allow it to cool, and then press your second design over the top. This method gives you the opportunity to create a variety of different looks and is great for making personalized items.
Two Layers At Once
The first method is the most common and involves taking at least two designs and printing them on a blank at the same time. You can do this by printing the first sublimation design to have as your background and then printing a second design that will go on top of the first.
Use a piece of double-sided tape between the first and the second design so that they don’t move during the sublimation process. Follow the same steps to include an additional layer.
See the Youtube video from Design Bundles below to see it in action.
🗝️ 3 Key Layering Tips
1. Create a knockout for a design with a white background.
2. Use a paper trimmer to help create a perfect border.
3. Double-sided tape is great for layering designs, it’s thin and won’t add bulk.
It’s a great way to add a little extra pizzazz to your projects. This method will work on the following kinds of projects
- coffee mugs
- sublimation tumblers
- sippy cups
- glass cans
- flasks

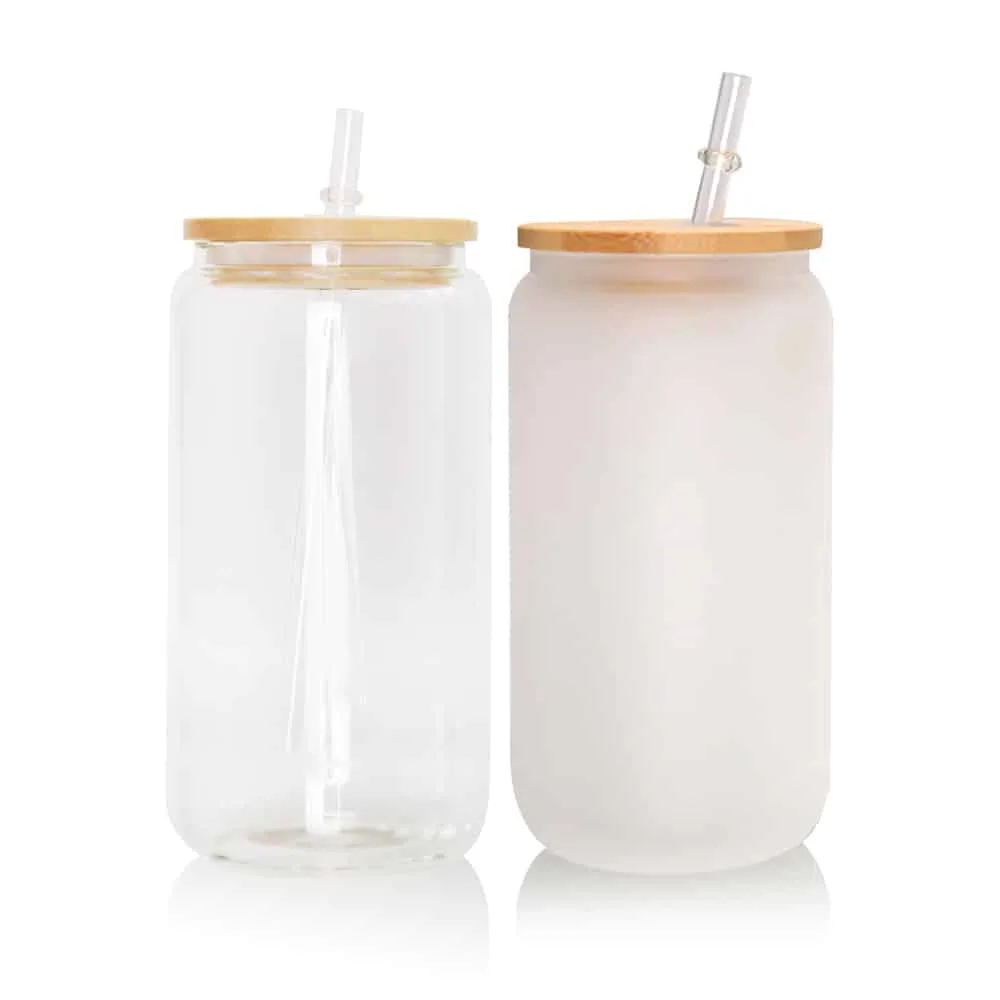
Adding a New Layer to an Old Project
The second method involves printing a new layer onto a finished craft. Have you ever messed up a tumbler? The good news is, you can save it with a second sublimation image and it doesn’t take a long time.
It’s a quick way to fix a small mistake on a tumbler. It’s also an easy way to personalize anything you make ahead of time.
Just make a simple design of a name, cut it out, and press it on the first layer over the mistake. It’s still relatively easy to do and the final product will be beautiful.
Sublimation Supplies
No matter which method you choose, you’ll need the right supplies to get started. To layer sublimation, you’ll need
- inkjet printer
- sublimation ink
- lint roller
- sublimation paper
- heat press
- transfer paper
- heat resistant tape
You’ll also need to make sure you have a good cutting machine to cut out the designs you’ll be printing.

Can you Do Layered Sublimation with Cricut?
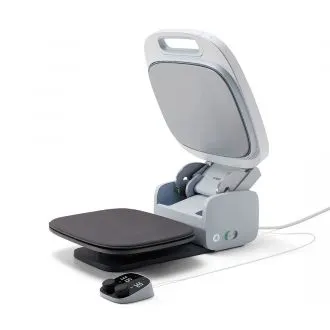
It’s possible to do sublimation projects with a Cricut mug press or autopress machine.
When you’re ready to get started, make sure you have your design ready to go. You can create your own design or use a premade one – just make sure it’s compatible with your machine.
Once you have your design ready, you’ll need to print it onto your transfer paper and then apply it to the blank. But, if you’re using a Cricut machine, you’ll also need to use Cricut infusible ink. After that, it’s just a matter of pressing your item with your heat press and you’re done.

10 Tips for Layering Sublimation
While layering sublimation may seem simple in theory, there are a few tips and tricks to keep in mind to get the best results.
- Start with a light-colored material: As sublimation ink is translucent, starting with a light-colored base will help the colors of your design pop.
- Use high-quality materials: Investing in good quality materials will result in better-looking designs
- Clean your workspace: Keep your workspace clean and craft desk free of debris to avoid dust and dirt getting onto your project and ruining the final product.
- Experiment with different designs: Layering sublimation is all about being creative, so don’t be afraid to try out different designs and combinations until you find one you love.
- Test your designs: Before printing your final design, test it on a scrap piece of material to make sure it looks exactly the way you want it to.
- Be patient: Layering sublimation takes time and patience.
- Use double-sided tape: To keep your layers in place during the sublimation process, use double-sided tape to secure each layer onto the base.
- Protect your equipment: Use parchment paper or butcher paper between your heat press and the blank to keep from messing up your machine with ink.
- Take breaks: Layering sublimation can be a tedious process if you’re doing lots of them at the same time, so don’t forget to take breaks and give your eyes and hands a rest.
- Have fun: Layering sublimation is all about having fun and expressing your creativity. Don’t stress too much about the final product and enjoy the process!
Conclusion
Layering sublimation is a great way to take your projects to the next level. Whether you’re making a t-shirt, tote bag, or even a face mask, layering sublimation is a great way to add a little something extra to your design.
Create and cut out your designs to start to make new crafts or fix old finished products – you don’t have to be a crafting expert to do it.
So, if you’re looking for a way to make your projects even more unique, give layering sublimation a try!
With the right supplies and a little bit of practice, you can create beautiful sublimation projects on different materials.

Frequently Asked Questions
Can you layer sublimation prints?
Yes, you can layer sublimation prints. Sublimation printing involves transferring ink onto a substrate by turning it into a gas and bonding it to the material. As long as you follow the proper procedures and ensure that each layer is fully sublimated before adding another, you can layer sublimation prints to create vibrant and detailed designs.
What materials can be used for sublimation printing?
Sublimation printing works best on materials that have a high polyester content, such as polyester fabrics, polyester-coated products, ceramic, and certain plastics. These materials allow the sublimation ink to bond effectively and produce long-lasting, vibrant prints.
Are there limitations to layering sublimation prints?
Yes, there are limitations to layering sublimation prints. The key is to avoid over-saturation, which can result in the ink not fully sublimating or bleeding. It’s important to follow the recommended guidelines for layering and ensure that each layer is thoroughly set before adding the next one. Additionally, some materials may not be suitable for multiple layers, so it’s essential to test and experiment before committing to a final design.
What equipment is needed for sublimation printing?
To perform sublimation printing, you’ll need a sublimation printer, sublimation ink, heat press machine, and the materials you wish to print on. The heat press is essential for transferring the sublimation ink from a sublimation paper onto the material by applying heat and pressure. The printer must be compatible with sublimation ink for accurate color reproduction and vibrant prints.
