
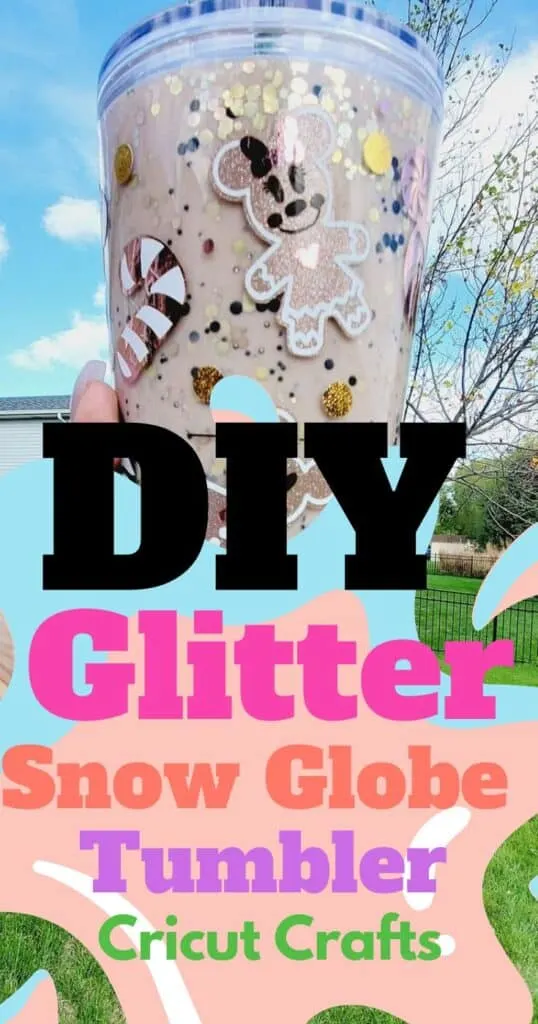
Creating a snow globe tumbler is like unlocking a magical world right in your craft room. Inspired by a late-night TikTok binge, I ventured into crafting these glittery wonders, and let me tell you, the sparkle addiction is real.
I’ll give you the steps to turn a simple tumbler into a mesmerizing snow globe that rivals one that you can find on the shelves at Target. For real!
Whether you’re a crafting newbie or a seasoned pro, I’ll share all you need to know about materials, customization with digital art, and even how to monetize your creations. Get ready to transform your crafting experience and dazzle everyone with your creations.

I get commissions for purchases made through some of the links in this post. There is no extra cost to you. See my full disclosure here.
What You Need to Know Before Starting
Diving into this project doesn’t require you to be a crafting guru. With a bit of patience and creativity, anyone can create a stunning snow globe tumbler. This project is budget-friendly and can be completed within a few hours, making it a perfect weekend activity.
Gathering Your Supplies
You’ll need two Starbucks tumblers (a venti and a grande work perfectly), a drill with a quarter-inch drill bit, clear Elmer’s glue, water, glitter mix, a funnel (or paper to make one), a Cricut tool, wet wipes, a squirt bottle, plastic tape, and epoxy. For a special touch, grab some digital art files for laser cutting to personalize your tumblers.
To make a snow globe tumbler, you’ll need:
- Starbucks tumblers (venti and grande sizes)
- Drill with a quarter-inch drill bit
- Clear Elmer’s glue
- Water
- Glitter mix
- Funnel or small piece of paper
- Cricut weeding tool
- Wet wipes
- Squirt bottle
- Plastic tape
- Epoxy
Preparing Your Tumbler
Start by removing the lid and carefully drilling a hole near the bottom edge of your tumbler. Repeat this step for the second cup, choosing a slightly different angle for a better view.
Customizing with Digital Art
Before diving into the filling, consider adding a personal touch with SVG files or laser cut designs. These can be themed for holidays, special occasions, or simply personal preference.
The Crafting Process
Drilling the Tumbler: Go slow to avoid cracking the inner layer.
Filling the Tumbler: For the venti, mix four ounces of water with two ounces of glue. Add your glitter mix through the funnel, adjusting for chunky pieces. For the grande, just pour in the glitter and then fill it up with contact solution.
Sealing the Tumbler: Dry the opening, cover with tape, and apply a generous layer of epoxy. Let it sit overnight to cure.
Expert Tips for a Flawless Finish
The key to success is patience, especially when dealing with epoxy. Ensure your workspace is well-ventilated and you’re protected with gloves and a mask.
Making Money from Your Crafts
These snow globe tumblers are not just fun to make; they can be a money making part of your craft store. Use platforms like Etsy, Shopify, or Amazon Handmade to reach potential buyers. I use Etsy to sell my digital svg files. It’s an easy platform to sell from.
Care and Maintenance
Maintaining the sparkle of your snow globe tumbler is easy. Just a quick wipe down with a damp cloth will keep it looking new.
Conclusion
Whether for a DIY holiday gift or a personal treat, snow globe tumblers are a really cool project to make. Don’t be afraid to use epoxy. It’s not as scary as you think and the results are amazing.
Check out an easy way to make your own designs with apps. They are perfect for personalizing your crafts.
