Stunning painted bottle centerpieces for the holidays are one of my favorite go-to crafts when I need a quick but eye-catching table display.
A few years ago, I wanted a holiday centerpiece that looked like something straight from a boutique, but I didn’t want to spend boutique prices.
So, I grabbed some old bottles, paint, and paper — and the result was a sparkly, festive focal point that got more compliments than my store-bought décor ever had.
Today, I’m sharing exactly how you can make your own using the video tutorial below as inspiration.


I get commissions for purchases made through some of the links in this post. There is no extra cost to you. See my full disclosure here.
Supplies You’ll Need
- Empty wine, champagne, or glass bottles (remove labels)
- Acrylic paint or spray paint (holiday colors like gold, silver, red, green)
- Scrapbook paper (festive patterns)
- Self-adhesive letters (to spell your holiday message)
- Pinking shears or decorative edge scissors
- Spray adhesive (repositionable is best)
- Cork stoppers or taper candles
- Mod Podge (optional, for sealing)
- Paintbrushes (if hand painting)
- Drop cloth or newspaper to protect your surface


Step-by-Step Instructions
1. Prep and Paint Your Bottles
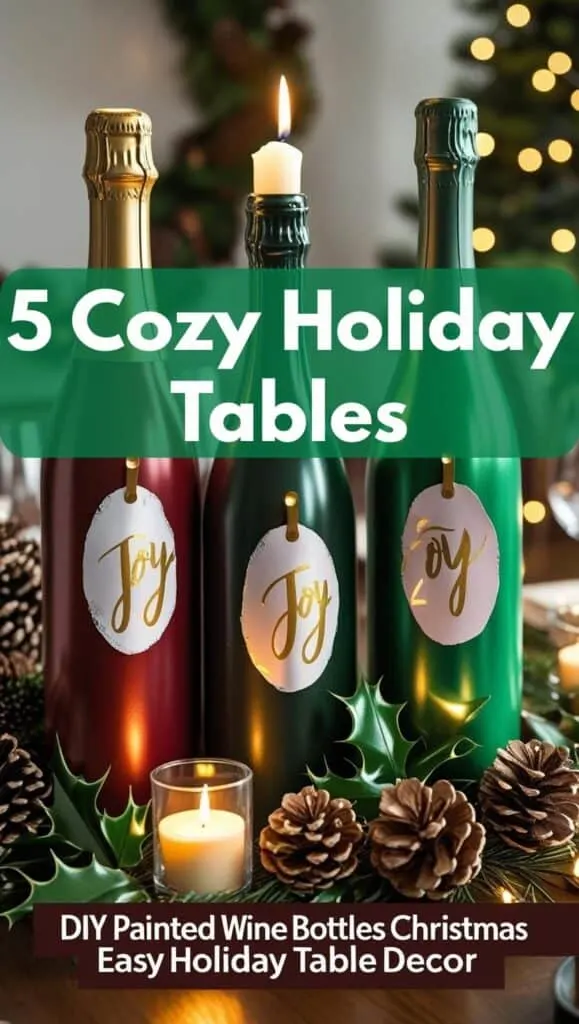
Clean your bottles thoroughly and remove any labels. Spray or hand paint them in your chosen holiday colors. For a luxe look, try a metallic gold for painted champagne bottle wedding styles or deep emerald green for Christmas bottle art. Let dry completely.
2. Create Your Decorative Labels
Cut scrapbook paper into ovals, circles, or other shapes big enough for your letters. Layer with solid-color cardstock for extra contrast, then trim edges with pinking shears for a festive border.
3. Attach Labels to Bottles
Use repositionable spray adhesive to attach your paper shapes to the bottle fronts. This lets you adjust the placement without damaging your paint.
4. Add Your Letters
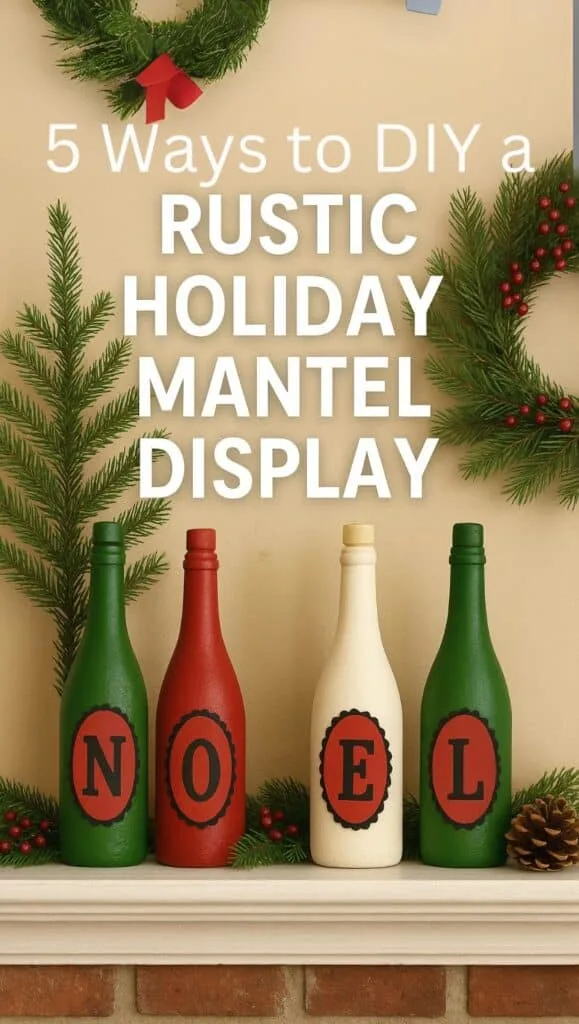
Place one letter on each bottle to spell a word like “JOY,” “CHEERS,” or “NOEL.” You can even make a set for different occasions like painted champagne bottle graduation parties or birthday celebrations.
5. Finish with Stoppers or Candles
Insert painted corks or matching taper candles into the bottles. This gives them a double purpose as candle holders and adds height to your centerpiece.
6. Optional: Seal and Embellish
Brush on Mod Podge to protect your design or add rhinestones for a bedazzled champagne bottle look. This works beautifully for champagne decorations bottle projects that need extra sparkle.
Styling Tips
- Group bottles together on a tray for a cohesive display.
- Mix bottle heights for visual interest.
- Add fairy lights for an extra festive glow.
- Coordinate bottle colors with your table linens and napkins.

Why This DIY Works Year-Round
While this tutorial is perfect for Christmas bottle art, you can easily swap colors and lettering for different events:
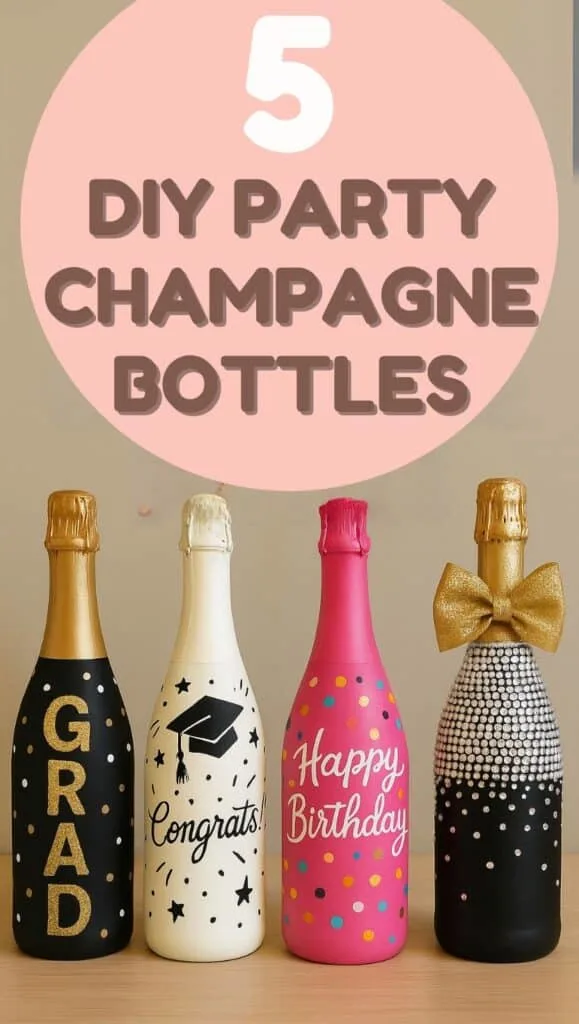
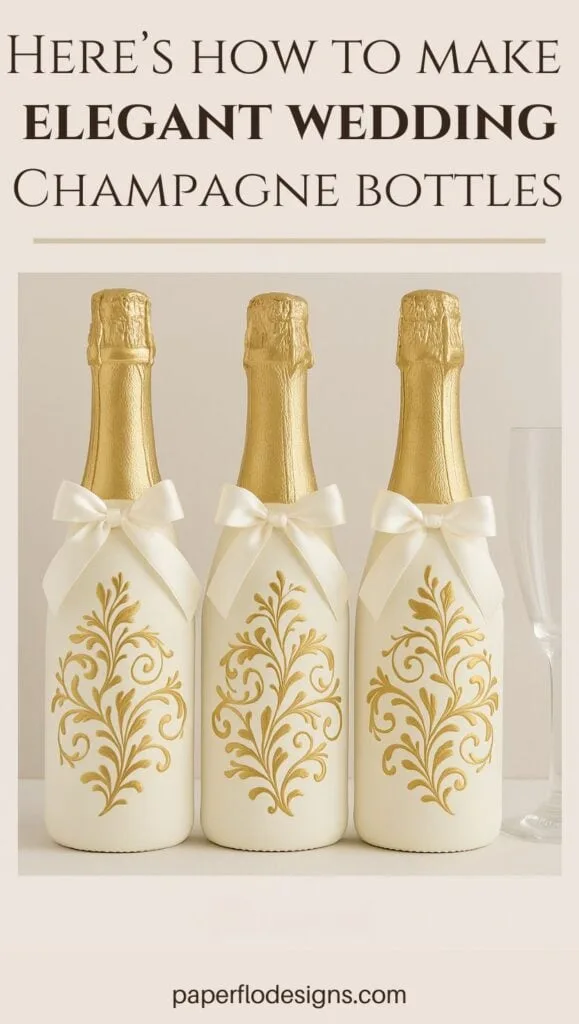
- Wedding décor: White and gold painted champagne bottles with the couple’s initials.
- Graduations: School colors with the grad’s name.
- Birthdays: Bold, fun patterns for a hand painted champagne bottle birthday surprise.
For more creative upcycling, check out my bottle painting ideas and creative sip and paint drawing ideas to keep your craft inspiration flowing.


What to do Next
These stunning painted bottle centerpieces prove you don’t have to spend a fortune to have holiday décor that turns heads.
Whether you’re using them for Christmas dinner, a wedding reception, or even a graduation party, this project is a perfect mix of affordable and elegant.
If you love transforming everyday items into beautiful décor, you might enjoy my tips on most profitable crafts to sell — because these bottles could easily become your next best-seller.