
DIY acrylic table numbers are taking the wedding scene by storm, adding a unique and personalized flair to the celebration.
Using acrylic sheets, cutting tools, paint, and a touch of creativity, you can craft stunning table numbers that match your wedding theme and style.
In this blog post, you’ll find 10 different ways to create acrylic table numbers for your big day, perfect for those who love to infuse their special events with a handmade touch. From neon retro to classy frosted designs, there’s something here for every taste.
I bet there are a few ideas here that will surprise and inspire you!

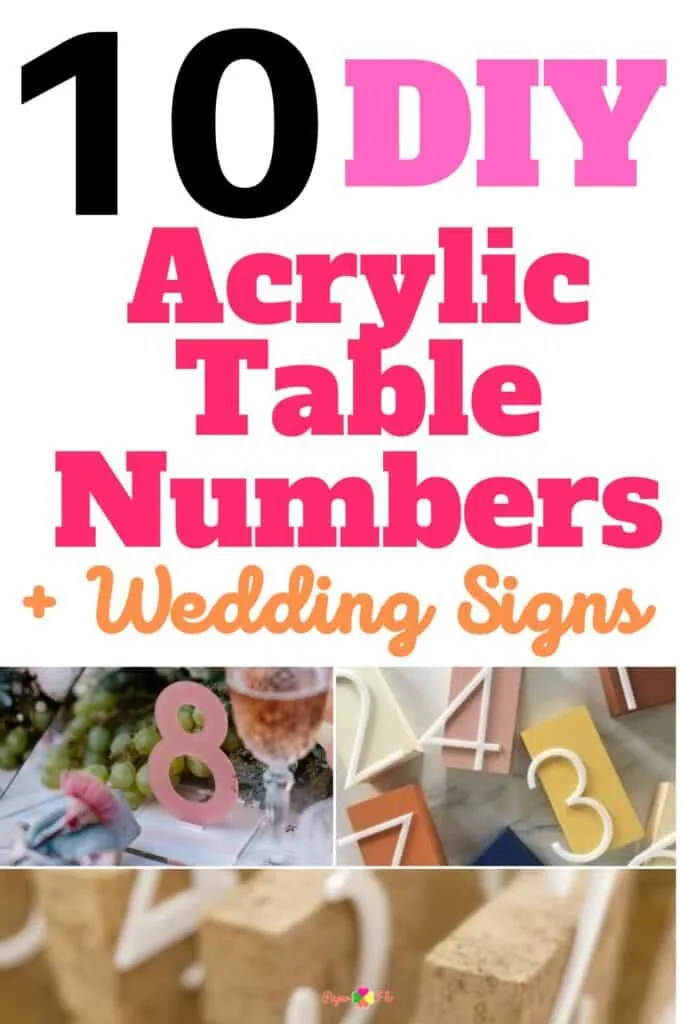
Tools and Supplies for DIY Acrylic Table Numbers
The most important part of making your own acrylic table numbers is having the right tools and supplies on hand. Here’s a list of what you’ll need to get started:
Cutting Tools:
- Laser engraver or Cutting Machine: For precise cutting of acrylic sheets into desired shapes and numbers.
- Weeding Tool: To remove excess vinyl and achieve clean edges.


Materials:
- Acrylic Sheets: Available in different colors and thicknesses, these are the base for your table numbers.
- Vinyl: Used for adding decorative elements or lettering.
- Paint Markers: For adding color or artistic touches.


Additional Supplies:
- Wooden Dowels or Stands: To hold the acrylic numbers upright on the tables.
- Transfer Tape: Helps in transferring the vinyl design onto the acrylic without any hassle.
- Craft Glue: For attaching various elements together.
- Gold Frames (Optional): To add a touch of elegance to certain designs.
Hardware Store Finds:
- Mini Clothespins: Can be used for attaching additional decorations.
- Acrylic Frame: If you want to frame the numbers for a more polished look.
Electronic Tools:
- Heat Gun (Optional): For attaching other decorations to the acrylic if needed.
Safety Equipment:
- Safety Glasses: Always protect your eyes when cutting or shaping materials.
- Gloves: To protect your hands during cutting or gluing.
I get commissions for purchases made through some of the links in this post. There is no extra cost to you. See my full disclosure here.
5. Table Number Holders
A Touch of Wood
These square table numbers include a wooden holder. The holders can be made with a small block of wood, and you can adjust the groove to fit the acrylic. It’s a unique way to blend modern design with home decor.
7. Modern Table Number
Mid-Century Charm
Go for a retro look with these mid-century modern table numbers. They’re perfect for adding a touch of vintage flair to your special event.
Conclusion
DIY acrylic table numbers are more than just numbers; they’re a creative expression of your love and commitment.
Whether it’s neon, frosted, or modern, there are different ways to make your wedding day special.
With a little creativity and some basic materials like acrylic sheets, paint markers, and a simple laser engraving machine, you can create beautiful table numbers that reflect your unique style.
FAQ about DIY Acrylic Table Numbers
Frequently Asked Questions
What materials do I need for DIY acrylic table numbers?
You’ll need acrylic sheets, a laser cutting machine, vinyl, paint, wooden dowels, and other accessories like craft glue and mini clothespins.
Can I customize the colors?
Absolutely! You can choose different colors to match your wedding theme. From neon to frosted, the options are endless.
Where can I find free fonts for my numbers?
There are many online resources for free fonts. Just make sure to check the license for commercial use if needed.
