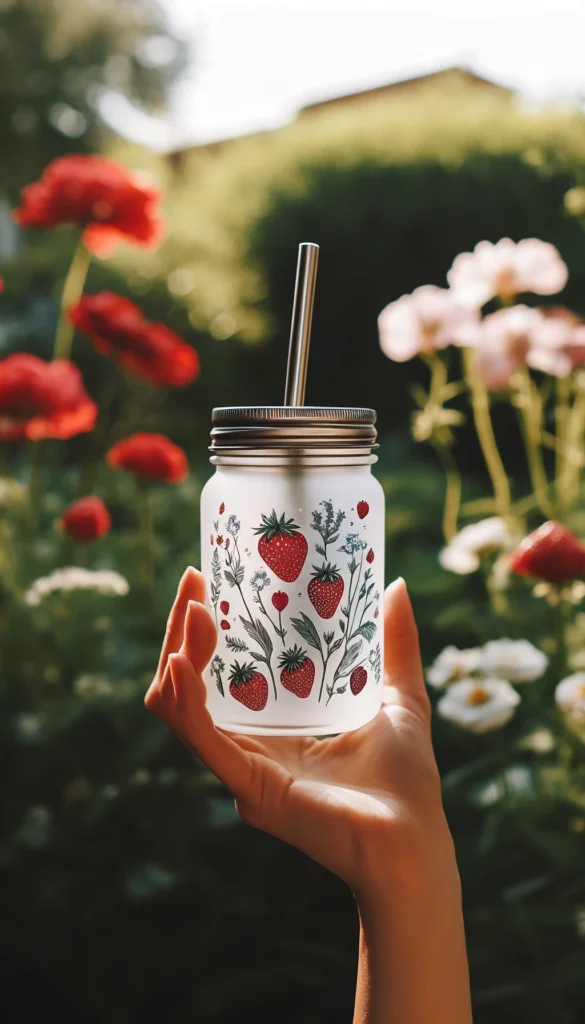
If you’re wondering how to remove UV DTF wrap from a Libby glass cup, you’ve come to the right place.
We’ve all been there – spending time and effort on a beautiful cup design, only to have something go absolutely wrong.
I remember working on a cup with an intricate design when suddenly, a letter and some delicate dots cracked, ruining the entire look.
Frustrating, right? But don’t worry! This post is your crafting lifesaver. I’ll guide you through a simple, effective method to peel off that stubborn wrap, saving your cup and your spirits.
Whether you’re a crafting newbie or a seasoned pro, this trick will get you back on track in no time. Let’s dive in and turn that craft fail into a win!

I get commissions for purchases made through some of the links in this post. There is no extra cost to you. See my full disclosure here.
Step-by-Step Guide to Removing UV DTF Wrap
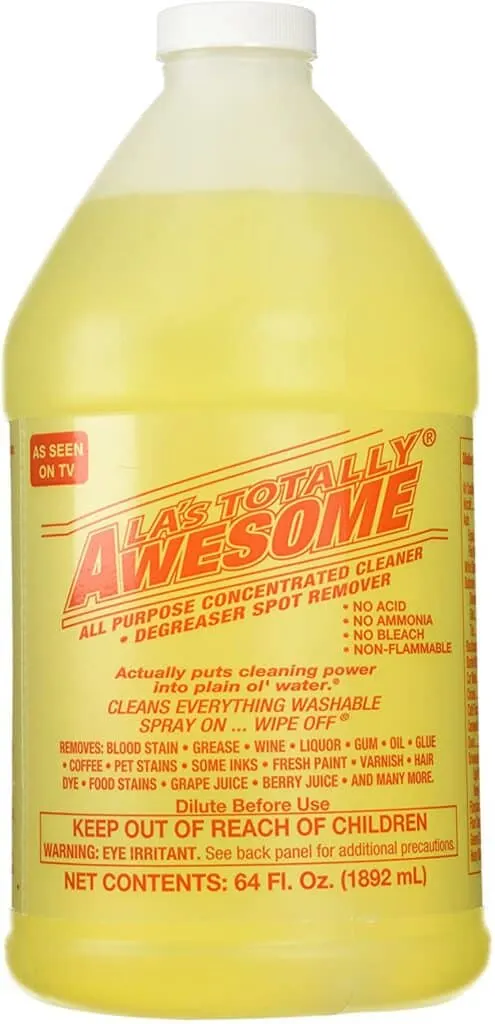
- Gather Your Materials: You’ll need a few simple items: Goo Gone or Awesome adhesive remover, boiling water, dish soap (any brand will do), and a squeegee. These will be your best friends in the unwrapping process.
- Boil and Soak: Start by boiling water and adding a squirt of dish soap. Once it’s bubbling, take it off the stove and immerse your glass cup in the pot. This is where the magic starts! The heat and soap work together to loosen the UV DTF wrap.
- Squeegee Time: After a few minutes of soaking, take your squeegee and gently start peeling the film from the cup. If it’s being stubborn, give it a bit more soak time. Remember, patience is key!
- Repeat if Necessary: Sometimes, it’s not a one-and-done deal. If parts of the uv dtf cup wraps are clinging on, dunk the cup back in for another pampering session in the hot soapy water.
- Residue Removal: Once the uv dtf cup wrap transfer is off, you might notice some sticky residue. That’s where Goo Gone comes in. Spray it onto the cup, let it sit for a moment, then wipe it down with a soft cloth or paper towel.
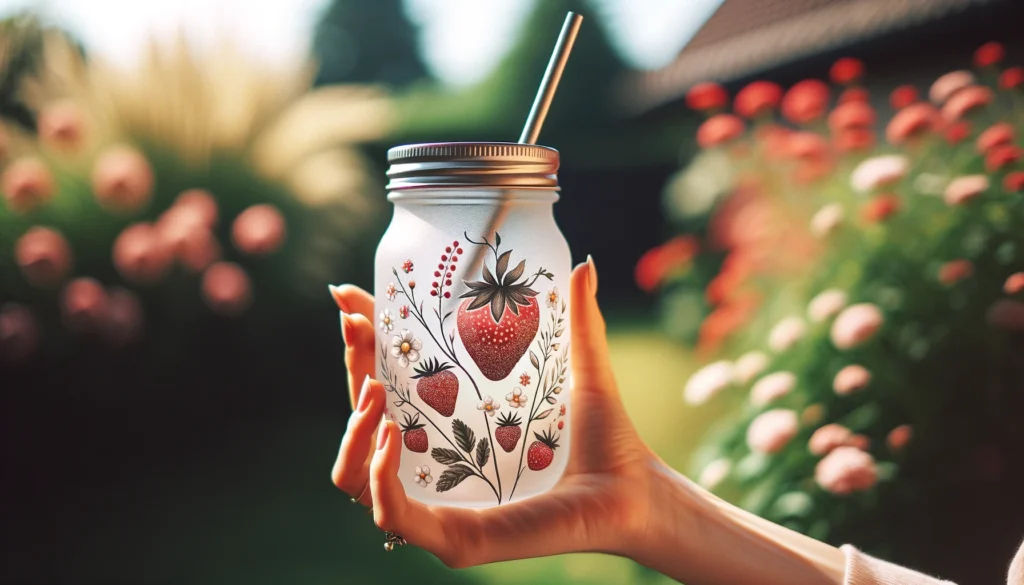
This should leave your cup spotless and ready for a new design!
This also works to clean your old cutting mats. Use this method before you replace your mats.
Tips and Tricks
- Extra Care: When applying a new UV DTF transfer, ensure you handle the cup with clean hands to avoid hand oils transferring to the hard surfaces. This can affect the adhesion of the new uv dtf prints.
- Avoid Air Bubbles: During the new application process, use a couple of millimeters of overlap with your transfer tape to prevent air bubbles under the design film.
- Hand Washing: To prolong the life of your new uv dtf cup wraps, always opt for hand washing. It keeps the oz libbey glass wraps looking pristine.
- Check for Details: When applying the uv wrap, make sure the entire design is adhered smoothly. Use a paper towel to gently press down any transfer stickers or transfer paper, ensuring every detail sticks.

Conclusion
After mastering how to remove UV DTF wrap from your Libbey glass cups, why not explore new projects that could turn into a money making side gig?
I go over some of the most profitable crafts to sell, providing you with ideas that could transform your hobby into an earning opportunity.
Check it out so you can start planning your next big crafting success.