
Are you excited to learn some laser tips today that will save you time and give you smooth results? You’ll find out how to laser cut acrylic without burning your precious projects.
Sounds good, doesn’t it?
Hang tight and discover some of the coolest tricks to achieve clean and seamless cuts.
Grab your laser goggles, and let’s jump right in!

I get commissions for purchases made through some of the links in this post. There is no extra cost to you. See my full disclosure here.
5 Ways to Get a Burn-Free Acrylic Cut
1. Air Assist to the Rescue
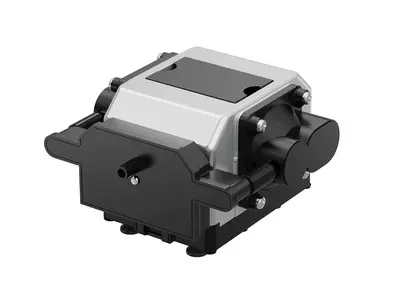
Like a superhero with a cape, an air assist system blows away the smoke and debris produced during cutting. Keeping your workspace clean minimizes heat buildup and thus the risk of burning.

2. Lift up the Acrylic with pins
Don’t let that smoke ruin your laser project! By using pins to elevate your acrylic off the honeycomb bed, you can prevent smoke buildup. Click here to buy a set of pins.

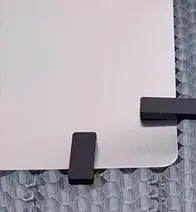
If you’re more of a DIY person, check out this video to make your own.
3. Focus, focus, focus
A correctly focused laser on the acrylic surface is like having a perfect aim in darts. The right focal length condenses laser energy at the precise cutting point, minimizing heat spread and potential burns.
4. Power down
Think of your laser like a race car. You don’t want to start at full throttle, or you’ll risk a burnout. Kick-off with a low power setting and gently increase until you nail the desired cutting depth.
5. Speed it up
Life in the fast lane isn’t always bad. A quicker cutting speed means less time for the laser to interact with your acrylic, lowering the risk of those dreaded burns. Test various speeds to find your perfect balance.


Extra Tricks for Burn-Proof Acrylic Projects
- Lens Matters: Think of your lens as the magic wand of your laser cutter. The right lens can significantly enhance your cut quality. A shorter focal length lens gives a more concentrated beam for finer cuts, while a longer one might resist debris damage better.
- Maintenance is Key: A well-kept laser cutter is a happy laser cutter. Regular cleaning and upkeep can reduce the risk of burns. Don’t forget to clean those lenses and mirrors to prevent obstructed or diffused laser paths.
- Test Before the Best: Always perform a trial cut on a small acrylic piece before launching your actual project. This practice round helps you adjust settings to avoid burning and achieve clean cuts.
- Slow and Steady Wins the Race: Multiple passes at lower power settings can be a better strategy than trying to cut through in a single go. This approach yields cleaner cuts and reduces overheating risks.
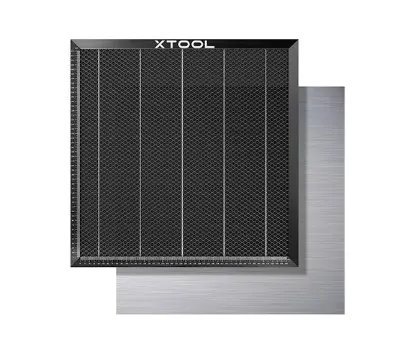
- Protective Backing: Don’t forget to protect your desk as well. Placing your acrylic on a honeycomb bed can shield your desk from scratches or damage, and reduce heat marks from the laser. Look at the honeycomb in action in the video below.

Conclusion
Remember, every laser cutter is its own beast. Adjust your settings to fit your specific machine.
Patience, practice, and some trial and error will help you find the sweet spot for burn-free acrylic cuts.
Need more craft ideas? Check out these easy laser engraver project ideas.
So many people are selling their laser crafts. Find out if it’s worth it to start a laser engraver business.
FAQ Section about Laser Cutting Acrylic
Use techniques such as maintaining a lower laser power, increasing cutting speed, using air assist, and applying a protective backing.
You can use pins to raise the acrylic, perform multiple passes at lower power, and keep your cutting speed fast enough to avoid prolonged heat exposure.
A shorter focal length lens provides a concentrated beam for finer cuts, while a longer one is less prone to debris damage. It depends on your project requirements.
