
Creating stunning designs on Canva has never been easier, but sometimes, we make simple mistakes when it comes to working with text.
In this article, we’ll talk about the top 5 mistakes people make when filling in font on Canva and how to fix them!

I get commissions for purchases made through some of the links in this post. There is no extra cost to you. See my full disclosure here.
1. How do I fill my font color in Canva?
Mistake: Choosing the wrong color picker option.
Solution: To change the font color in Canva, click on the text you want to modify, and select the “A” icon in the toolbar. You’ll see a color picker, where you can choose from a wide range of colors or enter a custom hex code. Make sure to select the right color picker option that applies to your text.
2. The best method to fill hollow text
Mistake: Trying to fill hollow text with the standard font color option.
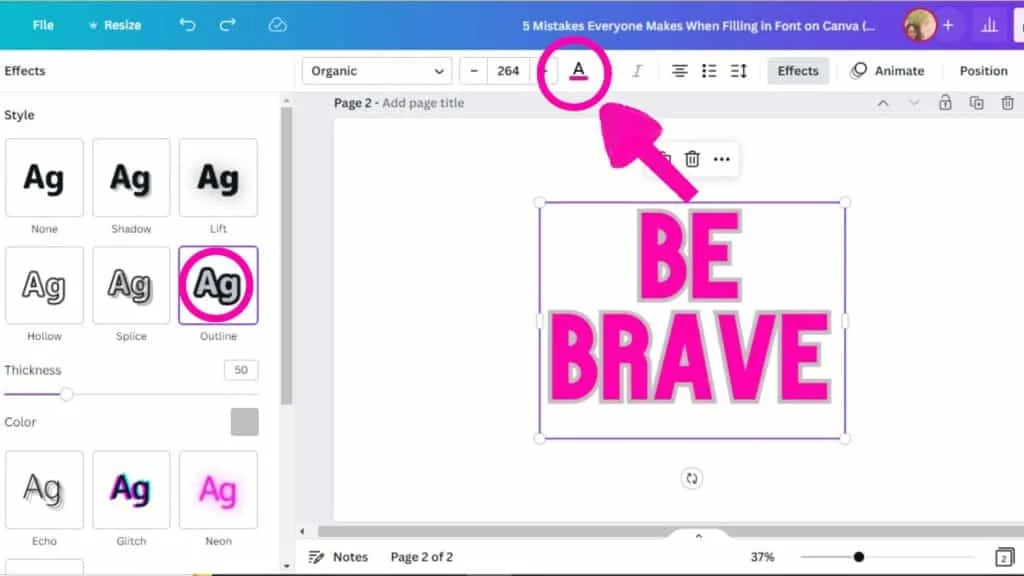
Solution: Hollow text, or outline text, can’t be filled with the standard font color option. Instead, you’ll need to use a hollow font from the Font Combinations. You can find them by clicking on the Text button on the left-hand menu.


Then you can use the Effects button to fill the text with a solid color of your choice. Change its color by picking one from the color palette.

3. Easy way to use texture to fill in text
Mistake: Not using the “Effects” panel to apply textures.
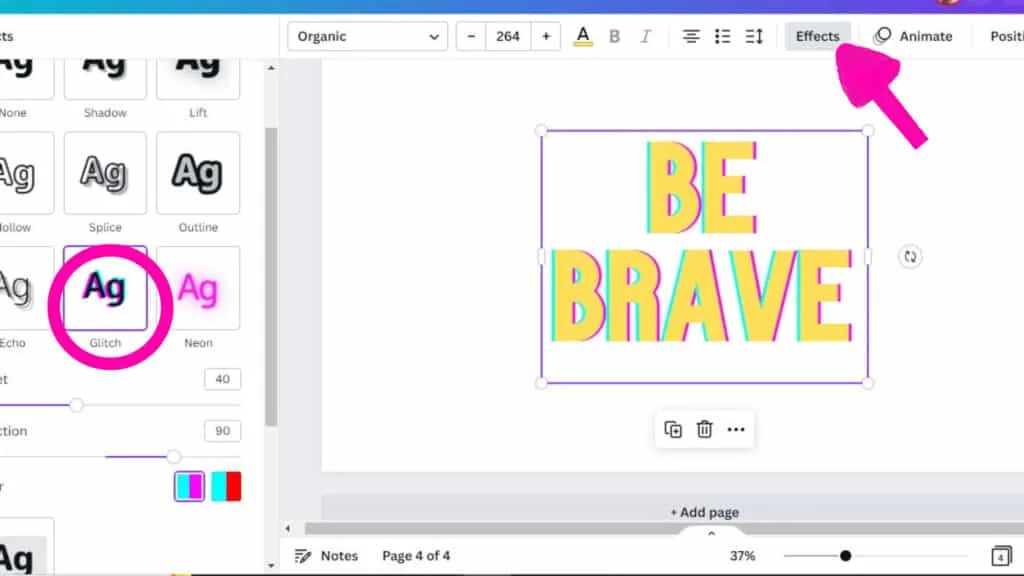
Solution: Like I mentioned above, the Effects button is great way to fill in text. But you can also use it to change the texture of the text.
To add texture to your text in Canva, click on the text you want to modify and select the “Effects” option in the toolbar. From there, you can choose from a variety of texture options to apply to your text.

4. Use Color & Transparency to Fill a Text Box
Mistake: Forgetting to adjust the text box’s border and background settings.
Solution: To fill a text box with color, click on the text box and select a shape in the toolbar. Choose the desired color and adjust the width and color to match your design.
Now you can play around with the transparency. You can use the transparency slider to adjust the opacity to achieve the desired effect, and you’re done!


5. How to use Copy Style in a text box
Mistake: Not taking advantage of the copy style feature to recreate the feel of existing text.
Solution: To copy the style and feel of an existing font in a text box, right click on the text that you want to copy and select “Copy style”. Adjust the font size, alignment, and spacing settings to ensure that your text is easy to read and looks professional.


You can copy and apply different font styles to create a unique and eye-catching design.


Conclusion
By avoiding these five common mistakes and using the provided solutions, you can create beautiful and professional-looking designs on Canva with ease.
So, the next time you’re working with text, keep these tips in mind and see the difference it makes!
Most of these options are available on the free plan but some of them require the pro version. You can use my link here to try Canva Pro for free for 30 days.


