
7 Simple Steps to Craft Stunning Square Borders with Your Cricut
Struggling to make borders in Design Space? Worry no more!
Discover a super easy way to create square borders in Cricut Design Space, whether you’re a seasoned Cricut pro or just getting started with your machine.
This friendly, step-by-step guide will have you crafting gorgeous square borders in no time!
So, let’s dive in! 🚀
Craft Supplies
Here’s what you’ll need to make the border:
- Cricut Design Space
- Cricut Access (optional for graphics and svg designs)
- Computer
- Cricut machine (to print your design)

I get commissions for purchases made through some of the links in this post. There is no extra cost to you. See my full disclosure here.
7 Steps to Make Square Borders in a Snap
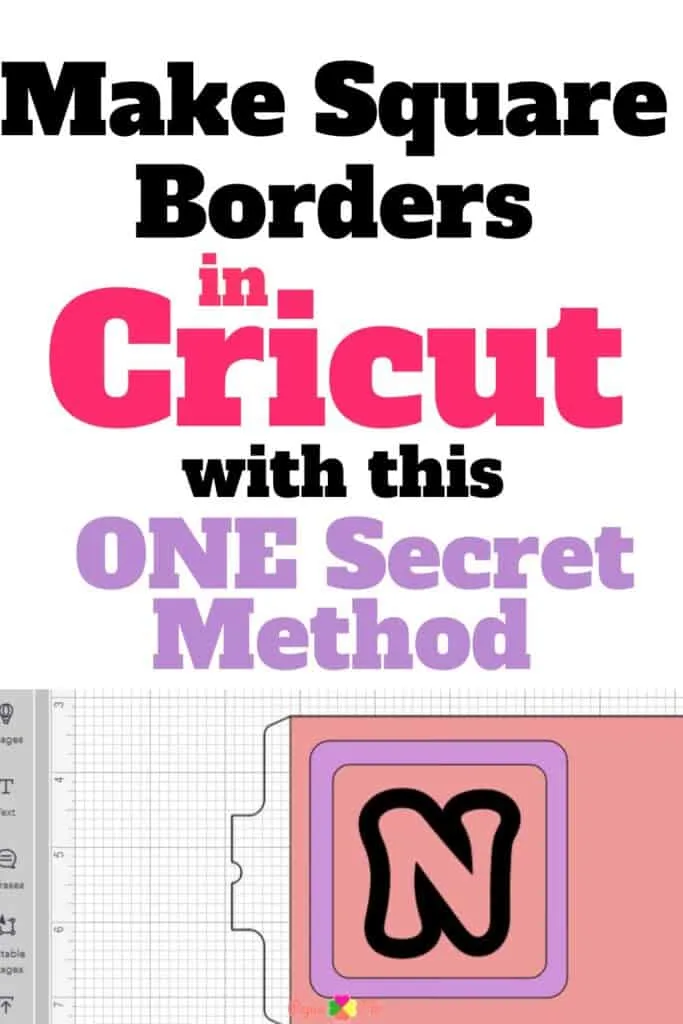
- Create a frame by inserting a square and adjusting its size. Find the square shape by searching or clicking “Insert Images” and selecting “Shapes.”
- Duplicate the square and resize the duplicate. Right-click the original image and select “Duplicate.”
- Align and center the smaller square over the larger one. Select both squares, click “Align” in the upper right corner, and choose “Center.”
- Slice away the center to create a frame. With both squares still selected, click “Slice” in the lower right corner. Remove the extra border pieces to reveal your new frame.
- Adjust the size and position of the square as needed to fit your design.
- Add text to the frame using the text tool. Center it with the ‘Align’ tool, and optionally curve the text to fit the shape by selecting “Curve” in the text box.
- Customize the frame by adding names or other elements to make it uniquely yours.
And that’s it! You’ve mastered the art of crafting square borders for your Cricut projects.
Don’t forget to experiment with different materials, like printable sticker paper or adhesive vinyl, to make your finished product truly special.
Endless Possibilities with Square Borders 🌟
Square borders can elevate your projects to new heights. They’re perfect for:
- Homemade cards
- Scrapbooking pages
- Personalized photo frames
- Custom labels, tags, and stickers
- Party invitations, banners, and wedding stationery
- Home décor stencils
Your unique designs will leave a lasting impression on friends and family, showcasing your talent and attention to detail.
Conclusion ✨
Creating a square border in Cricut Design Space is a breeze with this simple method. In just a few steps, you’ll have a stunning frame to enhance your projects.
Now it’s time to fire up your Cricut Maker, Cricut Explore Air, or Cricut Joy, and get started on your next masterpiece!
Don’t forget to save this post to your Pinterest board. For more tutorials and check out my blog post for tips on fixing Cricut Maker connection issues or tips on how to outline images in Cricut.
Feel free to share your creations with friends and family, and explore the endless possibilities of Cricut projects. And, as always, if you have any questions or tips of your own, don’t hesitate to reach out. 🎉!
Tips and Tricks for Designing with Square Borders 🤓
Now that you’ve mastered the art of creating square borders, let’s explore some tips and tricks to make your designs even more eye-catching:
- Mix and match shapes: Don’t limit yourself to just square borders! Experiment with different shapes like circles, hexagons, or even custom shapes to create unique frames for your projects.
- Play with colors and patterns: Add visual interest to your borders by using various colors, gradients, or patterned fills. This can help your design pop and create a cohesive look with other elements in your project.
- Layer borders: Combine multiple borders with different thicknesses, shapes, or colors to create a multi-layered effect. This adds depth and complexity to your designs.
- Embellish with icons and images: Enhance your square borders by adding icons, clipart, or images within or around the border. This can help to further personalize and theme your projects.
- Experiment with fonts: When adding text within your square border, try different fonts, sizes, and styles to find the perfect combination that complements your design.
By implementing these tips and tricks, you can create one-of-a-kind designs that will be the envy of your friends and family. Keep exploring and expanding your skills to see just how far your creativity can take you!
Share Your Creations! 📸
We’d love to see the amazing square borders and projects you create using your Cricut machine! Don’t hesitate to share your masterpieces. Pin this post to your craft tips board on Pinterest for later. You might even inspire others to start their own Cricut crafting journey!
Keep Learning and Growing 🌱
Remember, practice makes perfect! The more you work with your Cricut and experiment with different techniques, the more confident and skilled you’ll become. So, keep creating, have fun, and enjoy the world of Cricut crafting!
FAQ’s
To make a shape border on Cricut, insert a shape, duplicate it, resize the duplicate, align and center the two shapes, and then use the ‘Slice’ tool to remove the center. Customize the border as desired and add text or other elements.
To put a square around text on Cricut, first create a square border by inserting a square, duplicating it, resizing the duplicate, aligning and centering the two shapes, and slicing the center away. Then, add text using the text tool, and center it within the square border using the ‘Align’ tool. Optionally, curve the text to fit the shape by selecting ‘Curve’ in the text box.
To format text to square in Cricut Design Space, first create a square border as described above. Next, add text using the text tool, and center it within the square border using the ‘Align’ tool. If desired, curve the text to fit the shape by selecting ‘Curve’ in the text box.
Flatten in Cricut Design Space is a function that combines multiple layers of a design into a single layer. It is commonly used when creating print then cut projects, as it merges the design elements together and ensures they maintain their relative positions during the printing and cutting process.
