
So, you’re thinking about stepping up your crafting game with some laser marking paper, huh? I totally get it.
When I first dabbled with my laser cutter, it was all about making those special little touches on mugs and tumblers, not just for my family but also as a little side gig.
It’s pretty amazing how a simple piece of laser marking paper can transform a plain ceramic mug or tumbler into something so unique and personal.
No time to read the whole post? Here are my top picks


I get commissions for purchases made through some of the links in this post. There is no extra cost to you. See my full disclosure here.

If you’re like me, always on the lookout for new ways to get those creative juices flowing and maybe even make a few extra bucks, you’re going to love this.
We’ll walk through how to use this nifty paper to create designs that stick, not just in your mind, but on any ceramic piece you can get your hands on.
And hey, if you’re pondering an upgrade to your machine, I’ll share some of my experiences and how that extra oomph can really bring your ideas to life.
So, grab your favorite mug (the one without the fancy design yet!), sit back, and let’s dive into the world of laser engraving with marking paper.
Trust me, once you see how easy and fun it is, you’ll be looking for any excuse to get that laser buzzing!
Alright, let’s dive into the nitty-gritty of making your ceramics pop with some laser beam action.
Picture this: You’ve got your cozy home workshop set up, your favorite tunes playing, and a plain mug or tumbler just waiting for a touch of magic. That’s where laser marking paper comes into play.

Getting Your Design Ready
First steps, you’ll want to pick a design that screams ‘you’ or ‘your brand.’ Got that quirky quote or cute graphic? Perfect!
Just make sure it fits the surface of your object like a glove. We’re talking about specific requirements like making sure it’s the right size so that when it’s transferred, it looks just as you imagined.
Remember, we’re aiming for the best results, so a clear PNG background is your best friend here.


Choosing Your Laser Marking Paper
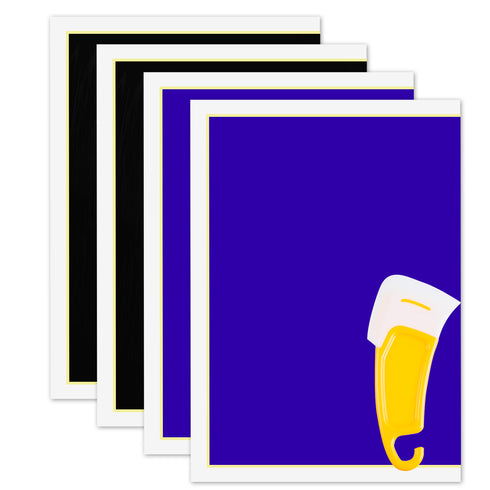
Now, onto the fun part – picking your laser marking paper! There’s a wide range of different colors available, so whether you’re feeling classic black or vibrant pink, there’s something for everyone.
This isn’t just any paper; it’s the best paper for getting those designs to stick and look fabulous.

Prepping Your Mug
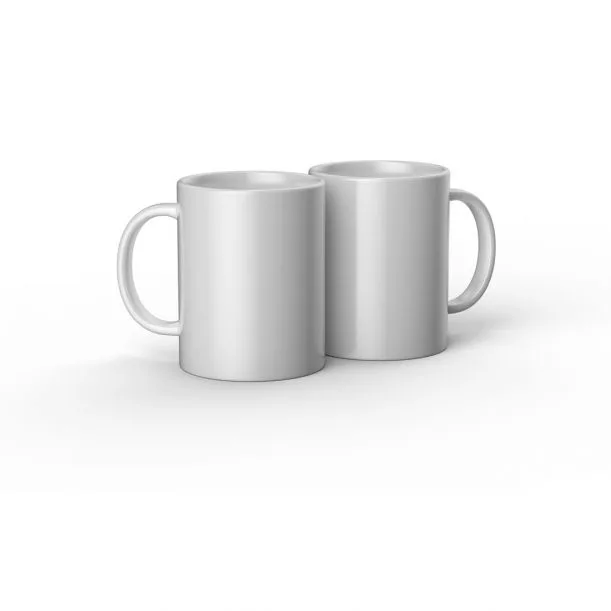
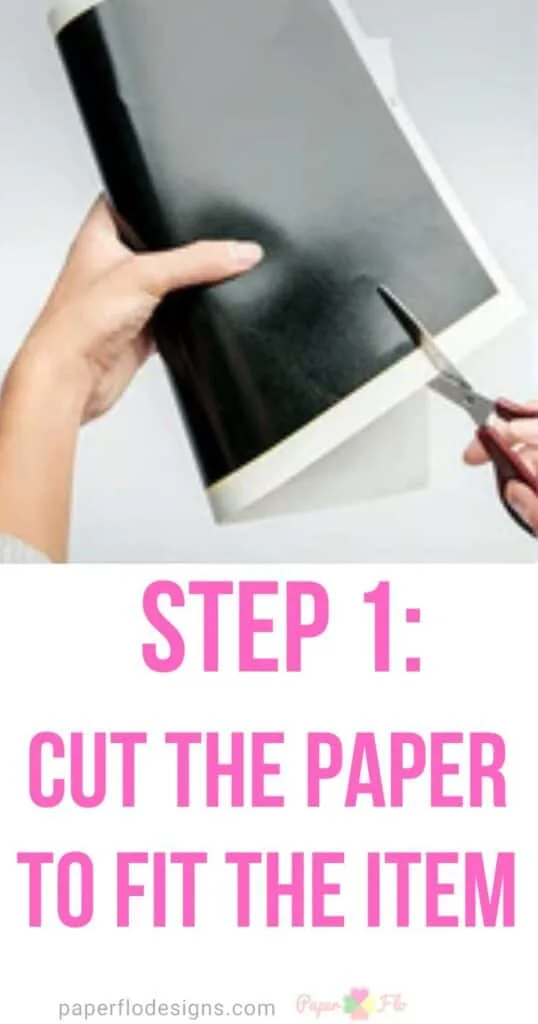
Next up, measure and cut your paper to fit your mug or tumbler. A little dip in water, and you’re ready to apply it to the ceramic. Make sure it’s smooth and crease-free – we want that design to be flawless!


Apply the paper to the surface of your ceramic.
Make sure to push hard enough to remove any air bubbles.


Firing Up the Laser Engraver
Now, for the star of the show – your laser engraver. Whether you’ve got a trusty old machine or a shiny new CNC laser cutter engraver, the right settings are key.
We’re talking speed, power, frequency – all tuned to get the best out of your laser marking paper. Align your design, hit ‘start,’ and watch the magic happen!


The Big Reveal
After the laser does its thing, it’s time for the grand reveal. A bit of cleaning – whether it’s a gentle scrape or a rinse – and your design is there, bold and beautiful, on your mug.
Just think of the possibilities: personalized gifts, standout items for your Etsy shop, or just a fun project to brighten your day.

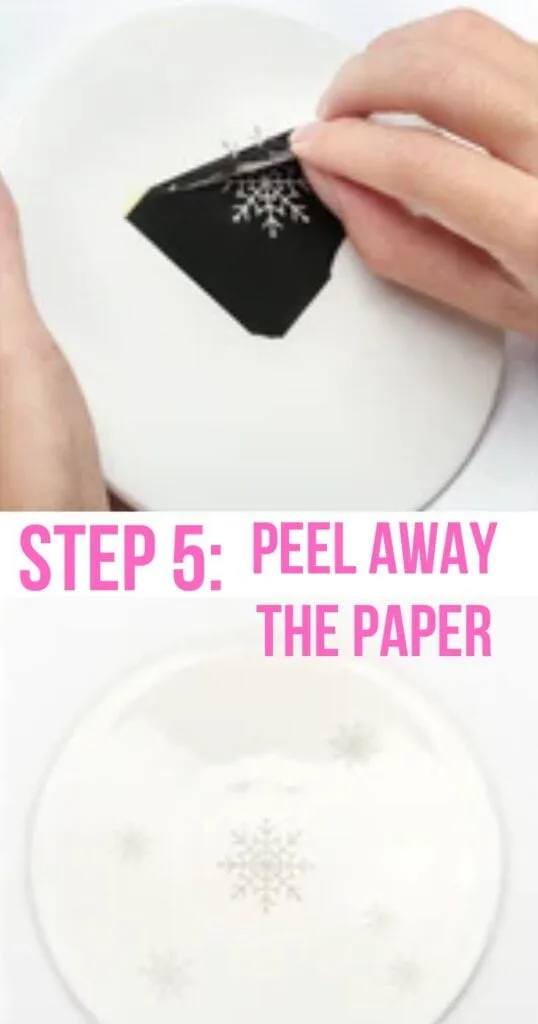
So, whether you’re a crafting newbie or looking to add a new trick to your repertoire, laser engraving with marking paper is a game-changer.
It’s not just about making something pretty; it’s about creating something uniquely yours. So go ahead, give it a try – who knows what amazing creations you’ll come up with!
Conclusion
If you’re getting the hang of laser engraving and are on the lookout for more inspiration or projects to try, I’ve got just the right resource for you.
Why not explore my post on various laser engraving projects? It’s got lots of ideas that can spark your creativity and offer you a range of new designs and applications for your laser engraver.
