
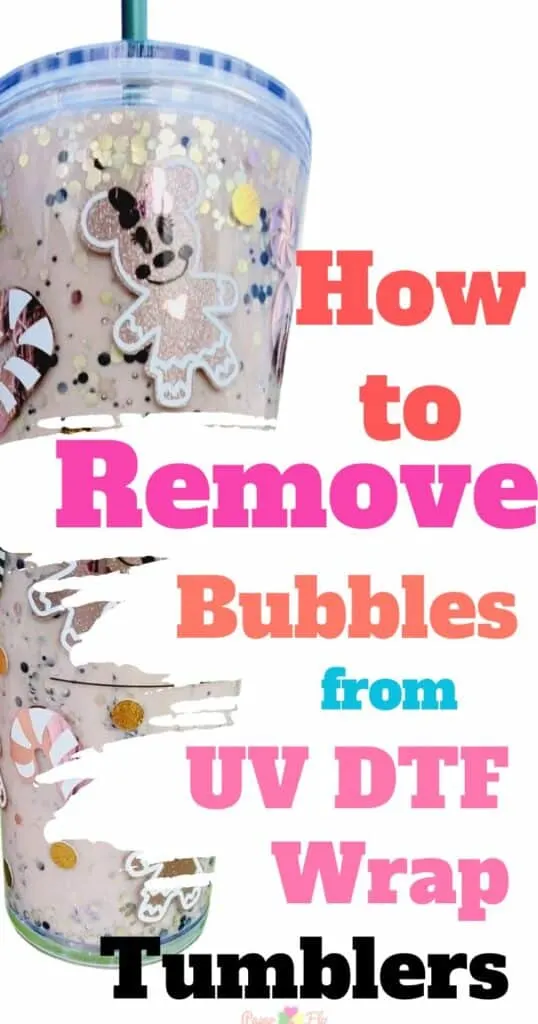
If you’ve tried the most popular way to do tumbler customization, with UV DTF cup wraps, then you’ve likely had the frustrating issue of air bubbles under your film.
It’s a common hiccup that can mar the sleek look of your design transfer, especially when you’re aiming for perfection on items like glass cups or Libbey glass cans.
Well here’s a quick and easy technique to get rid of any bubbles and still turn out beautiful mug and cups every time.

I get commissions for purchases made through some of the links in this post. There is no extra cost to you. See my full disclosure here.
Step-by-Step Guide to Removing Bubbles from UV DTF Wrap Paper
- Identify the Bubble: First, spot the pesky air bubble that’s disrupting the smooth surface of your adhesive cup wrap. It’s essential to tackle it early on to avoid any design transfer mishaps.
- Use a Weeding Tool or Exacto Knife: Grab a tool with a sharp, precise tip. This could be a weeding tool or an exacto knife. The key is to use something that allows for meticulous control to make a tiny puncture without damaging the overall design.
- Puncture Carefully: Gently press the tool onto the bubble, ensuring you don’t drag or move it around. If your design includes full-color graphics, avoid puncturing over dark or black areas to prevent visible marks. Opt for lighter areas where the tiny puncture won’t be noticeable.
- Smooth it Out with a Craft Squeegee: After releasing the trapped air, use a craft squeegee to gently smooth over the area. This step ensures the clear transfer film adheres flawlessly to the hard surface of your tumbler, eliminating any remaining film bumps.
- Check Your Work: Once you’ve smoothed out the area, inspect the tumbler to ensure the top layer of film is bubble-free and the design looks seamless.
- Hand Wash Your Tumbler: To maintain the longevity and integrity of your UV DTF cup wraps, always opt to hand wash the finished product. It’s the best way to make sure that your design stays intact and continues to look professional.
Additional Tips for Successful DTF Wraps
- Choose the Right Size: Ensure you’re using the correct glass cup size for your project. Proper sizing helps prevent application mishaps and ensures a smoother process.
- Quality Materials: Invest in high-quality wraps and UV-curable ink. These materials play a crucial role in the final appearance and durability of your project.
- Practice Patience: Take your time during the application process. Rushing can lead to mistakes and reduce the quality of your finished product.

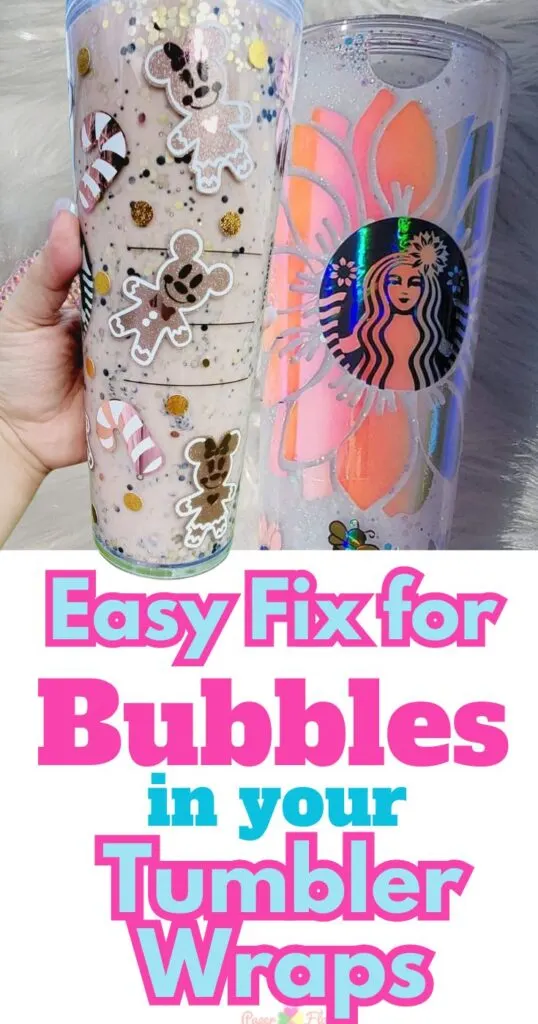
By following these steps and tips, you’ll master how to remove bubbles from UV DTF wrap paper, elevating your craft projects to a professional level.
Whether you’re personalizing tumblers for sale or as unique gifts, these techniques will help you achieve flawless results that are sure to impress.
Remember, practice makes perfect, so keep experimenting and honing your skills to become a pro at using DTF wraps!


Conclusion
Now that you know how to get rid of bubbles from UV DTF wrap paper, you might be thinking about the next steps to turn your crafting passion into profit.
I’ve explored various crafting options and gathered insights on the most profitable crafts to sell.
If you’re curious about which crafts could help you earn extra income or even transform your hobby into a business, take a look at my insights on profitable crafting.
It’s a great way to use your newfound skills to create items that are not only beautiful but also marketable.
