
5 Cricut Iron-on Mistakes That Will Ruin Your Projects
Using Iron-on vinyl is an easy way to make a custom t-shirt craft project. Here’s how to use Cricut iron-on, avoid mistakes and get the perfect results.
But first, here are some of the tools and supplies that you’ll need.
Tools and Optional Supplies
Tools:
- Cricut cutting machine
- Autopress or heat press
- Svg design cut files
- Heat transfer vinyl
- Heat pad
Optional Supplies:
- weeding tools
- carrier sheet
- chalk
- Cricut pens


Getting Started with Your Cut File
No one likes making mistakes with their craft projects. Annoying things like wrinkles, bumps and vinyl not sticking can bug the heck out you when all you want to do is finish your project.
Before you iron anything, check out these tips below.
1. Don’t forget to reverse the design!
During the machine set up, it’s important to make sure that you reverse the image before cutting.
This ensures that when you are applying your design to your project, it will be facing the correct way.
If you don’t do this step, then your design could end up being applied backwards, resulting in an imperfect and off-kilter look.
So, to avoid this common mistake, always remember to mirror your images!


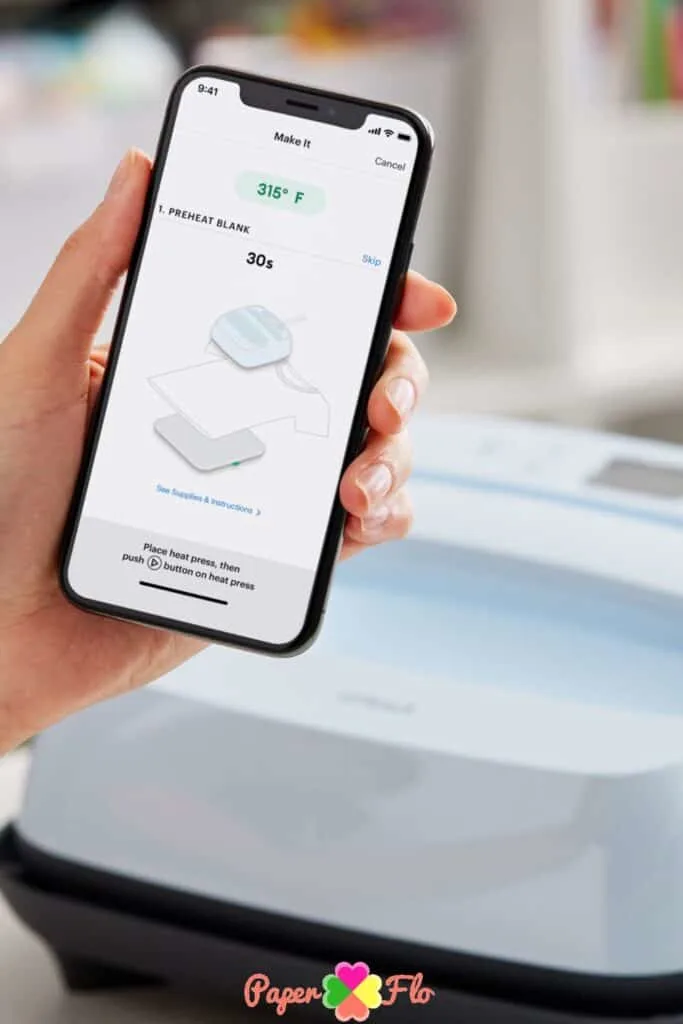
2. Guess the Temperature Settings
Never use a lower temperature setting than recommended. The temperature you use for your iron on vinyl project can be one of the key differentiating factors between a beautiful looking finished piece and a project fail.
To avoid ruining your design with excessive burning and unevenness in the transfer, always double check the Cricut Iron On Glitter Vinyl product packaging or manufacturer’s website before setting up your heat press.
You want to make sure that you’re using a temperature that’s recommended for it.

3. Skip the Pressing Cloth
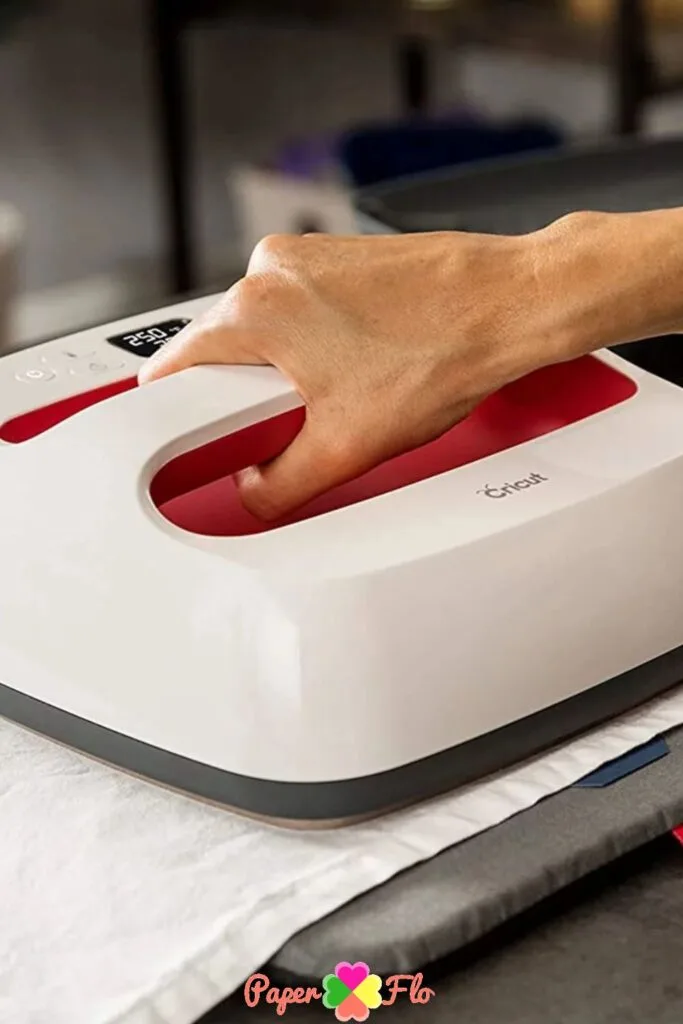
Cover your design with a fabric cover between pressing for extra protection.
Applying an additional cloth cover over the design before running it through a heat press is a great way to prevent excessive burning and damage.
As you move the iron on vinyl within the hot press surface, it’s important to apply slight pressure in order to make sure the entire design gets enough heat and transfers evenly.
Using additional fabric can protect your vinyl transfer while ensuring that your finished product will look absolutely fantastic!

4. Peel Your Design When It’s Cold and Peel it Quickly
When your project is complete and ready to be pressed, give it a few seconds to cool before peeling away the transfer sheet. This will allow the glue to settle down and firmly adhere to the fabric.
To get the best results, peel warm and slowly, applying pressure while peeling in order to help ensure that all of your design elements are securely stuck.
If any pieces come loose during the process, you can always reapply heat and press them down again.


5. Layer All Types of Iron-on Vinyl Together
Some types of iron-on can be layered together, like basic plain iron-on sheets with no texture. But don’t try to layer any of the following types:
- Glitter vinyl
- Holographic
- Holographic Sparkle
- Foil
- Glitter Mesh
- Flocked iron-on


Conclusion
So there you have it, five things you should never do with Cricut Iron-on if you don’t want to mess up your projects.
Working with iron-on vinyl can be intimidating, but it doesn’t have to be. To save yourself from making any common mistakes, use the tips above and in the video below to make your crafts Pinterest-worthy!
Want to save this for later?
Speaking of Pinterest, go ahead and pin this blog post to your favorite Cricut Tips board on Pinterest! You’ll need it later.
More Cricut craft ideas!
If you love making fun projects, try these tips to make better Cricut fonts in 5 minutes!


