
Glitter iron-on is an easy heat transfer material that can be used to add a sparkly and fun touch to your projects.
With just a few simple steps, you can create beautiful designs in minutes using materials like paper, canvas, fabric, wood, and more.
In this blog post, I’ll cover the steps on how to use Cricut Glitter Iron On for the best results!

I get commissions for purchases made through some of the links in this post. There is no extra cost to you. See my full disclosure here.
What Can Cricut Do?
If you love making crafts, then you’ve probably heard all the talk about the Cricut machine.
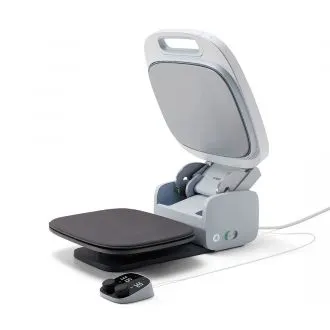
This versatile tool, together with the Cricut autopress, can help you create a wide range of projects, from custom t-shirts to personalized home decor items.
The Autopress is Cricut’s own heat press. You may be thinking that you can just as easily use a household iron, you sort of can. But, a home iron lacks the high heat and firm pressure needed to get the same results.
If you’re looking to add some sparkle to your creations, then you need to know how to use these Cricut tools to make a glitter iron-on project.
In this guide, we’ll go over everything you need to know to get started.
Step 1: Gather Your Materials
Before you start crafting, you need to make sure you have all the necessary materials.
Here’s a list of what you’ll need to get started with using glitter iron-on vinyl from Cricut:
- Cricut machine
- Autopress (Heat press)
- Cricut Design Space software
- Cricut iron-on glitter
- Cutting mat
- Weeding tool
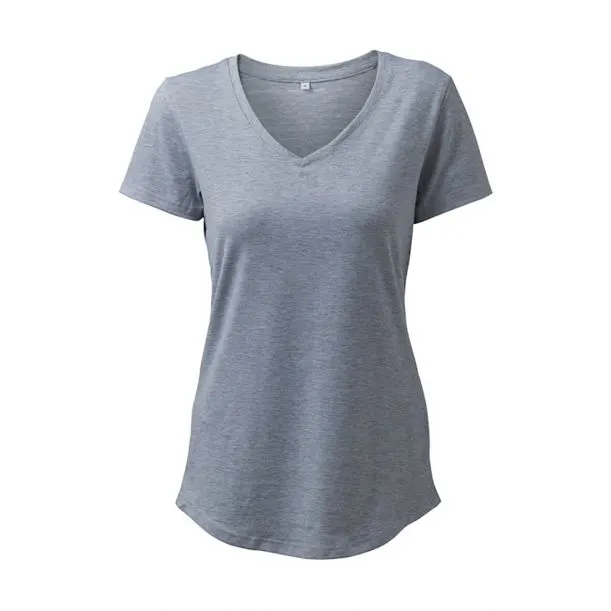
- T-shirt or other base material

If you are new to using a Cricut machine, there are a few things to keep in mind when working with iron-on vinyl. First, it’s important to select the appropriate base layer for your project.
Cotton or cotton blend fabrics work well with iron-on vinyl, and it’s best to avoid fabrics that are too stretchy or have a rough texture.
Once you have your base material selected, it’s time to create your design in Cricut Design Space.

Step 2: Design Your Project in Cricut Design Space
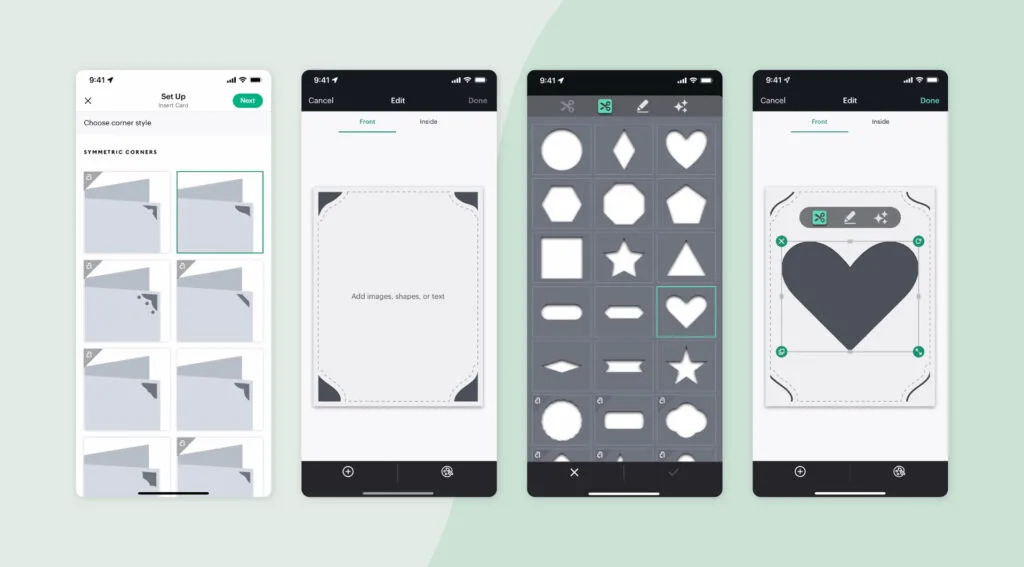
Once you have your materials ready, the next step is to design your project in Cricut Design Space. This software allows you to create and edit designs that can be cut by your Cricut machine.
To get started, open Cricut Design Space and create a new project.
From there, you can select the text or image you want to add to your base material.
If you’re not sure where to start, Cricut Access offers a wide variety of pre-made designs that you can use.
You can also upload your own designs if you have something specific in mind.

Step 3: Cut Your Design with Your Cricut Machine
Once you’ve designed your project, it’s time to cut it with your Cricut machine.
When working with glitter vinyl, it’s important to select the appropriate cut settings. Glitter vinyl is thicker than regular vinyl, so you may need to adjust the pressure and blade settings to ensure a clean cut.
Load your iron-on design onto your Cricut cutting mat, making sure to place the shiny side down.
Then, load the cutting mat into your Cricut machine and follow the on-screen prompts to cut your design.
After the machine has finished cutting, it’s time to weed the excess vinyl. Weeding is the process of removing the vinyl that is not part of your design, leaving only the elements that you want to transfer.
If this is your first time weeding and you have intricate designs, it may take a little longer than think. But it’s an important step. Make sure to do this the correct way so that you get a clean transfer onto your base material.


Step 4: Transfer Your Design to Your Base Material
Now that your design is cut and weeded, it’s time to transfer it to your base material. Place your base material on your heat press and preheat it for a few seconds.
Then, place your design on top of the base material, making sure that it’s in the right position.
At this point, it’s important to use a carrier sheet. A carrier sheet is a piece of material that helps to keep your design in place while you apply heat to transfer the vinyl onto your base material.
So, the first thing you want to do is to vover your design with a carrier sheet and then cover it with a press cloth. Next, you want to apply heat and pressure. The easy way to do this is with a heat press. The recommended settings for Cricut iron-on glitter are 320°F for 30 seconds.
Once the timer is up, remove the carrier sheet and allow your project to cool down.
If you don’t have a heat press, then you can use an iron. Just make sure to turn off the steam.
Pro Tip: It’s a good idea to use a press cloth with a heat press. This cloth protects your fabric from the heat source.
Step 5: Enjoy Your Shiny New Creation
And there you have it – a step-by-step guide to using Cricut iron-on glitter! With these simple tips and tricks, you don’t have to be a crafting expert to create stunning designs.
Whether you’re making custom t-shirts or adding some sparkle to your home decor, Cricut iron-on glitter is the perfect tool to help you achieve your creative vision.

Conclusion
Using Cricut iron-on glitter is an easy and fun way to add some sparkle to your projects. Glitter heat transfer vinyl is available in different colors, so you can select the one that best matches your project. Whether you want a bright and bold color or a subtle shimmer, there is a glitter vinyl that will work for your project.
With the right materials and a little bit of creativity, the sky’s the limit! You can create custom designs that are sure to impress your friends and family.
So why not give it a try? With the help of your Cricut machine, you’ll be crafting like a pro in no time!
And if you’re looking to save some money on your materials, don’t forget to check out my affiliate links for deals and discounts on your favorite crafting supplies.


Your glitter iron-on is not sticking because you’re not peeling it the right way. One important thing to keep in mind when working with glitter vinyl is to use a warm peel.
A warm peel is when you remove the carrier sheet while the vinyl is still warm to the touch.
This helps to ensure that the glitter vinyl adheres properly to your base material. If you wait too long to remove the carrier sheet, the vinyl may not stick properly, resulting in a less-than-perfect transfer.
If you’re using a Cricut machine, load the glitter iron-on design, shiny liner side down on the mat.
Want to save this for later?
Pin it to your favorite DIY board on Pinterest! Feel free to write a comment if you tried any of these tips.
More creative craft ideas!
If you love making fun projects but need a little help, check out my Criuct tips and tricks, like this one about the easiest way to clean a Cricut mat.
