
DIY floral painted tote bags are one of the cutest ways to add a little sunshine to your everyday style.
I still remember the first time I painted a tote bag—I was so nervous about messing up the flowers, but the beauty of hand-painting is that the little imperfections make it even more charming!
Today, I’m showing you how to create your own floral tote with simple steps and supplies, even if you’re brand new to painting.

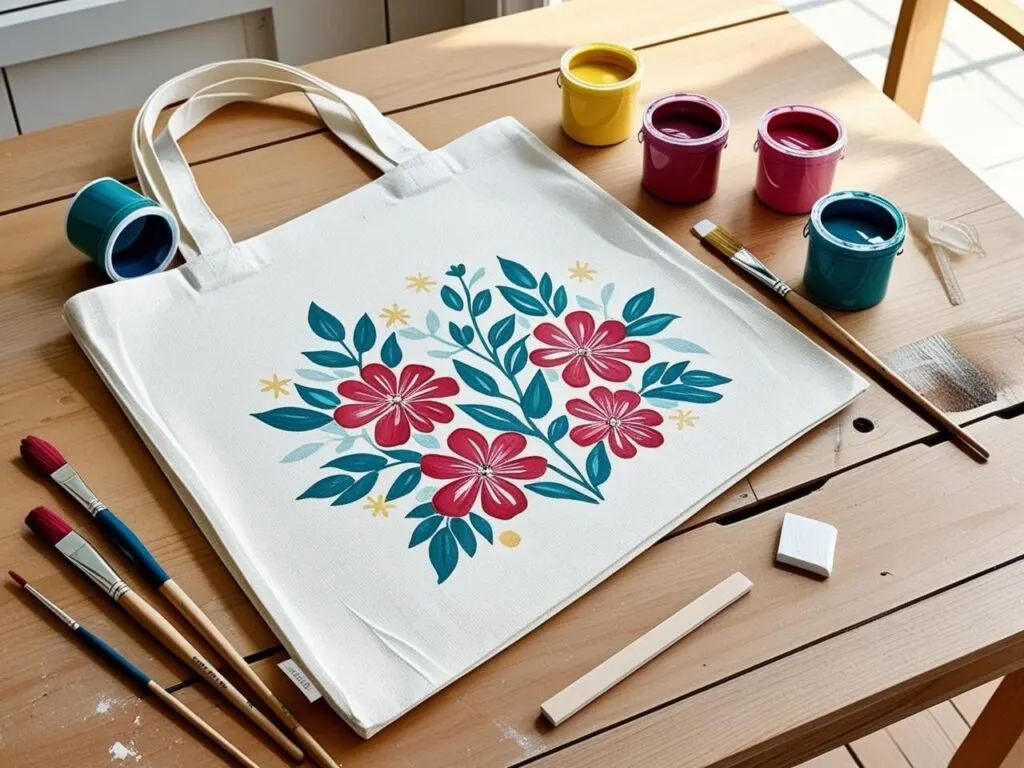
Supplies You’ll Need
Before we get started, make sure you have everything ready:
- Blank canvas tote bag (white works best!)
- Acrylic paints (choose a few shades for flowers, leaves, and accents)
- Paintbrushes (small and medium sizes)
- Paint palette or paper plate
- Piece of chalk (to sketch your design)
- Fine-tip black marker (optional for details)
- Cardboard insert (to prevent bleed-through)
For easy tote bag painting, keep your setup simple—you don’t need tons of supplies to make something beautiful!
How to Paint a Floral Tote Bag
1. Sketch Your Design
Start by sketching your floral layout lightly with chalk.
For inspiration, you can:
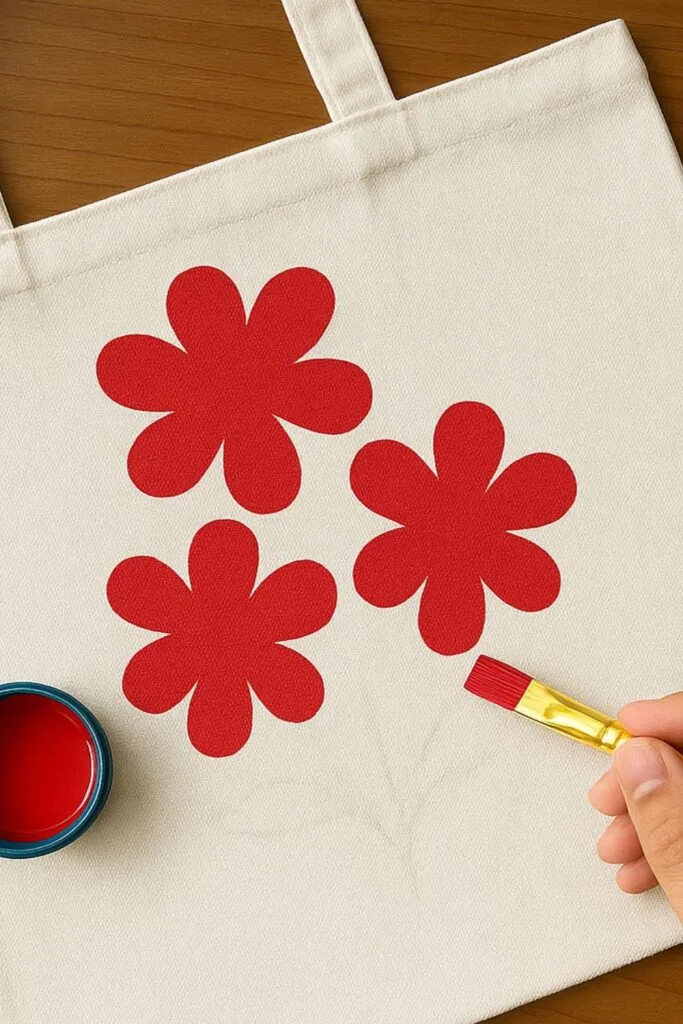
- Cluster three large flowers in the center
- Add smaller accent flowers around
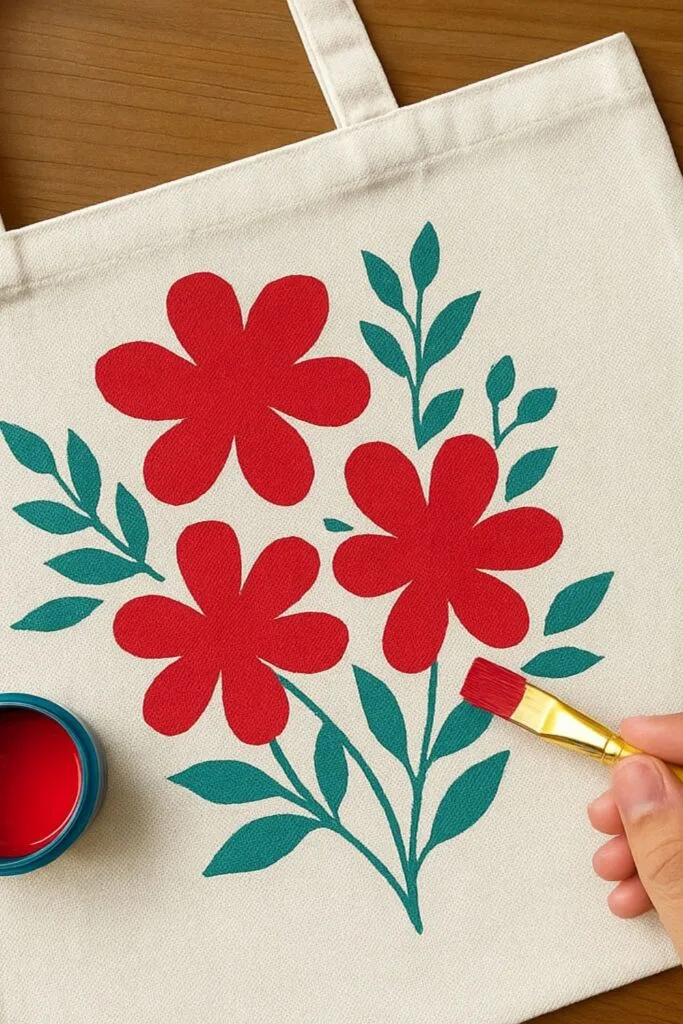
- Draw leafy vines to frame the flowers
You don’t have to be perfect! Think of it like doodling.


2. Paint the Flowers
Using your chosen paint colors:
- Paint the flower petals first with a medium brush.
- Start with lighter colors and layer darker shades for depth.
- Let the petals dry completely.
Tip: Mixing a little white into your base color makes lovely highlights!

3. Add the Leaves
Once the flowers are dry, paint your greenery:
- Use a small brush for clean lines.
- Try two shades of green to make the leaves pop.
This is where you can have fun experimenting with different shapes and patterns.

4. Highlight and Outline
For extra definition:
- Add tiny white highlights to the petals and leaves.
- Use a fine-tip marker or thin brush to outline your flowers and vines.
- Add little dots or mini flowers to fill empty spaces.
Outlining gives your design that pretty finished look!


Easy Flower Painting Ideas for Your Tote
If you want even more cute tote bag design ideas, try these:
- Daisy chain with pastel petals
- Wildflowers in rainbow colors
- Sunflowers with big golden blooms
- Lavender sprigs for a rustic look
- Boho-style tropical flowers
You can easily mix and match styles to make your own signature tote!
Tips for Making Your Tote Last
- Always let your paint dry for at least 24 hours.
- Heat-set the design by ironing it with parchment paper on top.
- Wash your tote gently by hand or on a delicate cycle.
Following these steps keeps your artwork looking vibrant and fresh.
Related Posts You’ll Love
- Creative Ways to Make Denim Flowers for Your Home Decor
- Creative Painted Plant Pot Ideas to Brighten Your Space
- Easy Air Dry Clay Projects Every Beginner Must Try
Ready to Craft Even More?
Painting your own floral tote bag is such a fun, low-pressure way to bring a little handmade beauty into your everyday life.
If you’re looking for more easy creative projects, check out how to make a DIY farmers market painted tote bag that anyone can master. It’s packed with even more simple ideas to keep your crafting momentum going!
