
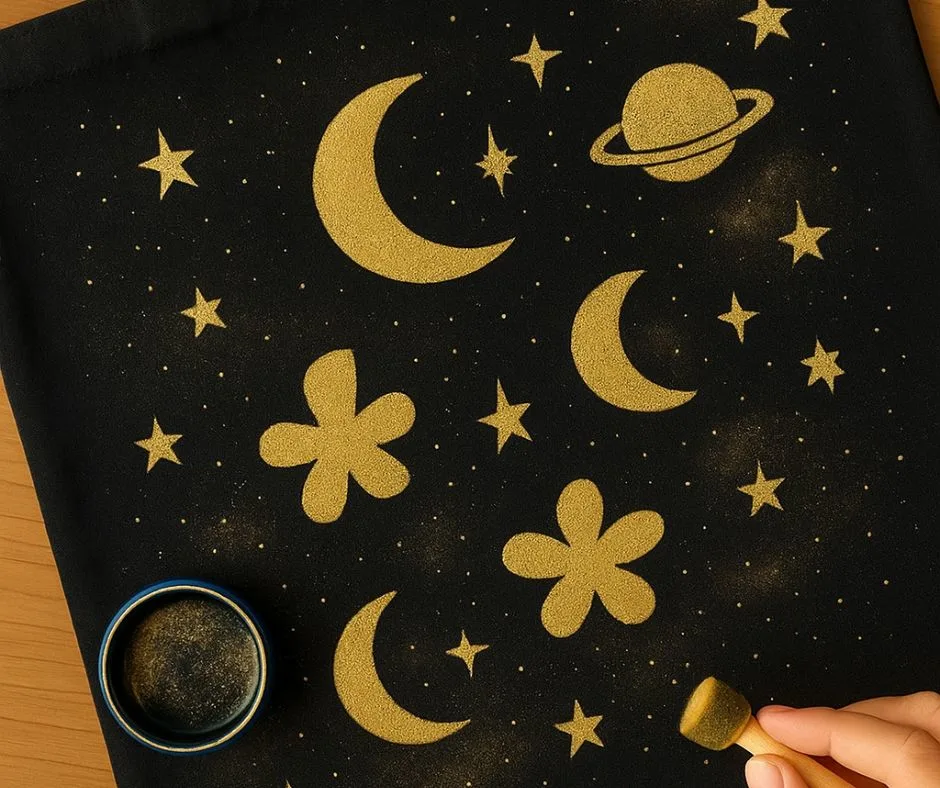
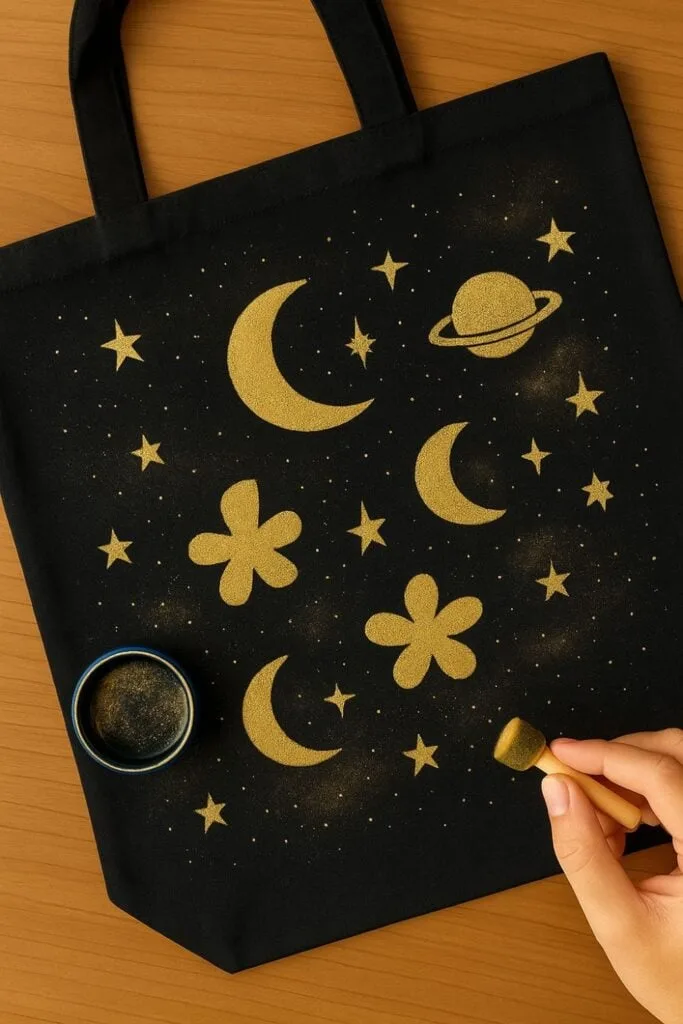
DIY galaxy painted tote bags are a super fun way to add a bold, magical twist to your accessories. I’ve always loved anything celestial — stars, moons, planets — and when I realized I could paint my own galaxy tote, it became one of my favorite quick projects.
If you’re looking for an easy craft that feels a little extra special, this one’s perfect for you. Plus, it looks so professional once it’s finished!
If you’re more into florals, you might love this DIY floral painted tote bag tutorial that shows how to create a bright and colorful design instead!

I get commissions for purchases made through some of the links in this post. There is no extra cost to you. See my full disclosure here.
Supplies You’ll Need
Before you dive into creating your cosmic masterpiece, gather these simple supplies:
- Black canvas tote bag
- Metallic acrylic paints (gold, silver, and white)
- Small detail paintbrushes
- Sponge or sponge brush (for galaxy clouds)
- Paint palette or paper plate
- Piece of chalk (optional for sketching moon shapes)
- Cardboard insert (to prevent paint from bleeding through)
You don’t need a ton of materials — just a few paints and a little imagination!
How to Paint a Galaxy Tote Bag
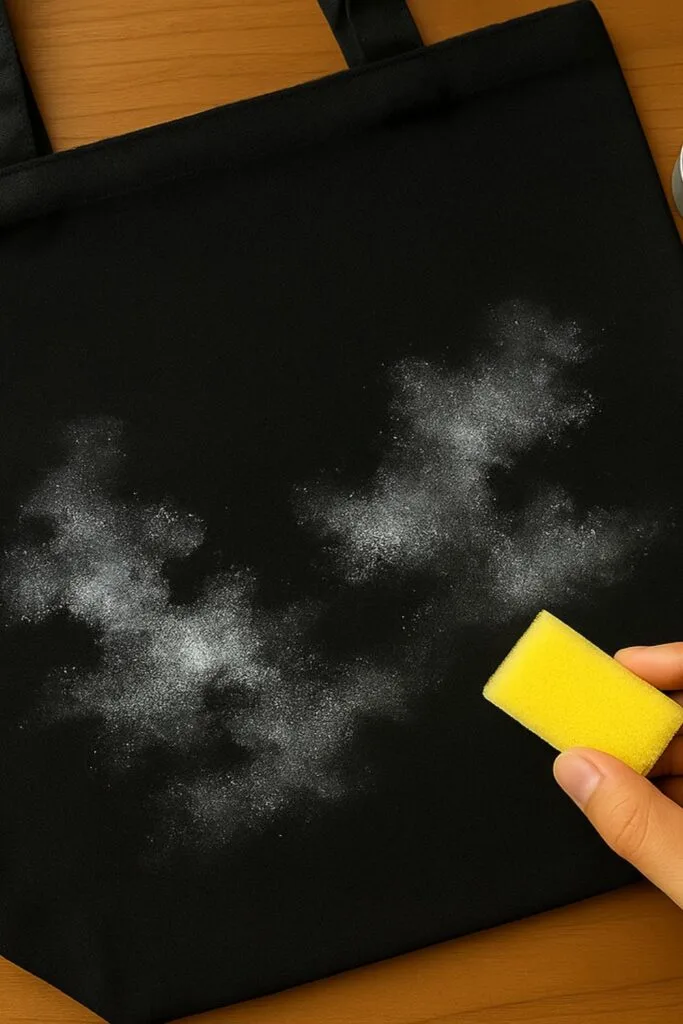
1. Create a Starry Background
- Use a sponge to lightly dab white and silver paint across sections of the tote.
- Focus on blending soft cloud shapes to look like a swirling galaxy.
- Leave some areas black for contrast.
Tip: Less is more — you want it to look light and dreamy, not completely covered!

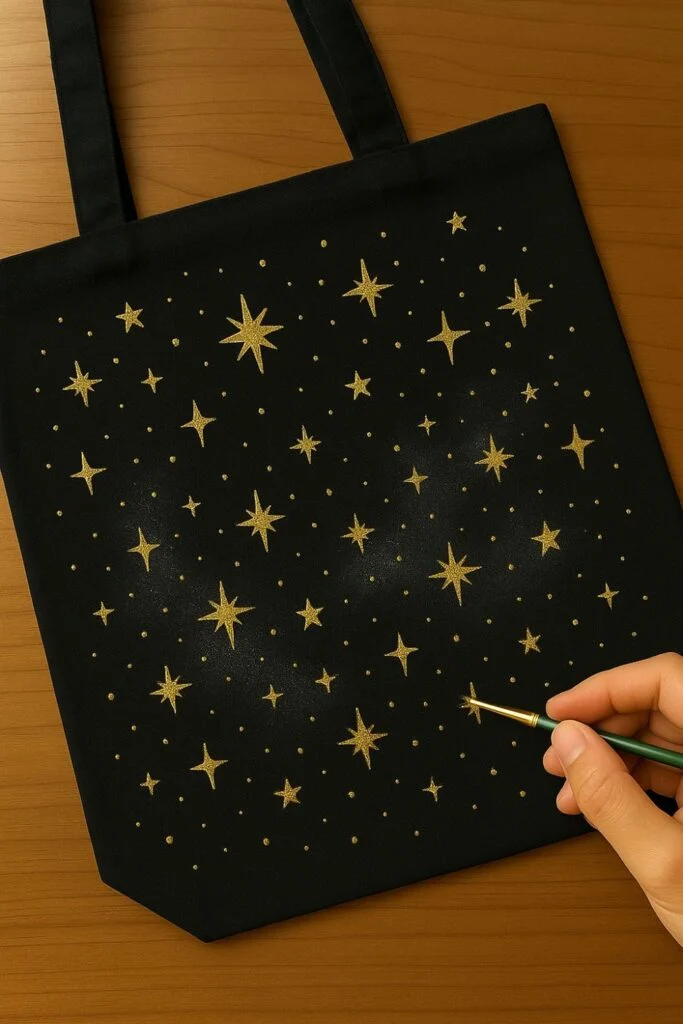
2. Add Gold Stars
- Use a small brush to dot gold stars across your galaxy background.
- Vary the sizes: some tiny, some a little bigger for depth.
You can even “flick” paint off a stiff brush for a realistic starburst effect!

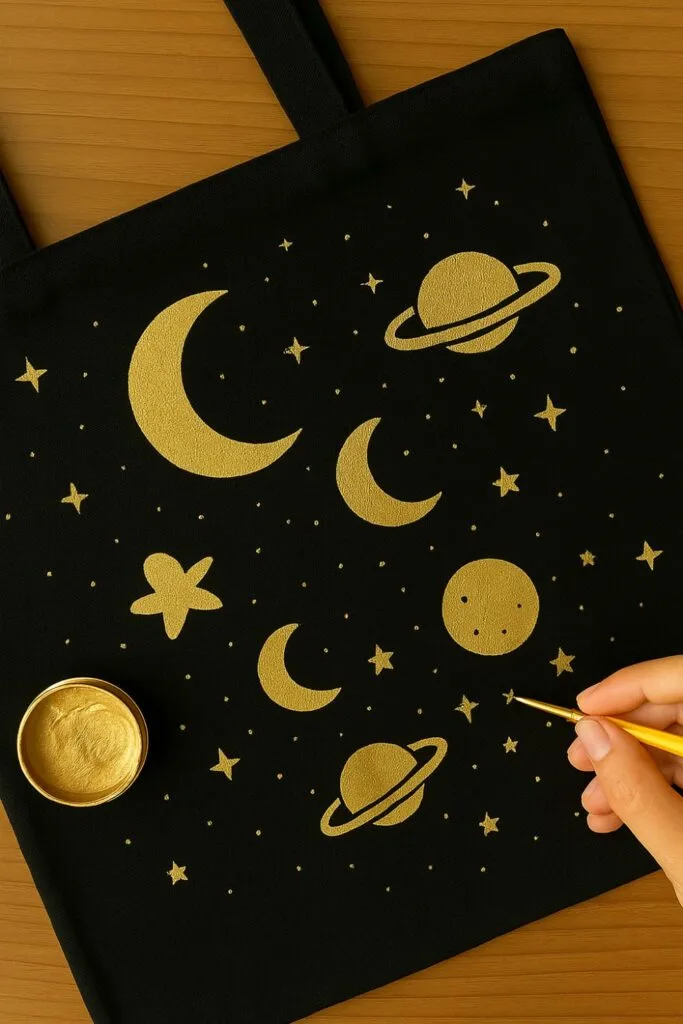
3. Paint the Moons and Planets
- Sketch a few crescent moons or small planets using chalk first if you want a guide.
- Carefully paint over the chalk sketches with gold paint.
- Add small white accents for craters or glow effects.
Don’t worry about making it perfect—celestial designs are supposed to feel whimsical!

4. Add Extra Shimmer
- Once the stars and moons are dry, go back and add a few tiny gold dots around your main designs.
- You can also lightly sponge a little gold in some cloud areas for that extra cosmic glow.
This step really pulls the whole galaxy look together!

Galaxy Painting Ideas for Your Tote
Want to customize your celestial tote even more? Here are some fun ideas:
- Add constellations (like Orion or Cassiopeia)
- Include a bright shooting star
- Paint a little gold sun peeking out from the corner
- Use glow-in-the-dark paint for a fun surprise at night!
The possibilities are endless once you start playing with galaxy themes!
Tips for a Long-Lasting Design
- Let each layer of paint dry fully before adding new stars or moons.
- Heat-set your tote by ironing it with parchment paper on top after it dries for 24 hours.
- Hand wash your tote bag gently to protect your painted design.
These steps will keep your galaxy tote looking out-of-this-world amazing for months (or even years)!
Related Posts You’ll Love
- Creative Painted Plant Pot Ideas to Brighten Your Space
- Creative Ways to Make Denim Flowers for Your Home Decor
- Best Crafts to 3D Print and Sell
Make Your Own Galaxy Magic
Painting a bold black tote bag with golden stars and moons is an easy way to turn a plain bag into something totally magical. If you’re excited to try even more beginner-friendly DIY bag designs, be sure to check out how to make a DIY painted tote bag that anyone can master for more simple and beautiful ideas!
