How to Personalize Dollar Tree Finds with Your Laser Cutter
Ever look at the aisles at Dollar Tree and think, “I could totally make that cuter”? If so, this post is for you.
We’re diving into how to personalize Dollar Tree items using your laser cutter—perfect for creating customized gifts, classroom treats, or even items to sell.
When I first started with my diode laser, I had no clue I could use it on something as simple (and cheap!) as a wooden pencil. But once I figured out how to make a jig and run multiple engraves in one go, it felt like magic.
Whether you’re using an Ortur or another beginner-friendly diode laser, you can turn plain finds into wow-worthy crafts with just a little prep and patience.

I get commissions for purchases made through some of the links in this post. There is no extra cost to you. See my full disclosure here.
Supplies You’ll Need
- Diode laser cutter (like xTool or Glowforge)
- LightBurn or other compatible software
- Dollar Tree items (pencils, mugs, clear containers, etc.)
- Cardboard for jig
- Heat-safe vinyl or permanent marker (for non-laser projects)
- Painter’s tape or magnets (for jig stability)
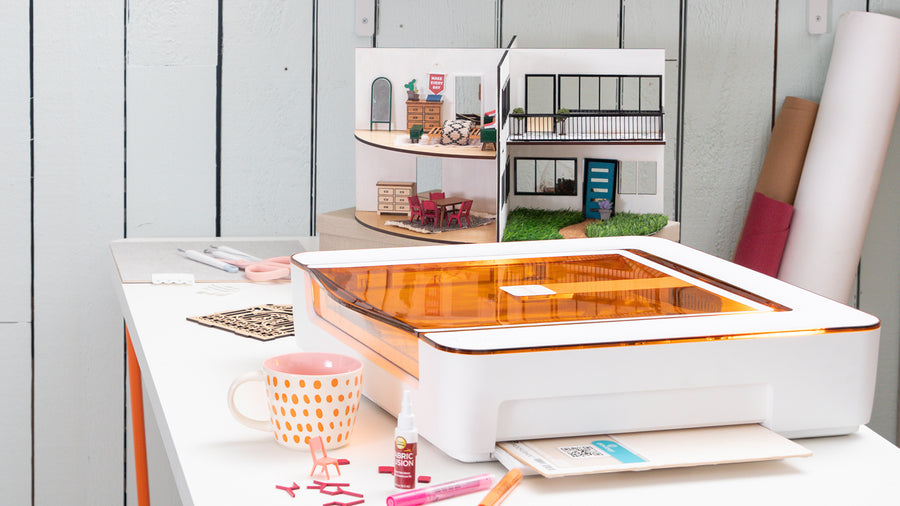
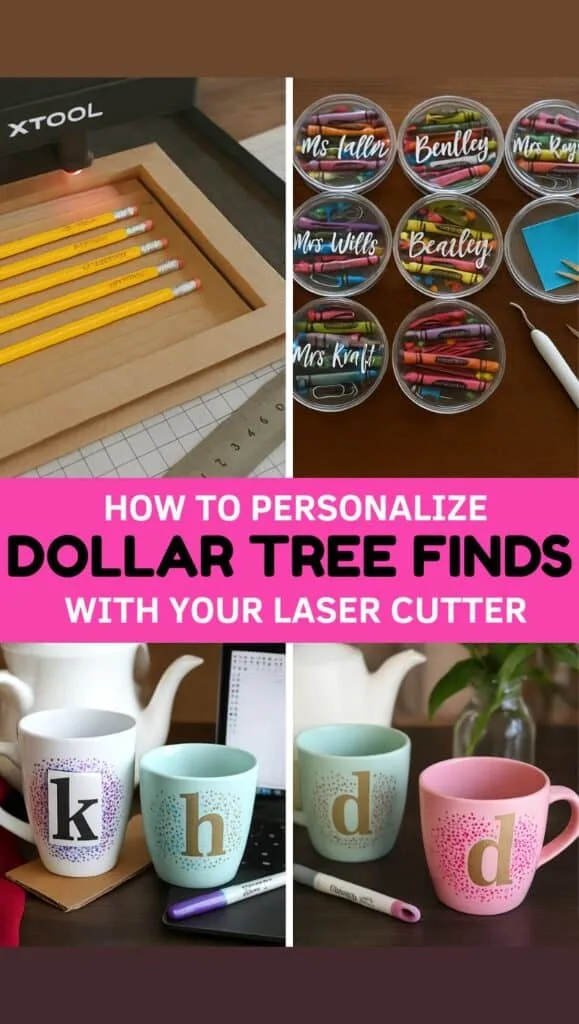
1. Engraved Dollar Tree Pencils
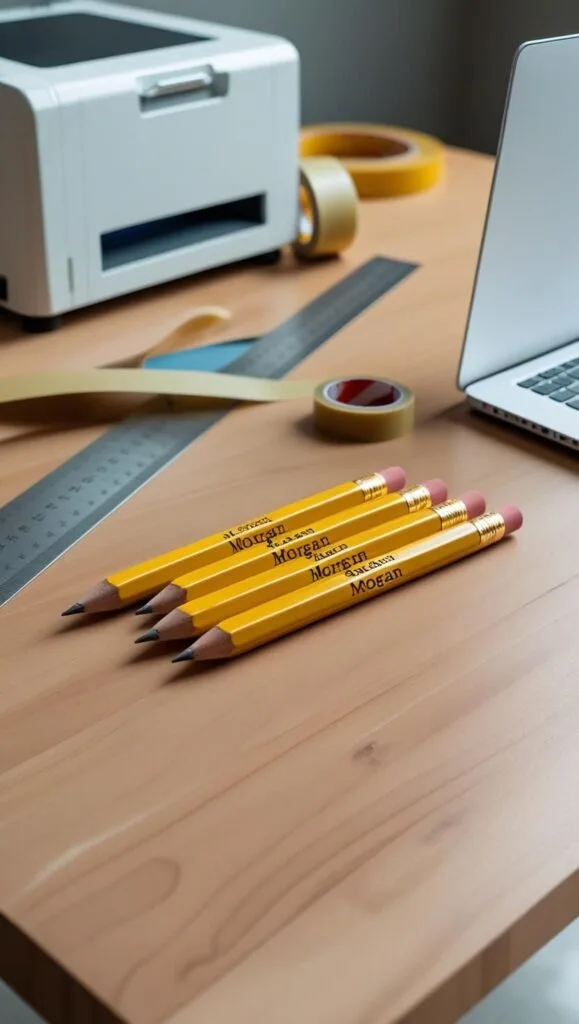
These are great as teacher gifts, kid rewards, or personalized classroom tools.

Step-by-Step Instructions
- Design Your Jig
In Inkscape or LightBurn, create a rectangle that fits several pencils. Add narrow slots to hold the pencils in place. - Align Your Jig
Cut your jig out of cardboard. Align it in your laser bed using a laser crosshair or manually with your machine’s frame. - Customize Your Text
Add short phrases like “Ms. Rivera’s Room” or “You Got This!” and place the text near the pencil’s eraser side so it stays visible longer. - Engrave and Repeat
Run your laser job and watch the pencils transform! You can engrave 5–6 at a time using your jig.
This is a perfect craft if you’re testing your laser cutter’s capabilities and want something both functional and fun.
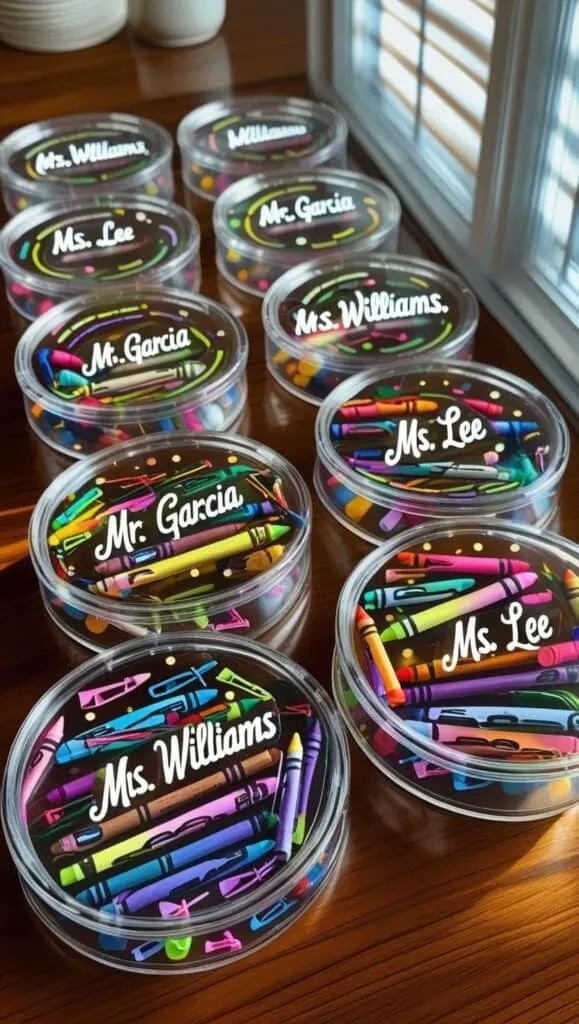
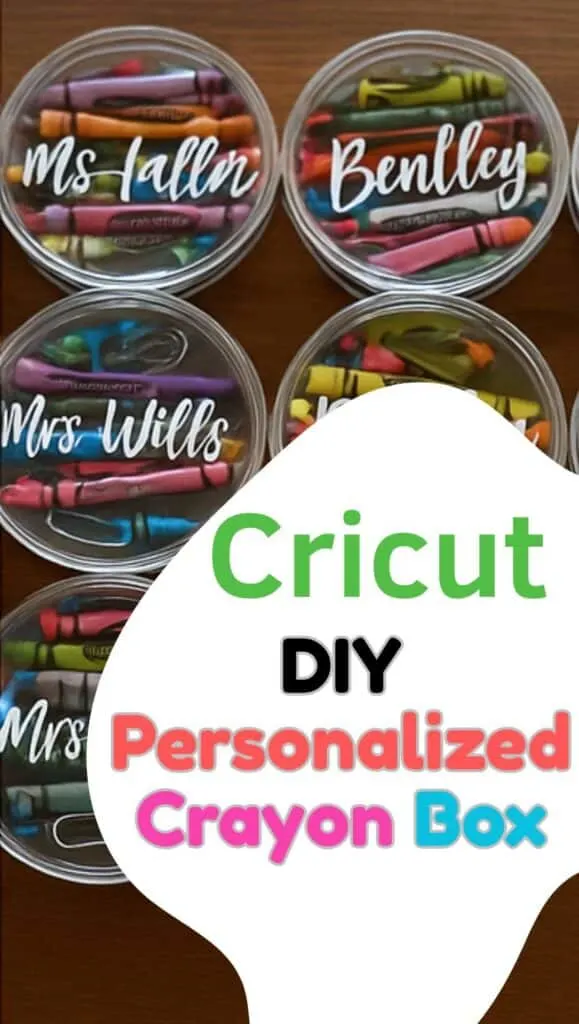
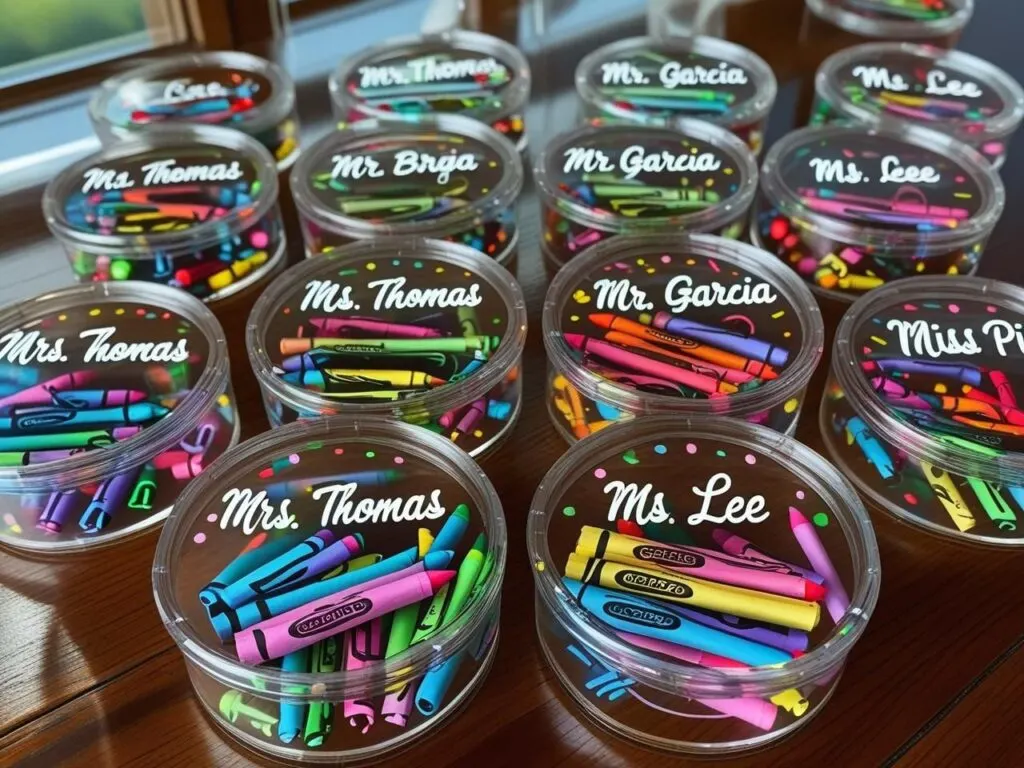
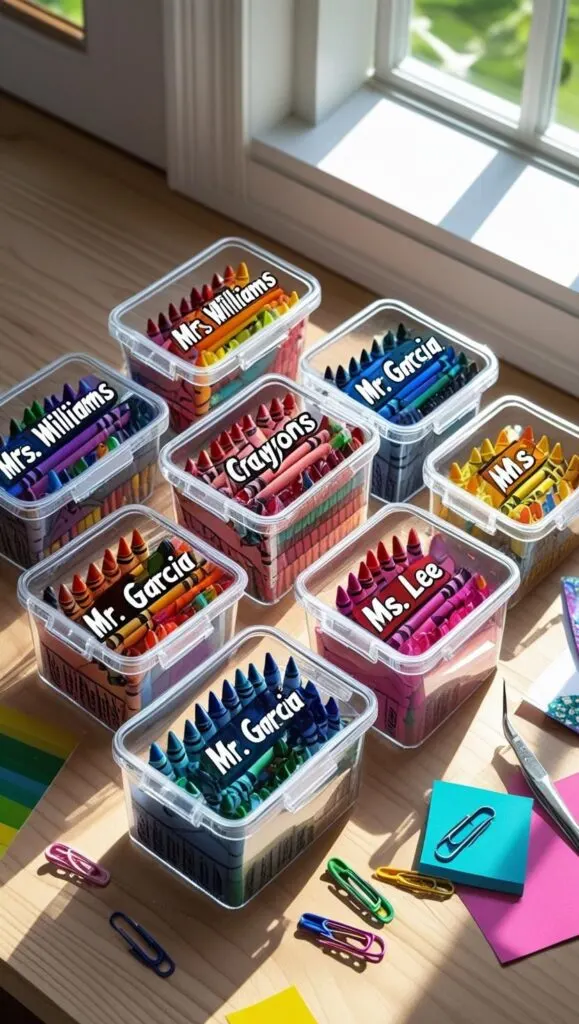
2. Custom Name Crayon Containers
Just grab some round Dollar Tree containers, add Crayola crayons and school supplies inside, and use vinyl or a paint pen to personalize the lids.

How to Make It
- Cut names using your Cricut or laser with vinyl.
- Fill the containers with mini crayons, clips, and thumbtacks.
- Apply the name decal directly to the lid.
These are budget-friendly gifts for back-to-school, especially if you’re a teacher, daycare provider, or crafty mom. Here is a full tutorial of how to make them.
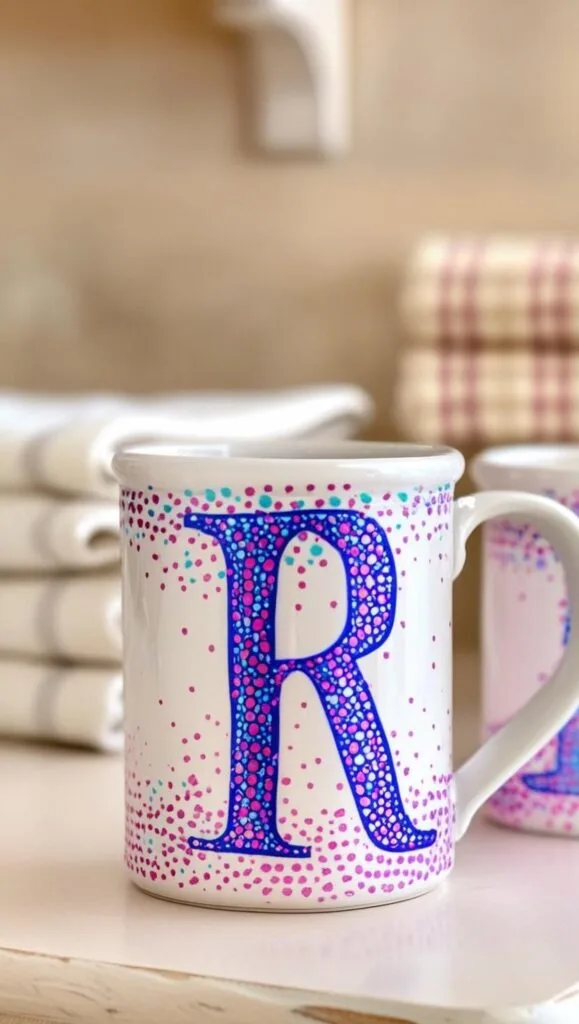
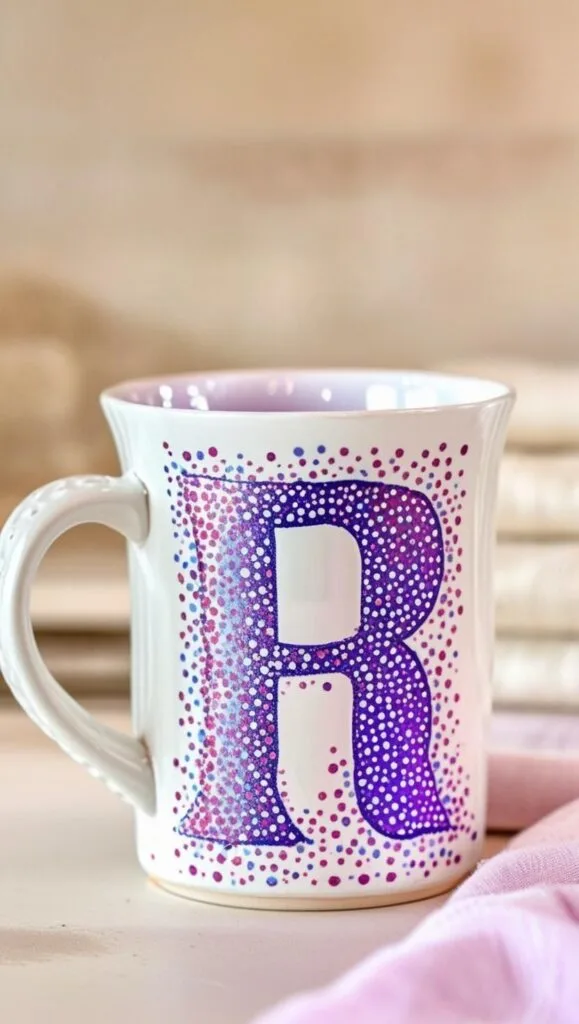
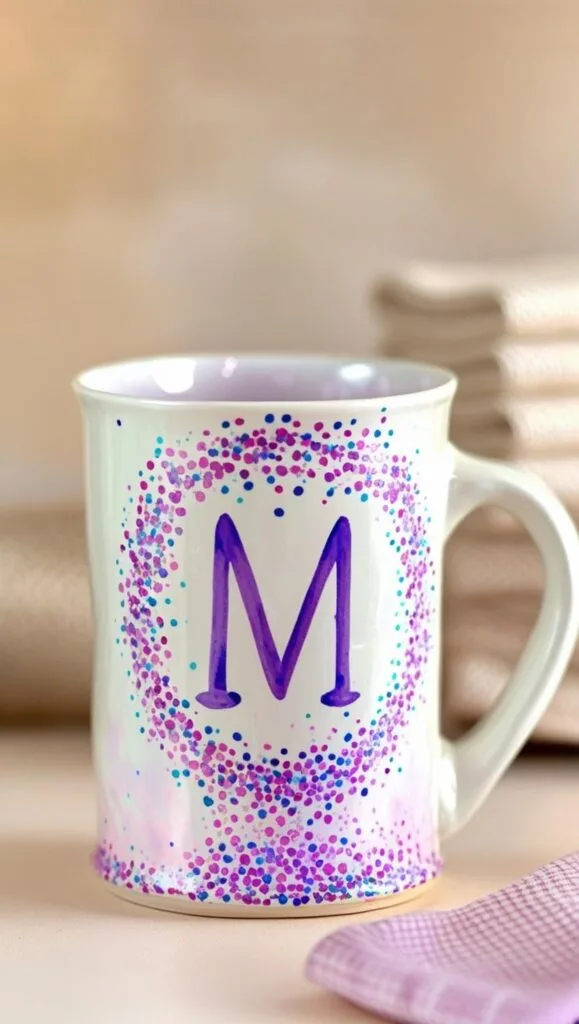
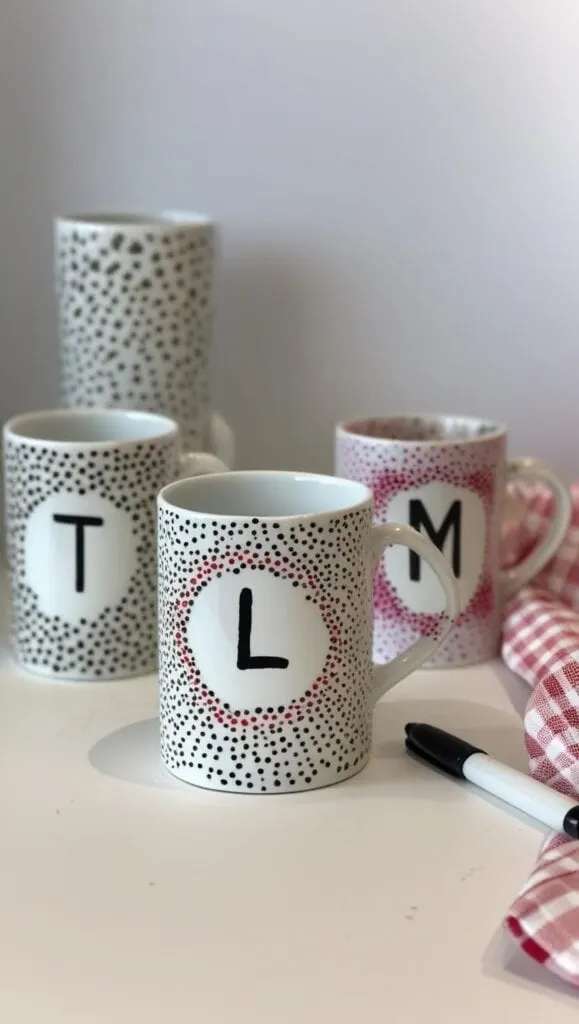
3. Sharpie Dot Mugs That Are Dishwasher Safe
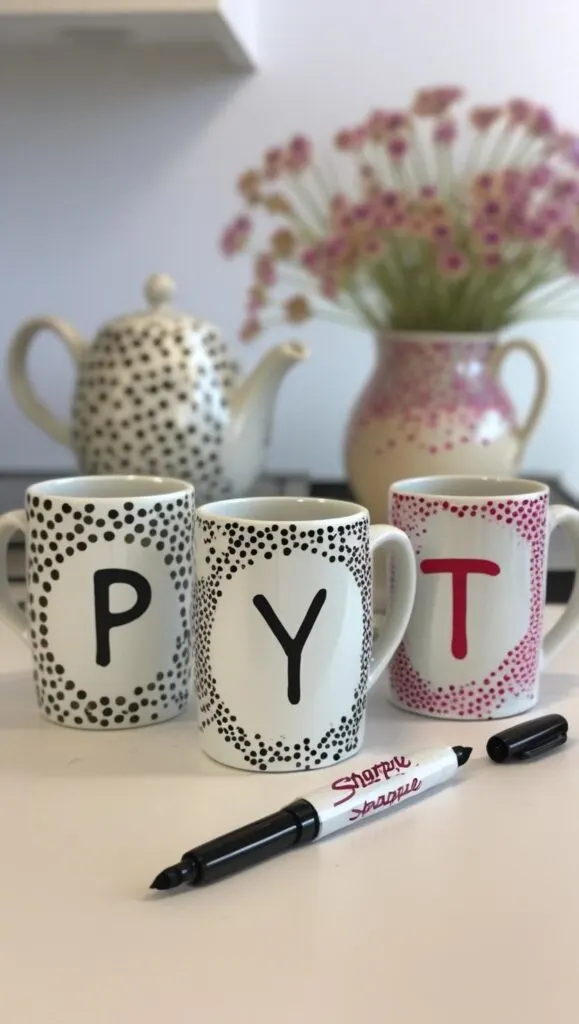
These dotted mugs with initials are always a crowd-pleaser and make great birthday or teacher gifts.

Steps to Make It Last
- Pick up plain Dollar Tree mugs.
- Add a vinyl or stencil letter to the center.
- Use oil-based Sharpie markers to make colorful dots around the stencil.
- Remove the stencil once dry.
- Bake the mugs at 350°F for 30 minutes to seal in the design.
Want to sell them? Try pairing the mug with a small packet of coffee or hot cocoa and wrap it in cellophane.
Bonus Tips for Success
- Always test your engraves on scrap before doing the full batch.
- When working with round objects, keep the design area flat and centered.
- Dollar Tree inventory varies, so stock up when you find good blanks.
What to Make Next
If you’re feeling inspired to try even more customized gifts, I highly recommend reading my tips on laser engraving projects and most profitable crafts to sell.
These guides will help you take your personalized Dollar Tree items to the next level—whether you’re gifting or growing a side hustle.
Conclusion
Personalizing Dollar Tree finds is a fun and affordable way to get the most out of your laser cutter. From school gifts to mugs and beyond, you don’t need a huge budget to make something truly special.
I love how these small projects let me try new techniques without the fear of wasting expensive materials. If you’re curious about exploring even more ideas like this, check out how I started creating my own designs with this guide on how to create SVG files for Cricut.