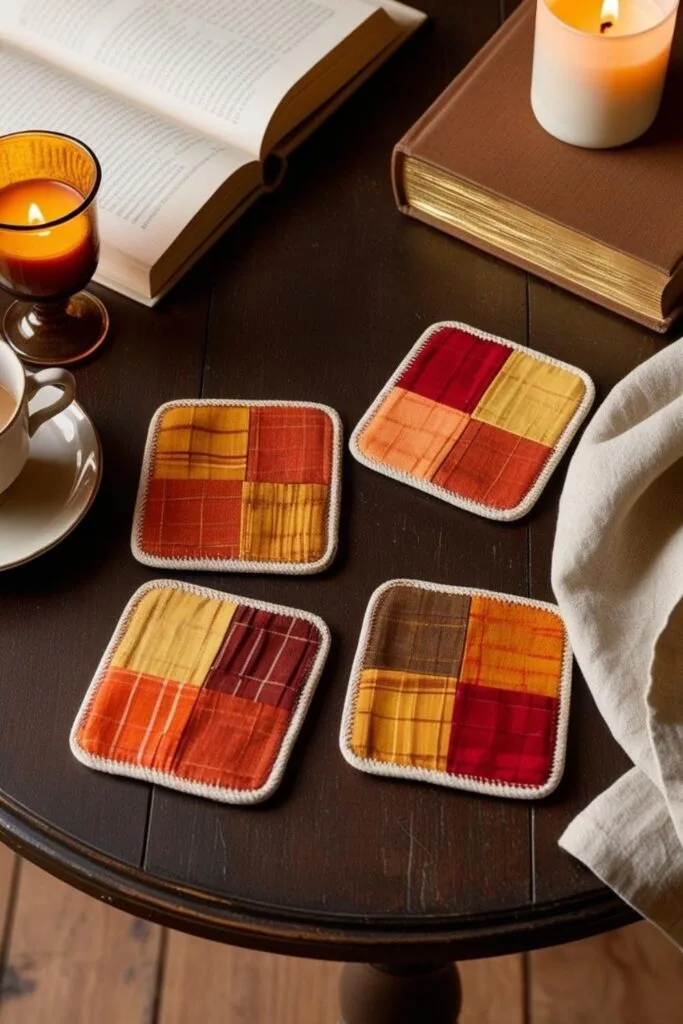
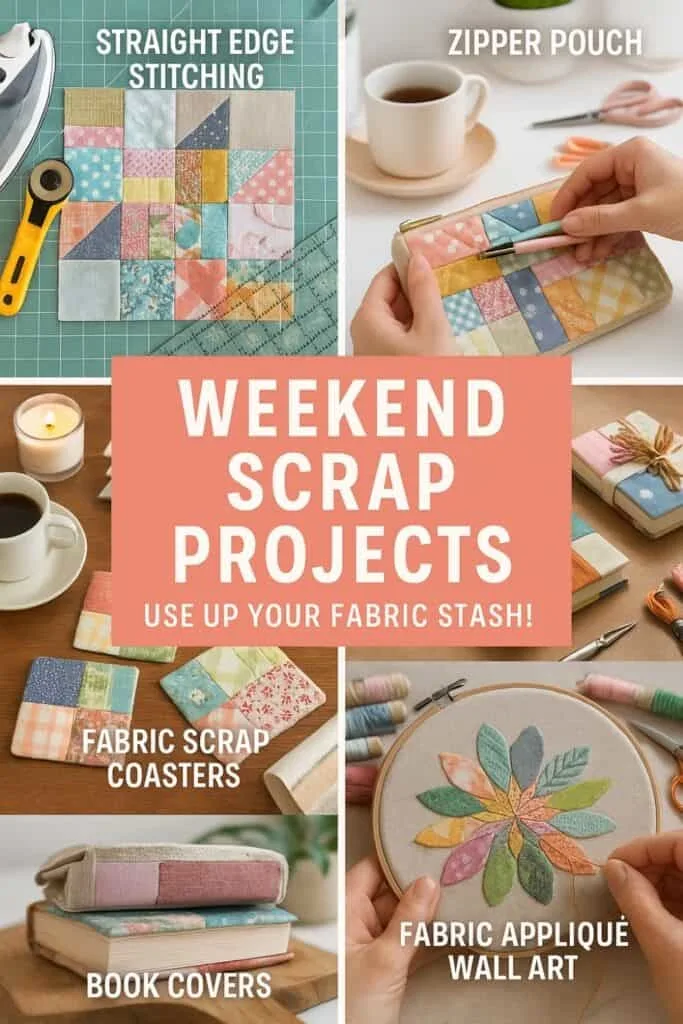
Got Fabric Scraps? Here’s What to Do With Them
If you’re anything like me, you’ve got a drawer (or three) full of colorful fabric scraps that are “too cute to toss” but not quite big enough for a full project. This post is for you.
These DIY fabric scrap projects are beginner-friendly, budget-conscious, and best of all, you can finish them in a single weekend.
I tried this fun scrap technique from a recent YouTube video and it completely transformed the way I look at my fabric stash.
Whether you’re making gifts, prepping for a craft fair, or just looking for a relaxing creative break, I’ve got you covered.

I get commissions for purchases made through some of the links in this post. There is no extra cost to you. See my full disclosure here.
Supplies You’ll Need
Before you dive in, gather these supplies:
- Fabric scraps (variety of prints and textures)
- Iron and ironing board
- Rotary cutter or fabric scissors
- Quilting ruler or straight edge
- Cutting mat
- Sewing machine (or needle and thread for hand sewing)
- Optional: Pins or clips
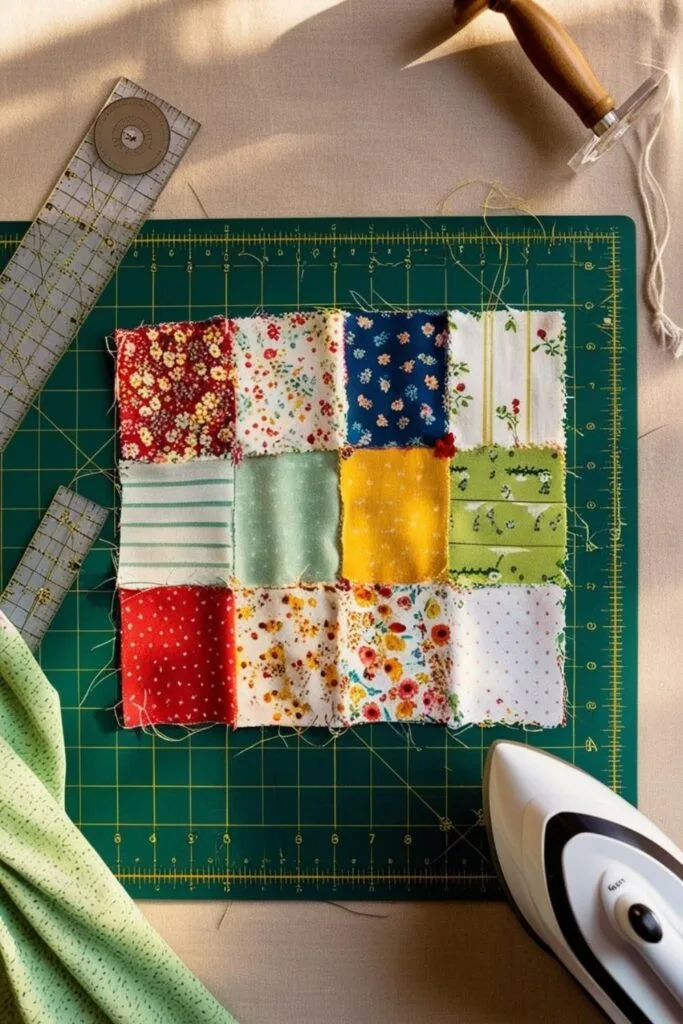
1. The Straight Edge Stitching Technique
The magic of this fabric scrap technique is in its simplicity. You only need one rule: sew straight edges to straight edges. Here’s how it works:
Step-by-Step Instructions:
- Sort your scraps – Pick colors or patterns that vibe together.
- Choose 2 pieces – Align straight edges and place right sides together.
- Sew along the edge – Use a straight stitch. No need to pin unless it helps.
- Press open – A quick finger press or iron will help your seams lay flat.
- Trim edges straight – Use your rotary cutter to clean up any jagged edges.
- Add another scrap – Keep building out your fabric like a patchwork puzzle.
👉 Tip: When your piece gets large enough, you can cut it into smaller shapes like hearts, hexagons, or strips for more projects!

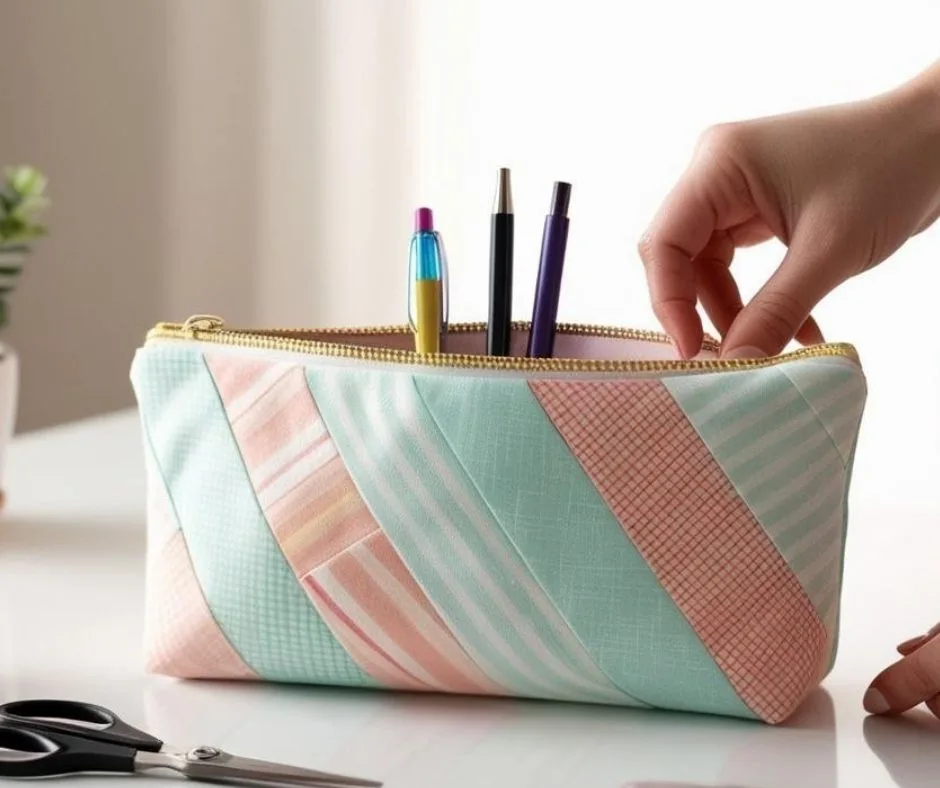
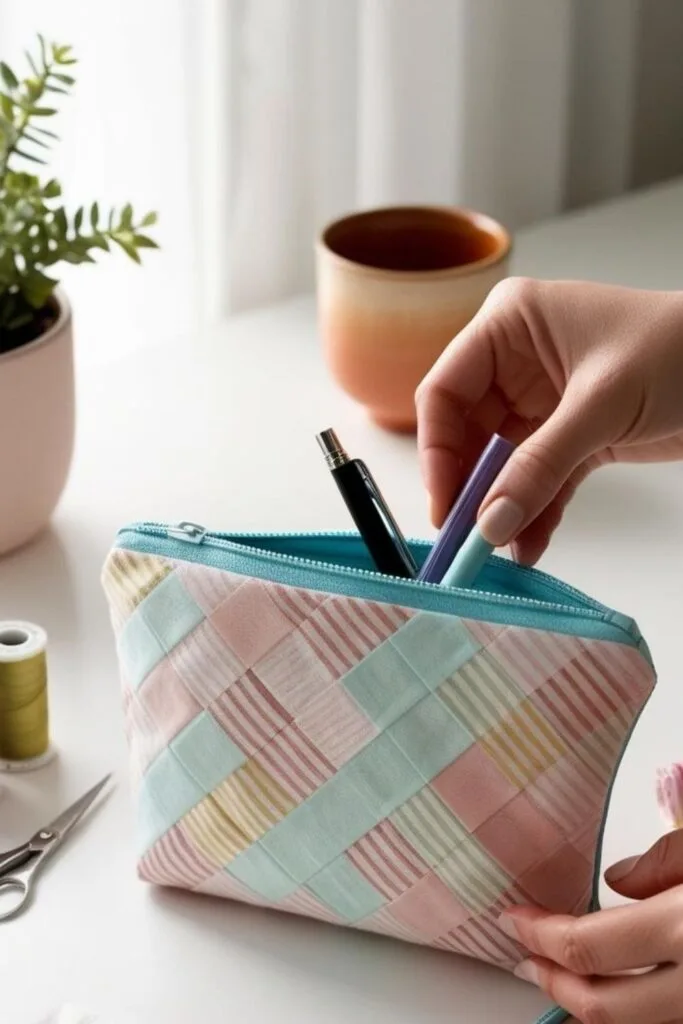
2. Make a Zipper Pouch
Once your patchwork is complete, trim it down to the size you need and turn it into a cute zippered pouch. These are perfect for makeup, pencils, or small gifts.
- Cut your fabric panel to 8”x5”
- Add interfacing or lining (optional)
- Attach a zipper and sew up the sides
For a full beginner pouch guide, you might also like these profitable sewing crafts to sell.

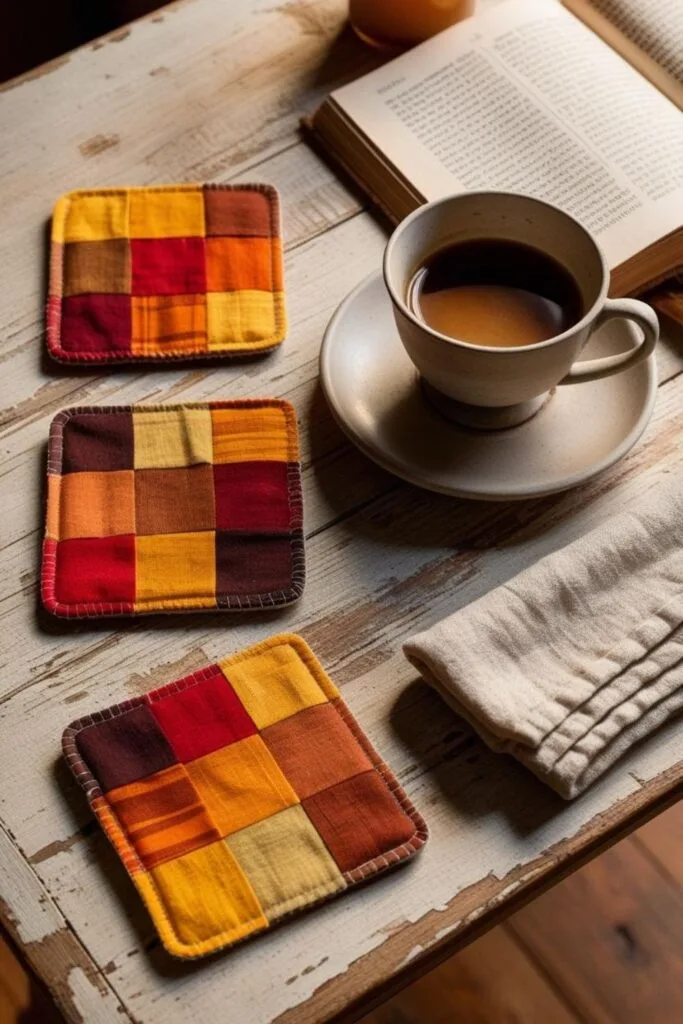
3. Turn Your Scraps Into Coasters
One of my favorite weekend projects is turning leftover fabric into quilted coasters. They’re quick, giftable, and give you a chance to play with your color combos.
Quick Instructions:
- Trim your scrap panel to 4″x4″
- Add batting and backing
- Quilt with diagonal or spiral stitches
- Sew around the edge and flip right side out
Try pairing this idea with our easy air dry clay crafts for a full handmade gift set.

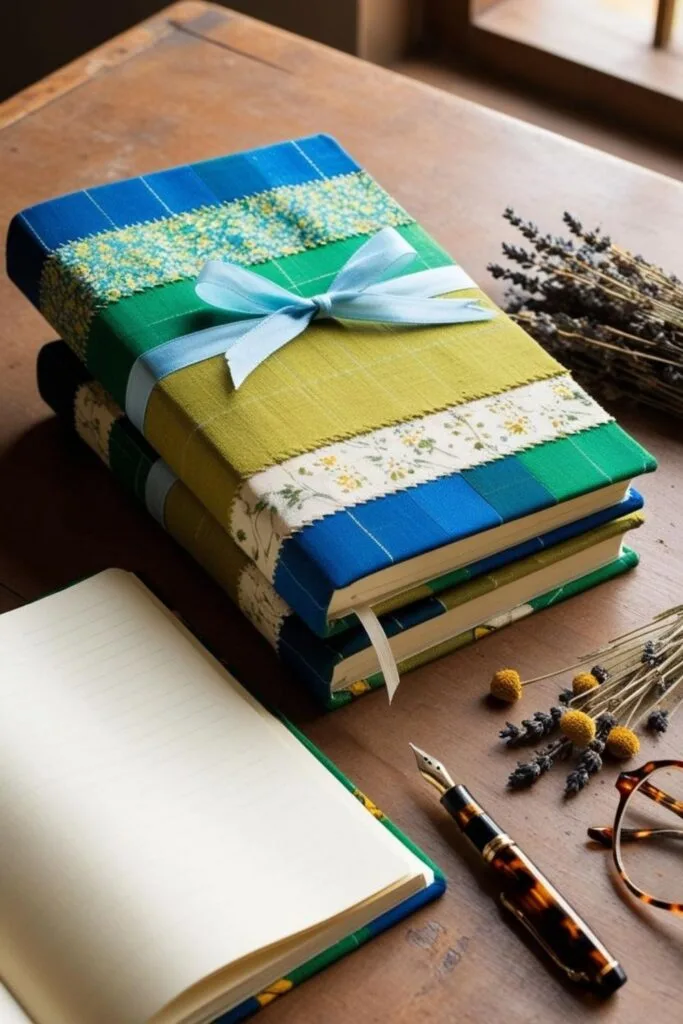
4. Fabric Scrap Book Covers
Don’t throw out those smaller pieces—turn them into stunning patchwork book or journal covers. They’re perfect for gifts or even back-to-school.
How To:
- Cut your panel to fit the size of your notebook plus seam allowance
- Fold and hem edges, add elastic or ribbon closure
- Slip it over your notebook—done!
If you’re a planner girl or love bullet journaling, this one’s for you.

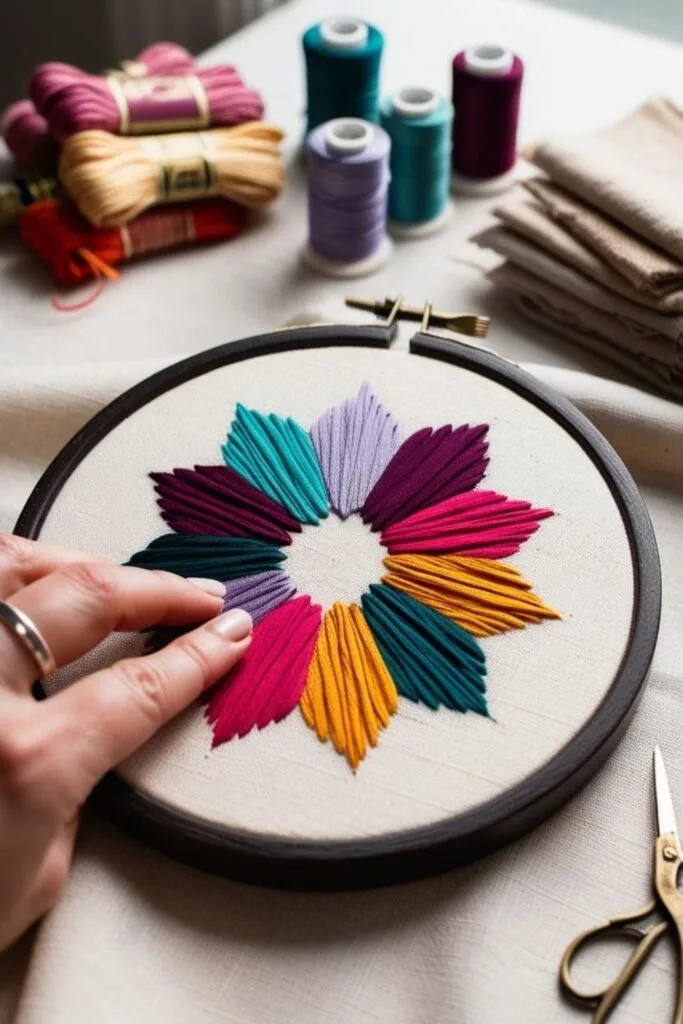
5. Fabric Appliqué Wall Art
Use petal-shaped scraps to stitch floral or mandala-inspired designs onto linen or canvas. Frame it, gift it, or hang it above your craft desk!
Check out this creative denim flower tutorial if you’re into fabric florals.

What I Love About This Technique
- No measuring required
- Totally customizable
- Helps you reduce waste
- Looks fancy but it’s super simple
This method feels like fabric improv—you don’t need a plan. Just keep sewing, pressing, and trimming until you love what you see.
Ready to Turn Scraps Into Something You’ll Actually Use?
If you love this kind of upcycle craft, you’ll also enjoy my post on how to create SVG files for Cricut. I use that method to turn digital art into cutting templates for fabric, vinyl, and paper!