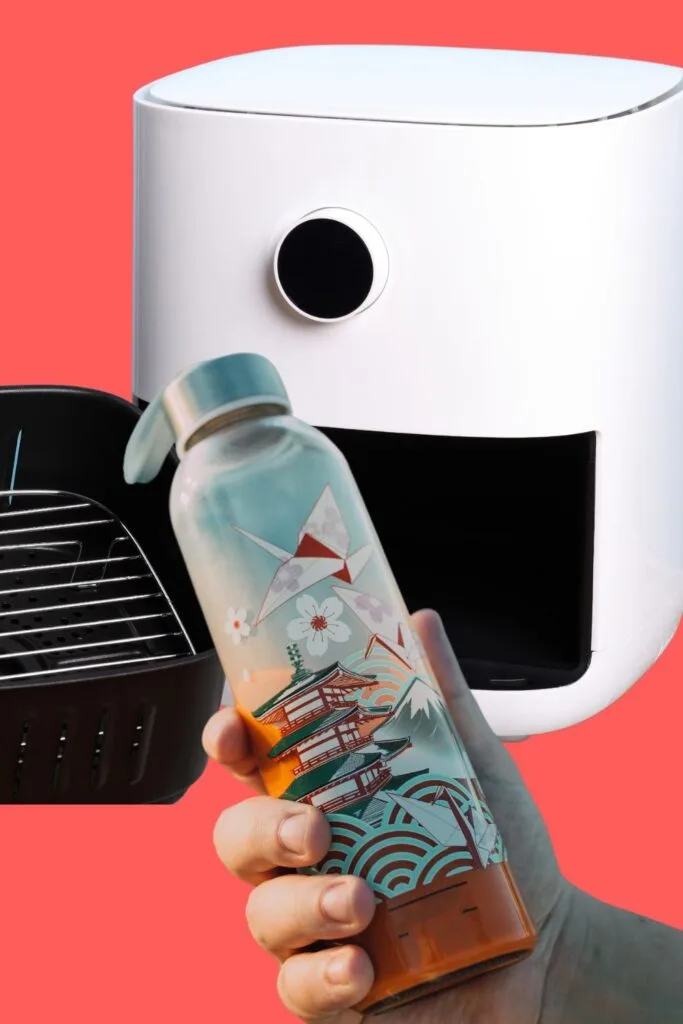
This is How Long to Sublimate a Tumbler in an Air Fryer
Did you know that your regular kitchen air fryer can be a handy tool for sublimating tumblers? Yes, that’s right!
You know that an air fryer lets you make quick delicious meals. Well, it can also be an essential part of your craft making.
However, it’s crucial to know the correct time and temperature to use for sublimating a tumbler in an air fryer. You certainly don’t want to risk burning your beautiful design by leaving it in for too long.
You can use the easy steps below to create a tumbler in about 15 minutes. All without having to buy a tumbler press, or special ink printer.


Tools and Optional Supplies
Here’s a list of the tools you’ll need:
- Countertop air fryer
- Sublimation printer
- Heat resistant gloves
- Sublimation paper
- Blank tumblers (20 or 30 ounces)
- Sublimation ink
- Heat tape
- Shrink wrap (shrink wrap sleeves or tubes)
- Sublimation design (make it or buy it from a design marketplace)
- Heat gun
- Rubbing alcohol
- Coffee filter paper
- Thermometer (optional for regular air fryers)
- Paper trimmer


I get commissions for purchases made through some of the links in this post. There is no extra cost to you. See my full disclosure here.
How long do you sublimate a tumbler in the air fryer?
The recommended sublimation time range is between 4-7 minutes. However, this can vary depending on the brand of sublimation paper used.
Let your air fryer heat up to 380 degrees Fahrenheit for about five minutes. Then, put your tumbler in, and after two minutes, open it up and turn it about 180 degrees halfway.
Then, close it back up, set the timer for two more minutes, and repeat the process for a total of six minutes at 380 degrees.
Don’t have shrink wrap sleeves? Watch the video below to see how to do it with only tape. Pay attention to the tips about lining up the design before you stick it into the air fryer.
Different Baking Times to sublimate in an air fryer
It’s important to note that you may need to experiment a bit to find your preferred method. Different temperature settings and air fryers will give you varying results.
If you have some roughness on your cup, that means that you baked it too long.
If you have some areas where the ink is kind of muddled or the white is coming through, that means you didn’t have the image tight enough on your cup. So next time, try making it tighter.


Can I Use a Regular Oven?
Yes, you can use a kitchen oven with a convection fan for higher temperatures. However, having a dedicated small air fryer for crafting can be more convenient.
Do I Need to Shrink Wrap It?
Shrink wrapping the sublimation paper is the best way to get a tight and secure design.
I recommend using pre-cut shrink wrap sleeves for easy application and removal.
This method is compatible with skinny tumblers, coffee mugs, glass soda cans, water bottles, stainless steel tumblers, and ceramic mugs.


Facts and Common Questions
The recommended temperature for sublimating in an air fryer is 450 degrees Fahrenheit, adjusting to 400 degrees when placing the tumbler inside. Use a thermometer to read the exact temperature.
Conclusion
Using an air fryer for sublimation is totally doable. You don’t need a dedicated tumbler press. Plus the air fryer is easy and efficient. It’s a quick process that saves time and will give you beautiful results.
The satisfaction of making a pretty tumbler so quickly that has no bubbles on it is worth it.


Want to save this post for later?
Pin this post to your favorite sublimation tips board on Pinterest!
Feel free to add a picture of your craft or to write a comment if you tried it.
More Creative Craft Ideas!
If you enjoyed this quick and easy guide to sublimating tumblers, I hope you’ll check out my other easy DIY craft ideas!
Learn how to make money with sublimation printing or discover the best software to use for sublimation. There’s so much out there waiting for you to make.