
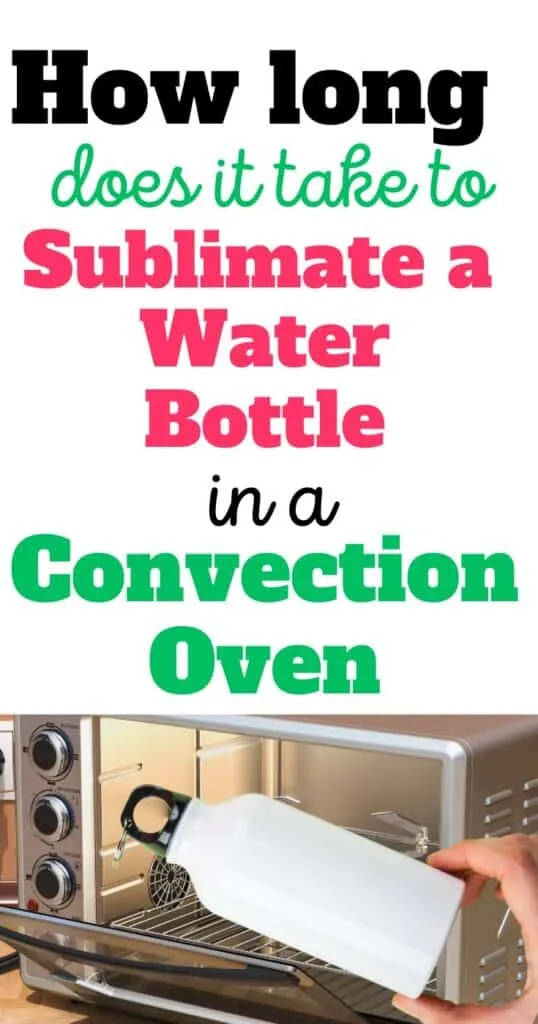
This is How Long to Sublimate a Water Bottle in a Convection Oven
Do you need to know the right amount of time to sublimate a water bottle for your next project? Sublimation is a great way to personalize your water bottle with your own unique design.
Sublimation is an innovative printing technique that allows you to transfer vibrant designs onto various materials, including water bottles. It’s fun and easy to do.
However, to get the best results, you need to know the right way to sublimate your water bottle.
One of the most common methods is using a convection oven, but how long should you leave the bottle in there to achieve perfect sublimation? It’s a critical question, and in this blog post, I’ll go over exactly what you need to know about getting the temperature and timing right to sublimate a water bottle in a convection oven.
Follow these tips and tricks to help you avoid common mistakes. So, let’s get started and make your water bottle stand out from the crowd!

Tools and Optional Supplies
Before we dive into the process of sublimating a water bottle blank, let’s take a look at the tools and supplies you will need.
Tools:
- Countertop convection oven
- sublimation printer
- Heat resistant gloves
- Shrink wrap sleeves
- Heat gun
- Sublimation paper
- Blank metal water bottles
- Sublimation ink
- Heat tape
- Sublimation design
Optional Supplies:
- Thermometer


I get commissions for purchases made through some of the links in this post. There is no extra cost to you. See my full disclosure here.
Why This Sublimation Time Calculator is Useful:
- Time-Saving: Say goodbye to guesswork and constant checking.
- Efficiency: Want to plan your crafting day like a pro? Knowing the time each project takes can help.
- Beginner-Friendly: New to crafting? This tool gives you a leg up in mastering time management.
Sublimation Time Calculator
The calculator estimates the time needed for the sublimation process based on your sublimation blank. Keep in mind, that this is just an estimate. 🕒



How long do you sublimate a water bottle blank?
Once you have placed the design on the bottle and sealed it with the shrink wrap sleeve you’re ready to sublimate it inside the oven.
Put the bottle toward the back of the oven. If your design doesn’t cover the whole bottle then make sure that the part with the design is facing the back of the oven. If you’re using a full wrap design, then it doesn’t matter which direction you place the bottle in.
The sublimation process typically takes about 8 minutes.
If 8 minutes is not long enough for your design, then try different times depending on your oven.
Do I Need a Digital Convection Oven?
Unless you have a digital convection oven, you won’t be able to see the exact temperature, so I suggest that you stick a thermometer inside the oven to make sure that it’s at the right temperature.
If you have a digital convection oven, this is not necessary as the temperature can easily be read on the display panel.
Different Baking Times to Sublimate in a Convection Oven
There is no one-size-fits-all approach to sublimation. Different ovens and temperature settings give varying results. Therefore, it is important to test out different times.
Can I use my Kitchen Oven?
You can use your kitchen oven to sublimate an aluminum water bottle but it’s not recommended.
The toxic fumes may linger in the oven and you don’t want that mixing in with your food.
How Can a Convection Oven Same Me Time?
Having a separate sublimation oven in your craft room means that you can create your sublimations without running to the kitchen every 10 minutes. If you’re making several bottles, this can save you a lot of time.
Do I Need to Shrink Wrap the Water Bottles?
You’ll need to use shrink wrap on your water bottles before putting them in the oven..
You can either buy a huge roll or get pre-cut shrink wrap sleeves.
Find out which method works for the following sublimation blanks:
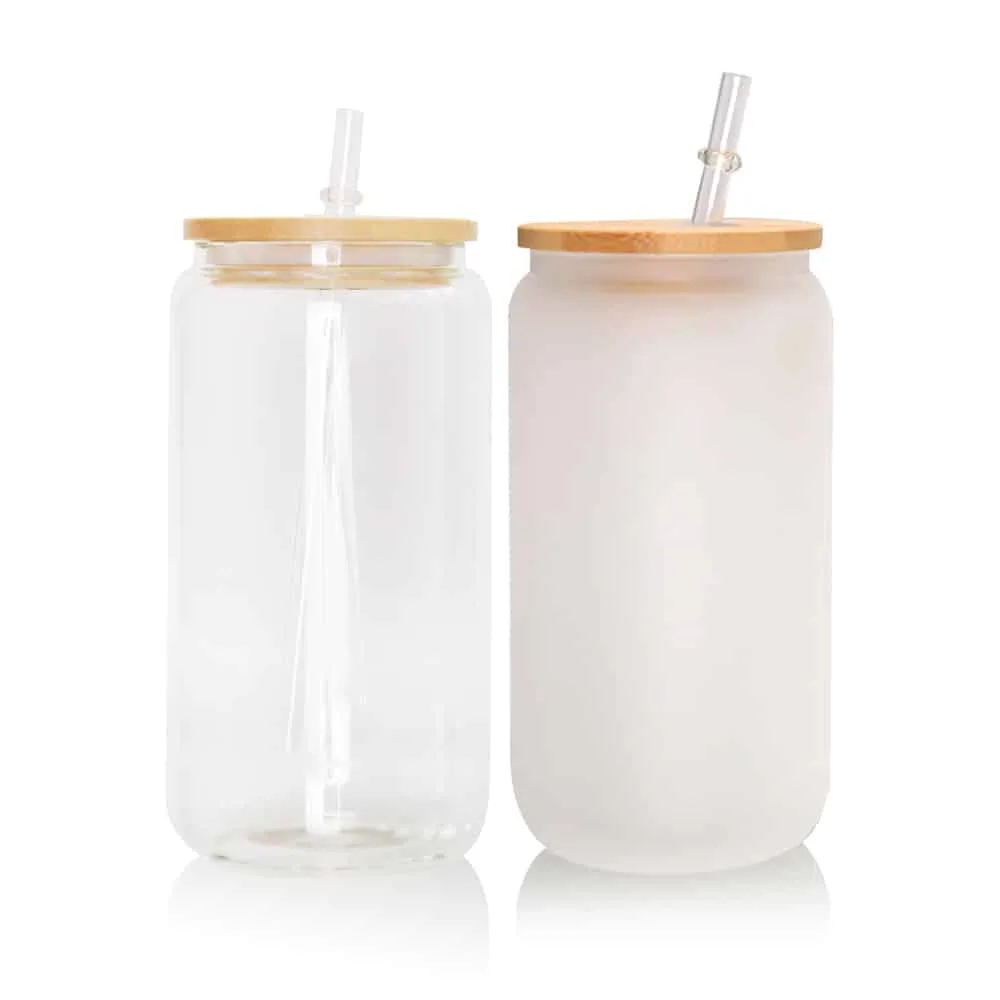
- Glass soda cans
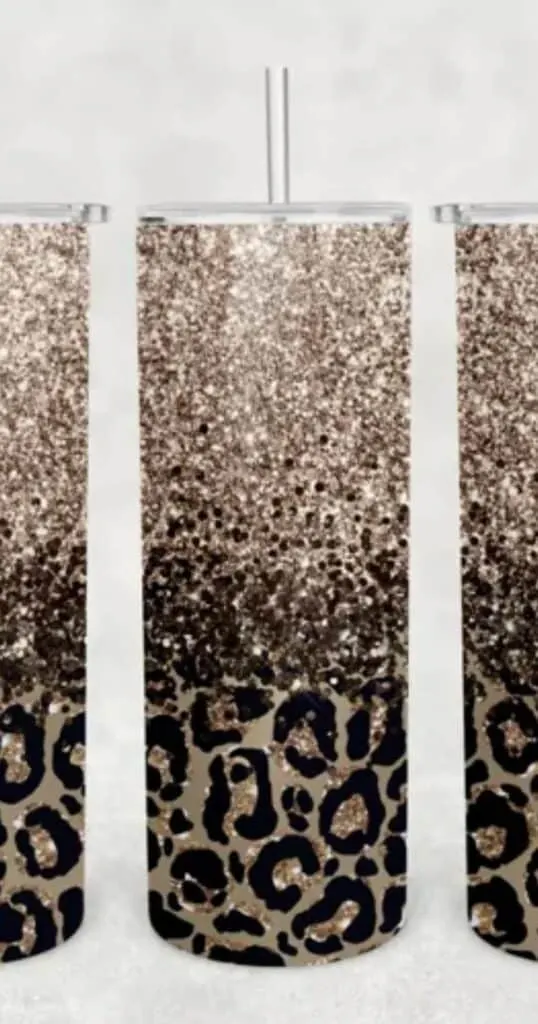
- tapered tumbler
- stainless steel flasks
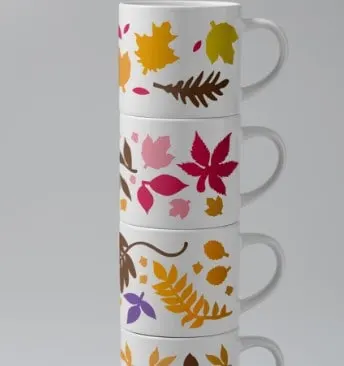
- coffee mugs
- sippy cups
Facts and Common Questions
Heat the oven to 375 degrees Fahrenheit. To make sure that it’s at the right temperature, you can leave a meat thermometer inside the oven or use a digital thermometer reader.
It’s best to let the water bottle cool down before you unwrap the sublimation paper.
Conclusion
Sublimating a water bottle in a convection oven is a great way to create unique and personalized drinkware.
Finding the right temperature, time, and pressure settings can take some trial and error, but with practice and patience, you can create beautiful and long-lasting designs.
Whether you’re looking to add some fun to your water bottle collection or to create custom gifts for loved ones, sublimation in a convection oven is a fun and rewarding process. So, grab your favorite design, a quality water bottle, and make something today!
Want to save this post for later? Pin it to your favorite Sublimation board on Pinterest!
You probably won’t remember all of this so go ahead and pin the post to your sublimation tips board on Pinterest.
More creative craft ideas!
Need help to fix sublimation mistakes or maybe you want to upgrade your mug press, then either one of these blog posts will give you all the deets!
