
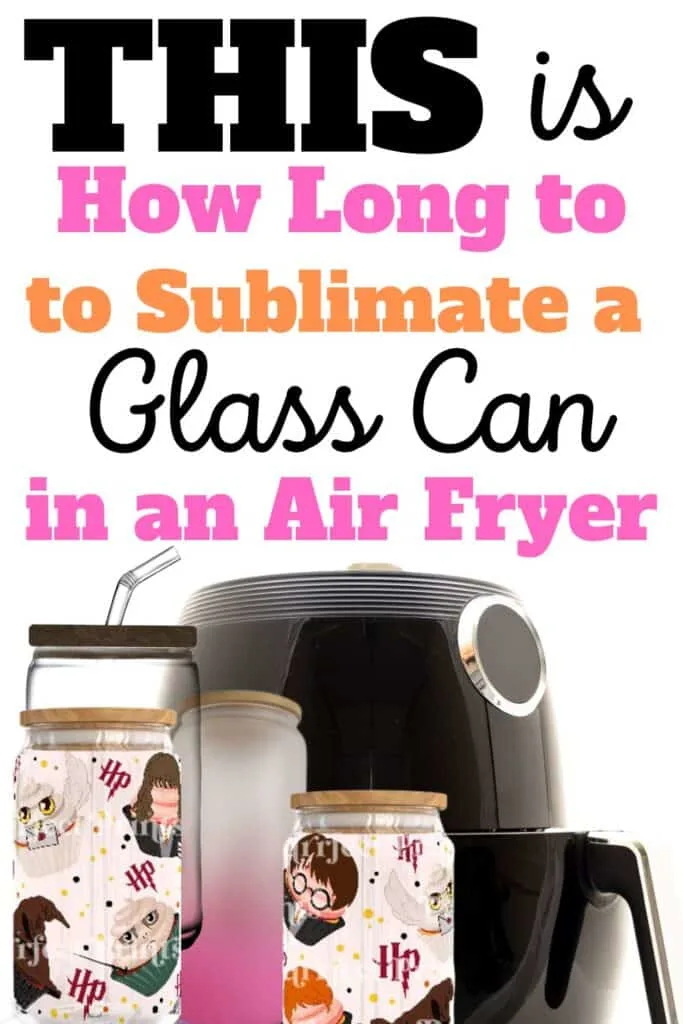
This is How Long to Sublimate Glass Cans in an Air Fryer: The Ultimate Guide
Ever wondered if you can use an air fryer to get your favorite sublimation images on a glass can? Well, in the world of sublimation there are so many possibilities!
This process, which is gaining popularity among craft enthusiasts and small business owners, allows you to convert your digital images into vibrant, full-color designs on glass surfaces.
As a seasoned digital illustrator and maker I love learning about new ways to get images onto stuff. Especially the unexpected!

I get commissions for purchases made through some of the links in this post. There is no extra cost to you. See my full disclosure here.
Use Your Air Fryer to Make Crafts
Today, I’m excited to share this innovative technique of sublimating glass cans using an air fryer with you.
I’ll guide you through the process of preparing your images, converting them into a format suitable for sublimation, and transferring them onto glass cans using an air fryer.
Additionally, I’ll share some best practices for optimizing your sublimation process to achieve the most vibrant, durable results.
Whether you’re looking to create unique gifts, start a new hobby, or even launch a small business, this guide to sublimating glass cans in an air fryer is a great place to start. Let’s dive in!
Understanding the Sublimation Process
Sublimation is a process where a solid turns into a gas without going through the liquid stage. In the context of crafting, sublimation involves using special ink and heat to transfer designs onto various materials, including glass.
The heat causes the sublimation ink to turn into a gas, which then permeates the surface of the material, creating a permanent, vibrant design.
Preparing for Sublimation in an Air Fryer
Choosing the right air fryer for sublimation is crucial. It’s important to note that once an air fryer is used for sublimation, you might not want to use it for food preparation anymore.
Also, the air fryer needs to be able to reach a temperature of 380 degrees Fahrenheit (193 degrees Celsius), which is the optimal temperature for sublimating glass cans.
Tools to Sublimate Glass Cans
Here are the supplies needed for sublimating a glass can in an air fryer:
- Sublimation Printer: This is a special type of printer that uses sublimation ink to print your desired image.
- Sublimation Ink: This is a unique type of ink that turns into gas when heated, allowing it to permeate the surface of the material and create a permanent, vibrant design.
- Sublimation Paper: This is a special type of paper that is used to print your image before transferring it onto the glass can.
- Glass Can: The can needs to be sublimation-ready, meaning it is suitable for the sublimation process.
- Heat-Resistant Tape: This is used to securely attach the printed image onto the glass can.
- Air Fryer: The air fryer is used to heat the glass can and facilitate the sublimation process. It needs to be able to reach a temperature of 193 degrees Celsius.
- Parchment Paper: This is used to protect the air fryer during the sublimation process.
- Heat-Resistant Gloves: These are necessary to protect your hands from the heat when handling the glass can after sublimation.
- Silicone Bands (optional): These can be used to help secure the sublimation paper onto the glass can, especially if the can has a curved surface.


Determining Time and Temperature
The time and temperature required for sublimation can vary depending on several factors, including the type of material you’re sublimating, the specific design you’re transferring, and the type of sublimation ink and paper you’re using.
As a general guideline, sublimating a glass can in an air fryer typically requires a high temperature.
Step-by-Step Guide to Sublimating a Glass Can in an Air Fryer
1. Design preparation
The first step in the sublimation process is to print your desired image using a sublimation printer and sublimation ink. The image should be mirrored or in reverse to ensure it transfers correctly onto the glass can.
2. Wrapping the glass can with sublimation paper
Clean the glass can and ensure it is sublimation-ready. Tape the printed image tightly onto the glass can using heat-resistant tape, making sure it is straight and securely attached.
3. Prepping the air fryer
Preheat the air fryer to 380 F degrees and place parchment paper inside to protect the fryer. Make sure that you have good ventilation in the room.
4. Setting the temperature and time
Make sure the temperature of the air fryer is still at 380 degrees Fahrenheit and place the glass can inside the preheated air fryer. Leave the glass can in there for approximately 9 minutes. This allows the ink to transfer and create a vibrant design.
5. Sublimation process and monitoring
Monitor the sublimation process to ensure the design is transferring correctly.
6. Removing the sublimation paper and final touches
After the sublimation process, allow the glass can to cool completely. Carefully peel off the tape and paper to reveal the sublimated design on the glass can.
Troubleshooting and Tips for Successful Sublimation
Sublimation is a relatively straightforward process, but it can sometimes present challenges.
Common issues include colors not transferring correctly, designs appearing faded or blurry, and the sublimation paper not adhering properly to the glass can. Here are ways to fix sublimation mistakes on glass.
Safety Considerations and Maintenance
Safety is always important when sublimating in an air fryer. Here are some tips to keep in mind:
- Always use heat-resistant gloves to protect your hands
- Make sure you’re in a well-ventilated environment
- Clean the air fryer thoroughly to remove any residual ink or paper
Frequently Asked Questions about Sublimating Glass in an Air Fryer (FAQs)
It typically takes approximately 8 to 10 minutes to sublimate a glass can in an air fryer. However, this can vary depending on the specific design and materials used.
The optimal temperature for sublimating a glass can in an air fryer is 380 degrees F.
Not all air fryers are suitable for sublimation. Also, once an air fryer is used for sublimation, it should not be used for food preparation anymore.
This depends on the size of your air fryer. If there’s enough space to fit multiple cans without them touching each other, it should be possible. However, overcrowding the air fryer could lead to uneven heat distribution and affect the quality of the sublimation.
Almost any design can be sublimated onto a glass can, from simple text and logos to complex, full-color images. However, designs with bold, vibrant colors tend to work best as they stand out more on the glass surface.
Conclusion
Sublimating glass cans in an air fryer is a fun and creative process that allows you to personalize your items or create unique gifts.
With the right materials and a bit of practice, you can master this technique and create stunning, professional-quality sublimated glass cans.
Whether you’re a newbie or a small business owner looking to expand your product range, sublimating glass cans in an air fryer is a technique worth exploring.
