
Are you ready to learn how to create gorgeous designs with glitter heat transfer vinyl? You’re in the right place!
With your trusty Cricut machine and a sprinkle of creativity, you can make custom designs that will sparkle and shine.
Let’s dive into the ultimate guide to cutting and applying glitter vinyl!
What You’ll Need
Before we start, gather these essential materials:
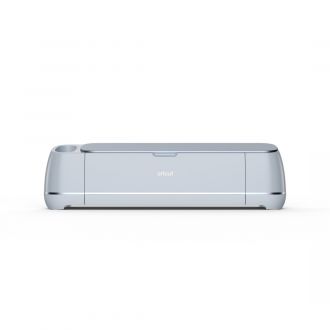
- Cricut machine (Cricut Maker, Cricut Joy, or Cricut Explore Air)
- Cutting mat
- Glitter Vinyl (in different colors if you’d like)
- StrongGrip Transfer Tape
- Weeding tool
I get commissions for purchases made through some of the links in this post. There is no extra cost to you. See my full disclosure here.


🌟Cutting Glitter Vinyl with a Cricut Machine
Ready for the fun part? Let’s start cutting!
- Place the Glitter Vinyl shiny side down on the Cricut mat.
- Choose your cut file in Cricut Design Space, and resize it as needed.
- Load the mat into your Cricut machine, and check the materials menu in Design Space for the correct cut settings. A “kiss cut” will slice through the vinyl film but leave the liner intact.
Once you’ve cut the vinyl, use your weeding tool to remove excess vinyl and reveal the beautiful design. For the next step, grab your StrongGrip Transfer Tape!


Transferring Your Design
- Place the tape sticky side down over the cut design and burnish with a scraper tool. Burnish just means to press out the air bubbles.
- Peel away the vinyl liner at a 45-degree angle. If the vinyl doesn’t separate, burnish the transfer tape onto the vinyl and try again.
Applying Your Glittery Masterpiece
Now it’s time to apply your glitter iron-on design to your project:
- Make sure your base material is clean and dry.
- Carefully position the transfer tape with the design onto the surface.
- Burnish the tape onto the surface, starting in the center and working outwards.
- Peel away the transfer tape from the vinyl at a 45-degree angle for a warm peel or wait until the vinyl cools for a cold peel.
🎉5 Best Practices for Glitter Vinyl Success
Here are some handy tips for working with glitter vinyl:
- Choose the right material for your project. Glitter Vinyl adds sparkle but isn’t ideal for tiny or intricate designs.
- Use a fine point blade for clean cuts.
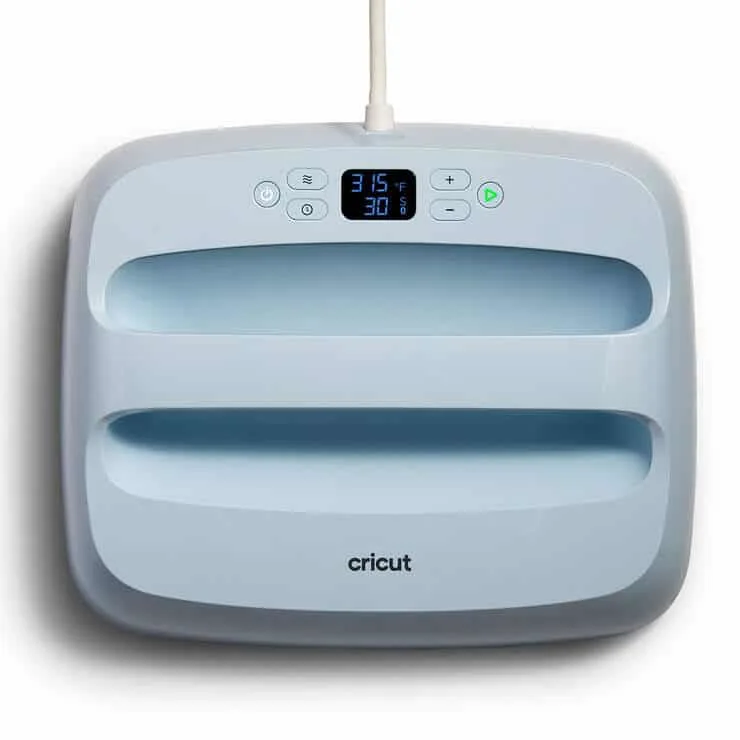
- Apply firm pressure when using a heat source like a Cricut EasyPress or home iron. (Just be aware that the iron may not get hot enough to do a good job).
- Do a test cut to ensure your cut settings are correct.
- Use a Teflon sheet or pressing mat to protect your surface and vinyl.

What’s Next?
With these simple steps, you’ll be dazzling friends and family with your glitter vinyl projects in no time. Don’t forget to show off your creations on social media like a Facebook group or your craft tips board on Pinterest!
And remember, some links in this blog post may be affiliate links. By clicking on them, I may earn a small commission at no cost to you.
Now that you know how to cut your glitter vinyl design, find out how to make your own Cricut svg files in Canva or take a look at the beginner crafts for Cricut.
