
Are you stuck and trying to figure out how to upload images to Cricut? So whether you transform your own designs into cut files or bought them and can’t seem to upload them, there’s an easy way to fix this problem.
The Cricut Maker and the Cricut Explore Air have changed the crafting game, allowing us to print then cut image designs with precision and ease.
And the best part? You can upload your own images! Yes, you heard it right! So grab a cup of coffee, and let’s learn how to upload images to Cricut.
Don’t have time to read the whole post? Scroll down to watch the short video!


I get commissions for purchases made through some of the links in this post. There is no extra cost to you. See my full disclosure here.
Step 1: Open Cricut Design Space
The first thing we need to do is open Cricut Design Space. Depending on which version of Design Space you have, you’ll either see the design panel on the left side of the screen or you’ll see a button with the words New Project on the right side of the screen.
Click on the New Project button and a blank canvas will appear, ready for your masterpiece.

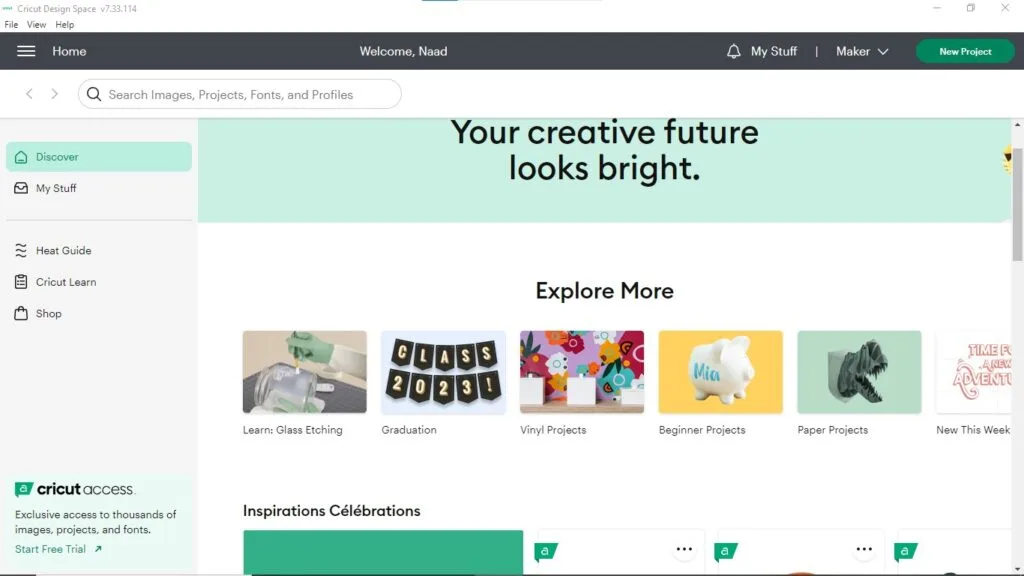
Step 2: Navigate to the Upload Screen
Look at the bottom of the left-hand bar, you’ll see the Upload icon. Give it a click, and you’ll be directed to the upload area. Ready to insert images? Here we go!

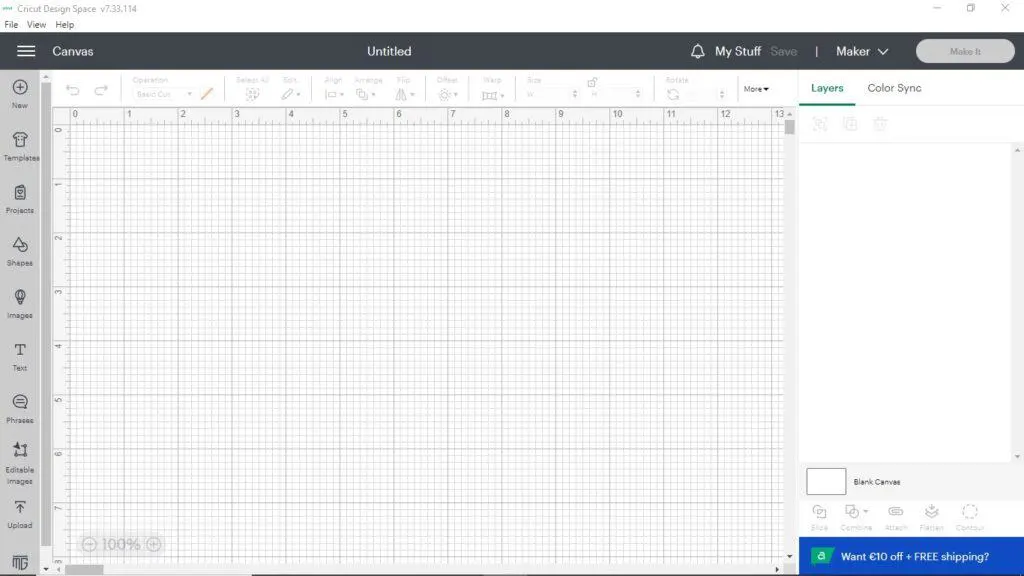
Step 3: Select the Image File
You’ll see two options: Upload Image and Upload Pattern. For now, click Upload Image.
Now, hit the Browse button. This will open a new window, allowing you to select the image file you want to upload.
Remember, Cricut supports a variety of file types. You can upload SVG files, DXF files, PNG images, JPEG images, GIF files, BMP files, and even PDF files.
I’m uploading a JPG file this time.

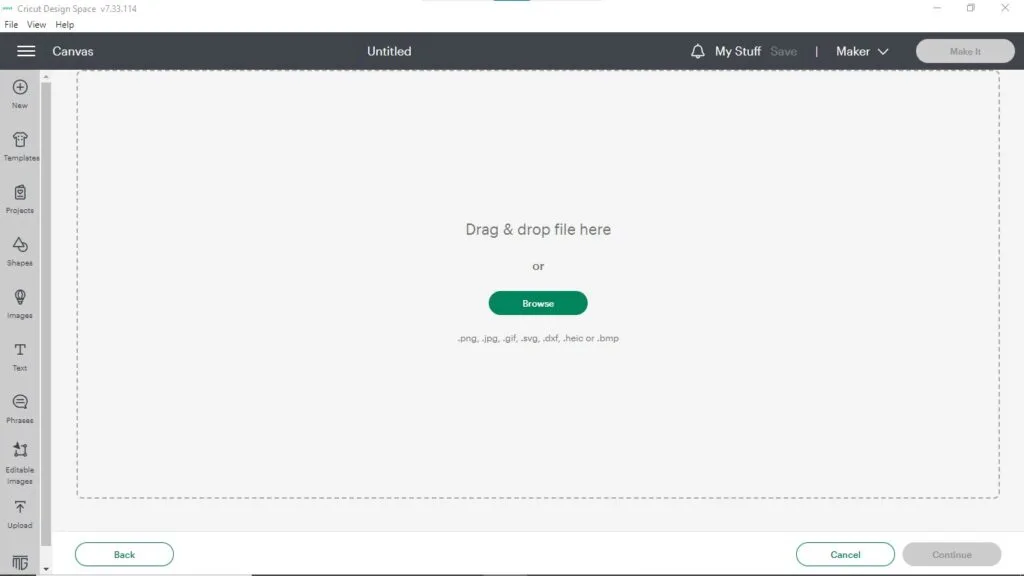
Step 4: Choose Image Type
This is a crucial step. After you select your image, you’ll be directed to the next screen where you’ll need to choose the image type.
You can select from Simple Image, Moderately Complex Image, or Complex Image. If you’re working with a basic image with few colors and simple lines, go for the Simple Image. I chose Complex image for the file below because the other two options weren’t showing the brown color.

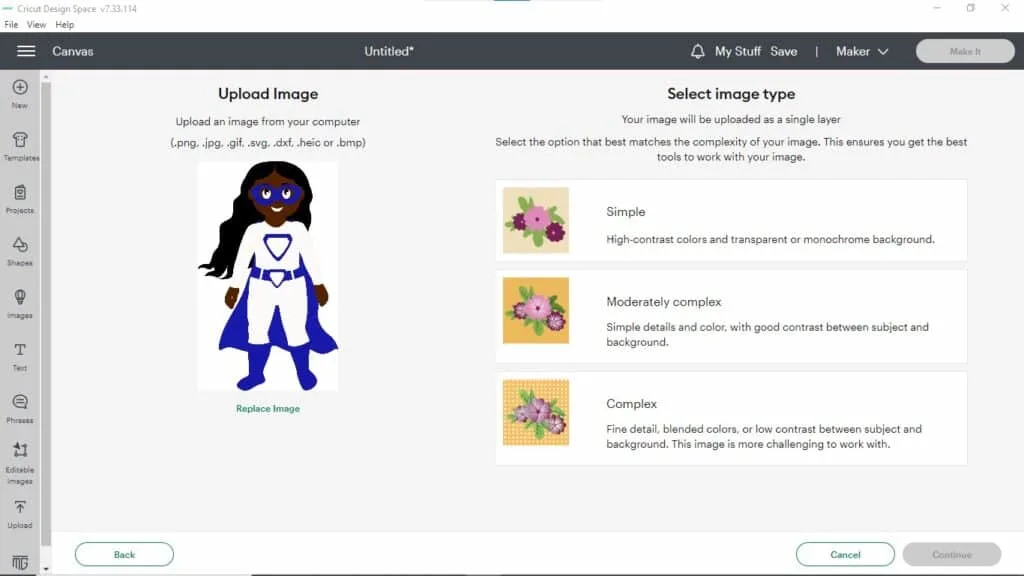
Step 5: Remove Unwanted Background
If your image has a white background or unwanted areas, don’t forget to use the Background Remover Tool. This can be a great way to eliminate an unwanted background, leaving you with a transparent background.
This is a feature that’s included in Cricut Access. If you don’t have Cricut Access, then you can start a free trial to use it.

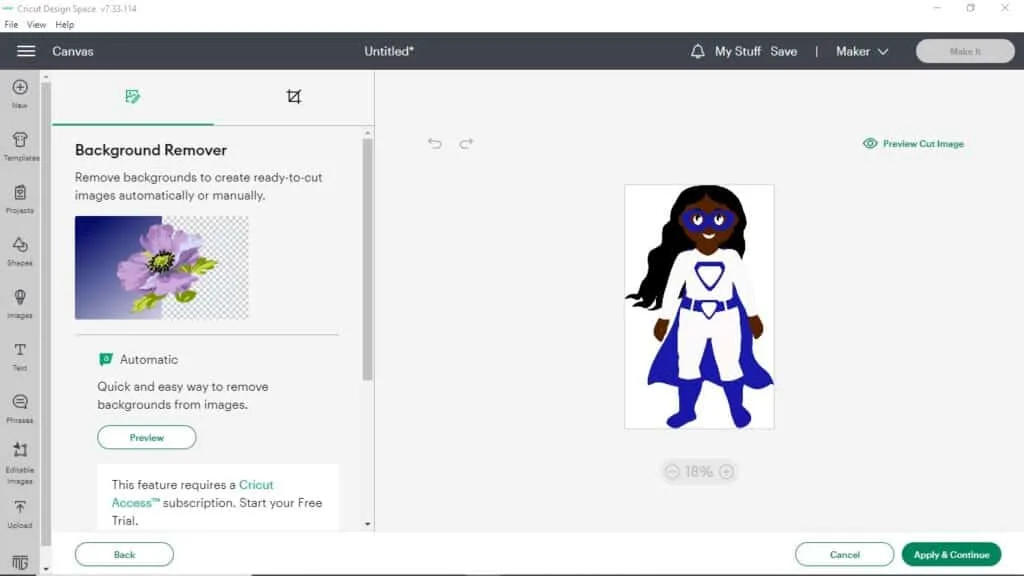
I like to use the background removal feature in Canva since I have a subscription to Canva Pro. It’s quick and does it in one click.
Canva also lets you erase just parts of the image. You can also use the background remover as an eraser tool. You can adjust the size of the background remover tool from the menu.
Step 6: Save and Insert Image
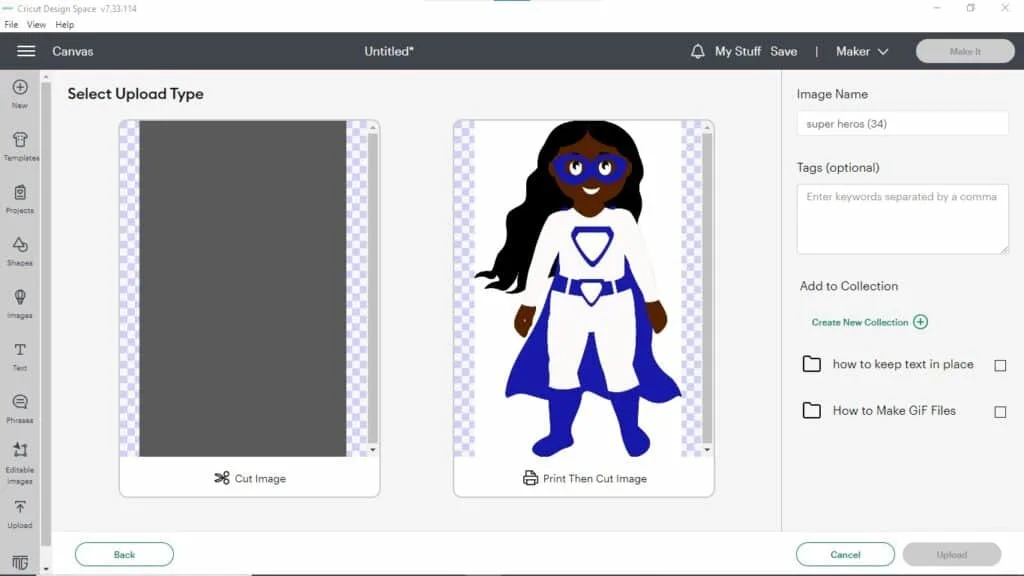
Now you’ll get the Upload Type Screen. You can choose Cut Image or Print Then Cut. Since I uploaded a JPG file, I chose Print Then Cut. You’ll be able to preview the upload type on this screen.
If everything looks good, hit the Upload button. Your image will appear in the Recently Uploaded Images section.
To insert the image into your new project, just click on the image and then hit the Add to Canvas button. Voila! You just uploaded your own image to Cricut!

6 Steps to Upload Images to Cricut Design Space


Learn how to upload images to Cricut in six easy steps. This will help you when you're creating a new project with a png or jpg file.
Materials
- Image file (PNG, JPG, DXF or SVG File)
Tools
- Cricut Design Space
- Cricut Access
- Canva
Instructions
Open Cricut Design Space and start a new project.
Click on the Upload icon at the bottom of the left-hand bar.
Select Upload Image and click on the Browse button to choose your image file.
Choose the appropriate image type (Simple, Moderately Complex, or Complex).
Use the Background Remover Tool to remove unwanted backgrounds or areas.
Preview, save, and insert the image into your new project.
Notes
If you are uploading a jpg or png file and get a black box, double check that you selected Print then Cut.
Recommended Products
As an Amazon Associate and member of other affiliate programs, I earn from qualifying purchases.


Conclusion
Whether it’s creating custom images for personal use or crafting a new design using SVG images, knowing how to upload images to Cricut is an essential skill for any crafter. So don’t hesitate.
Try uploading different types of images, play with the basic tools, experiment with the sizes, and have fun with it. After all, the joy of crafting lies in the journey, not just the destination.
Unleash your creativity and turn your crafting dreams into reality!
Remember, the possibilities are endless. You can use free images, purchase images from the Cricut image library (Cricut Access), or upload your own files like I do.
Once you get the hang of it, you’ll be creating masterpieces like a pro in no time!
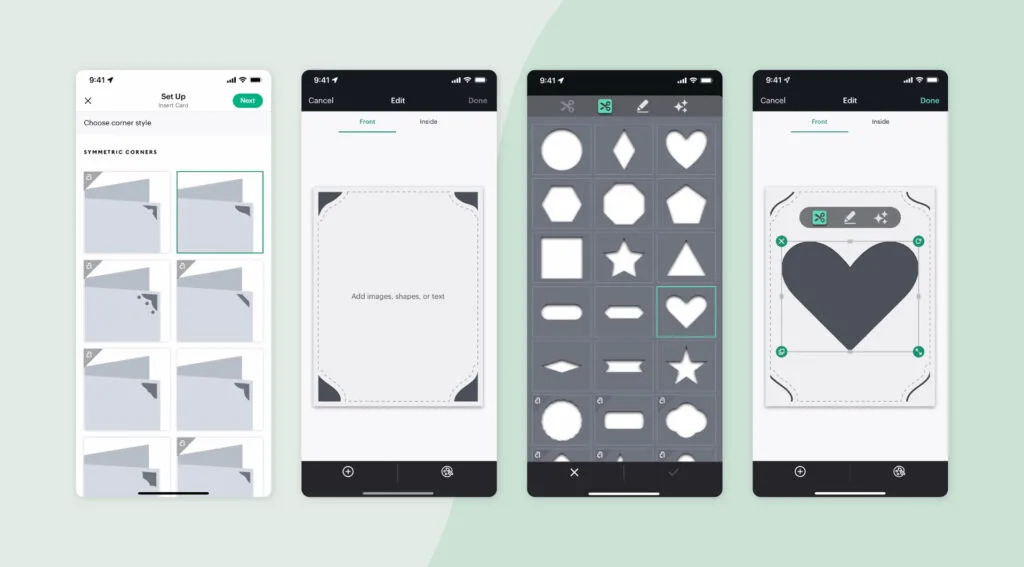
And the best part? You can do all this on your mobile device! That’s right, you can upload images to Cricut on the go.
So, what are you waiting for? Let’s start crafting!

Larry
Saturday 2nd of December 2023
Hello, i want to use my png with transparency (make it in Photoshop), for drawing not for print&cut it is this possibil? when i upload the image, appears that is only 2 option - cut or print and cut By The Way... nice tutorials