
Are you curious about whether you can bleach 100% polyester for sublimation? If you’re anything like me, trying to perfect your crafting projects while juggling a busy life, this question might be on your mind.
In this post, I’ll walk you through the process of bleaching shirts for sublimation, covering both the ‘sublimate-then-bleach’ and ‘bleach-then-sublimate’ methods.
From my own experiences with resizing designs in Inkscape to selecting the right materials, I’ve gathered some practical tips to help make your crafting more efficient and enjoyable, even on a tight budget.
Let’s get started on turning those ordinary shirts into something uniquely yours!

I get commissions for purchases made through some of the links in this post. There is no extra cost to you. See my full disclosure here.
10 Best Tips for Bleaching Shirts: Sublimation
- Choose shirts with high polyester content for vibrant sublimation results.
- Use a cotton blend shirt for a faded, vintage look in the bleached area.
- Ensure proper sizing and mirroring of your sublimation design before printing.
- Select high-quality sublimation paper for better color transfer.
- When bleaching, use a spray bottle for controlled application on the shirt.
- Wear gloves to protect your hands during the bleaching process.
- Bleach shirts on a sunny day to accelerate the bleaching reaction.
- Set your heat press to high heat for effective sublimation ink transfer.
- Wash bleached and sublimated shirts in cold water without fabric softener.
- Use hydrogen peroxide to neutralize the bleach after the bleaching process.
Selecting the Right Materials
When it comes to bleach sublimation shirts, choosing the right type of shirt is crucial.
A 50/50% polyblend shirt is often the best option due to its mixed content, which interacts well with sublimation ink for vibrant and lasting results. A 100% polyester shirt doesn’t bleach as well as a polyblend shirt.
However, a higher cotton blend can also work, offering a nice faded look in the bleached area.
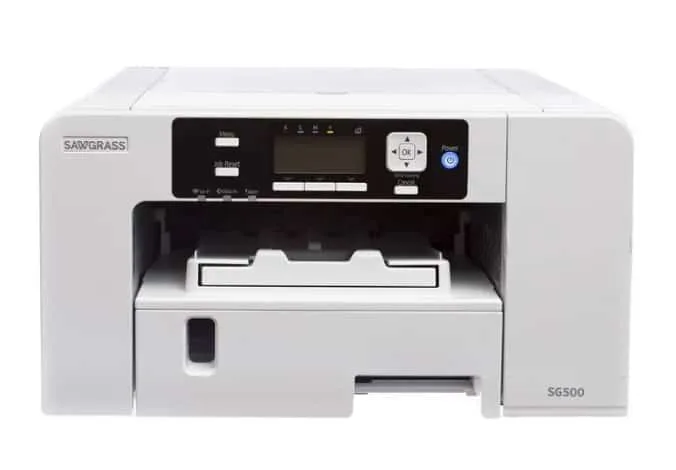
For this project, you’ll need a few key supplies: a sublimation printer, sublimation paper, a heat press, and of course, your chosen shirts.
Don’t forget the hydrogen peroxide and a spray bottle for the bleaching process.
List of supplies for bleaching and sublimating
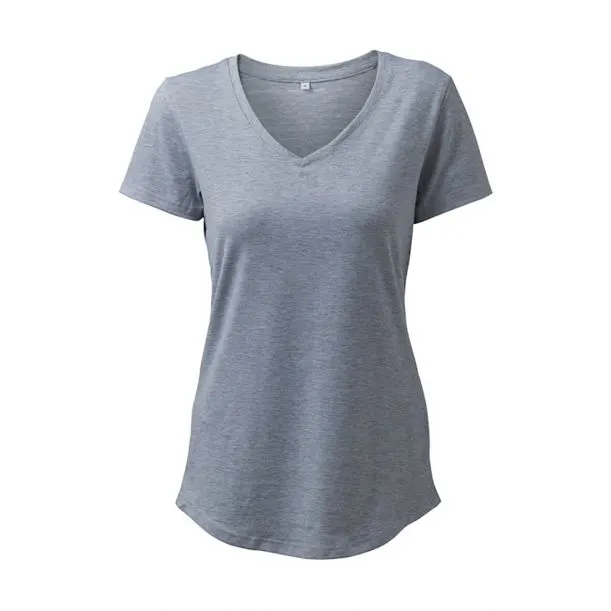
- Polyester shirts (or a cotton blend as an alternative)
- Sublimation printer
- Sublimation ink
- Sublimation paper
- Heat press
- Bleach
- Spray bottle (for applying bleach)
- Hydrogen peroxide (for neutralizing bleach)
- Heat-resistant tape (to secure the design during sublimation)
- Gloves (for protection during bleaching)
- Butcher paper (to prevent ink bleed during sublimation)

Method 1: bleach-then-sublimate
Preparing Your Sublimation Design
The first thing to do is prepare your sublimation design. Whether you’re working with a black shirt or one in heather colors of the Gildan, ensure your design size is appropriate.
When printing on sublimation paper, remember to mirror the image – this is essential for correct placement on the shirt.
Sublimation printing requires precision, so take your time to get this step right for the best results.
The Bleaching Process
On a sunny day, the bleaching process can be quite efficient. If you’re working with polyester clothing, be aware that the color of the shirt will influence the final outcome.
For a bleached shirt with a unique touch, use a spray bottle to apply the bleach. This method allows for more control over the bleached area.
Always wear gloves to protect your hands during this process.
If you’re working with cotton shirts, keep in mind that they react differently to bleach compared to synthetic fabrics like polyester.

The Sublimation Process
Once your shirt is ready and the bleached area has dried, it’s time for the sublimation process. Place your design onto the shirt and secure it with heat-resistant tape.
The heat press should be set to high heat for the best transfer of the sublimation ink onto the fabric.
Polyester fibers absorb the ink better than natural fibers, so if your shirt is a cotton blend, expect a more vintage look.
Washing and Caring for Your Shirt
After the sublimation and bleaching processes are complete, it’s important to wash your shirt.
For best results, wash the shirt in cold water in your washing machine, ideally without fabric softener, as it can affect the sublimation transfers.
This step helps to remove any excess bleach and sets the design.
Method 2: Sublimate-Then-Bleach
In this alternative method, you’ll first apply the sublimation design to the shirt and then proceed with the bleaching process. Here’s how you can do it:
- Prepare Your Design: Start by selecting and preparing your sublimation design. Using a program like Inkscape, resize and mirror the image according to the dimensions of your shirt.
- Print Your Design: Print the design onto sublimation paper using your sublimation printer. Ensure the colors and size are as desired.
- Prep the Shirt for Pressing: Place a piece of cardboard or butcher paper inside the shirt to prevent any bleed-through of the ink. This step is crucial to ensure the design only transfers to the top layer of the shirt.
- Sublimate the Shirt: Position the printed design on the desired area of your shirt and use heat-resistant tape to secure it. Press the design onto the shirt using your heat press, set to high heat, for about 60 seconds. This transfers the design onto the shirt.
- Begin the Bleaching Process: Once the shirt has cooled down from sublimation, prepare your bleach solution in a spray bottle. Ensure you’re in a well-ventilated area, preferably outdoors on a sunny day for better results.
- Apply Bleach: Spray the bleach onto the shirt, focusing on areas around the sublimated design for a contrasting effect. Remember to wear gloves to protect your hands during this process.
- Neutralize and Wash: After achieving the desired bleaching effect, use hydrogen peroxide to neutralize the bleach. Then, wash the shirt in cold water, preferably in a washing machine, to remove any residual bleach and set the design.
By following these steps, you can create a unique and eye-catching bleached shirt with your sublimated design taking center stage.


Conclusion
Now that you’ve learned the ins and outs of creating stunning bleached and sublimated shirts, why not take your crafting skills to the next level?
I’ve discovered that having the right tools and supplies can really elevate your projects, especially when working with T-shirts.
If you’re curious about what you might need for your next crafting adventure, I’ve got just the thing for you. Check out my post on the must-have supplies for making T-shirts with Cricut.
This post is packed with information to help you choose the best materials and tools, ensuring your creations turn out just as you envision them.
