
This owl drawing can be done in 20 minutes or less, even if you’re a beginner. You can draw it using a pencil or a graphic tablet. If you want to learn how to draw an owl, follow the easy steps below.
This owl is based on the great horned variety of the species. If you prefer your drawing to look more like a barn owl, then you can round off the top of the head instead of making the pointed feathers that I show you below.
I love making drawing tutorials and sharing them with anyone who wants to learn. If you love drawing, you’ll want to see my collection of drawing tutorials. I also have a holiday drawing tutorial section where you can find ideas like Santa Claus, Halloween pumpkins and snowman drawings.
If you don’t have time to make the drawing right now, feel free to pin this blog post to your favorite drawing board on Pinterest. You can click on the button below to pin it now so that you don’t forget.


You can also print the instructions and watch the video below.
Ready to draw right now?
Just scroll down to the bottom. You’ll find the tutorial video there. Watch the steps I use to learn how to make this drawing.
In this tutorial, I give you the easy steps to draw the owl and color him in neutral brown tones. You can choose to make yours using rainbow colors or any set of colors that you like.
I get commissions for purchases made through some of the links in this post. There is no extra cost to you. See my full disclosure here.
Easy Way to Draw an Owl
This tutorial can be done with either digital and traditional drawing methods. This means that you can use a digital drawing tablet (like I do) or a pencil and paper.
I love digital drawing and in the video, you can see how I use a graphic tablet not only to draw but also to color the owl.
Digital drawings are easy to make and use once you get the hang of it. I really like how each part of the drawing can be easily edited. With digital drawings, you can change your picture with just a few clicks.
Let’s say that you want to draw a bunch of owls? With a digital drawing, all you have to do is copy and paste the first owl that you drew. Then you can click and drag the copies around the canvas to make a picture full of different owls.
How about changing the color of each owl quickly? Can you do this with a digital drawing? Yes, definitely! You can quickly change the colors with the fill bucket tool. I’ll explain how to do this in the section on coloring.


Art Project Idea
Make personalized stickers to put in a planner or kid’s notebook. To make the stickers you can
- color each owl a different color and then
- add some text written in a kid’s handwriting font
- Print the finished design onto printable sticker paper.
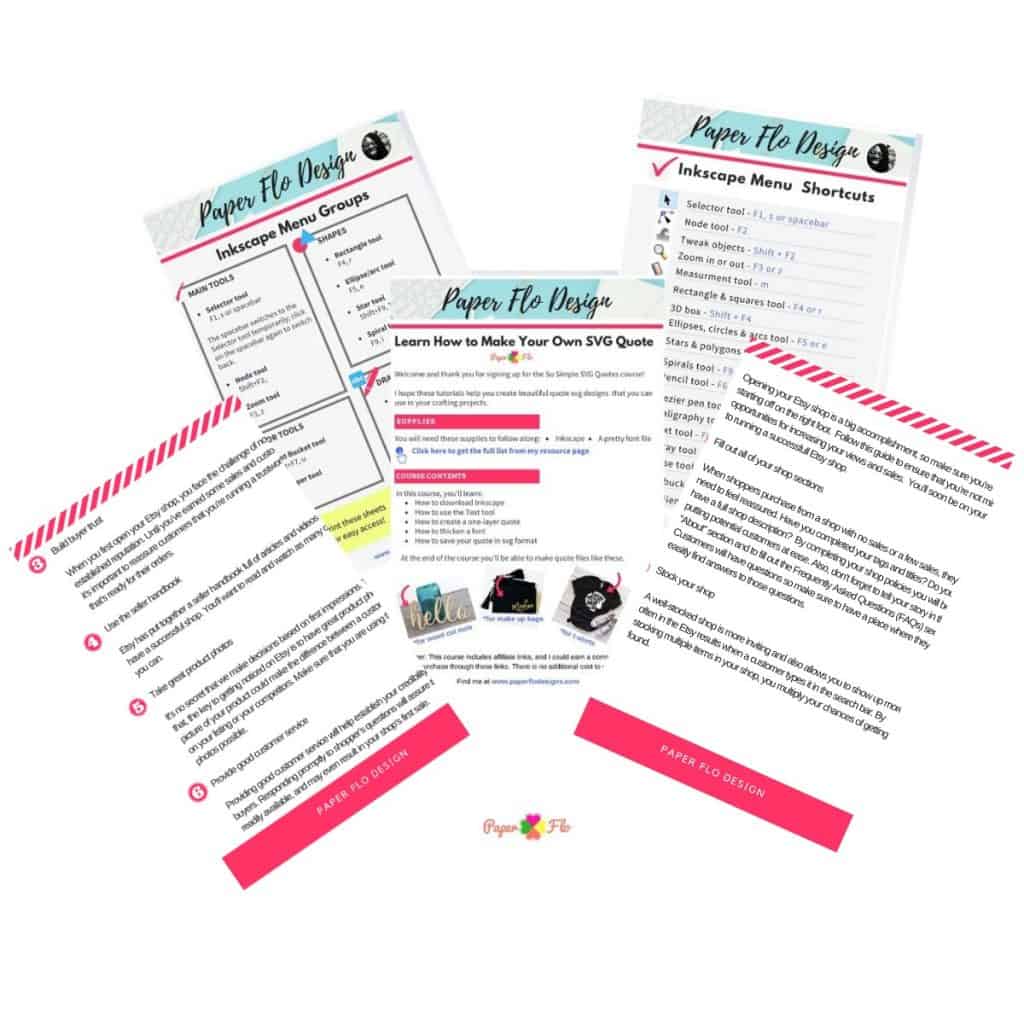
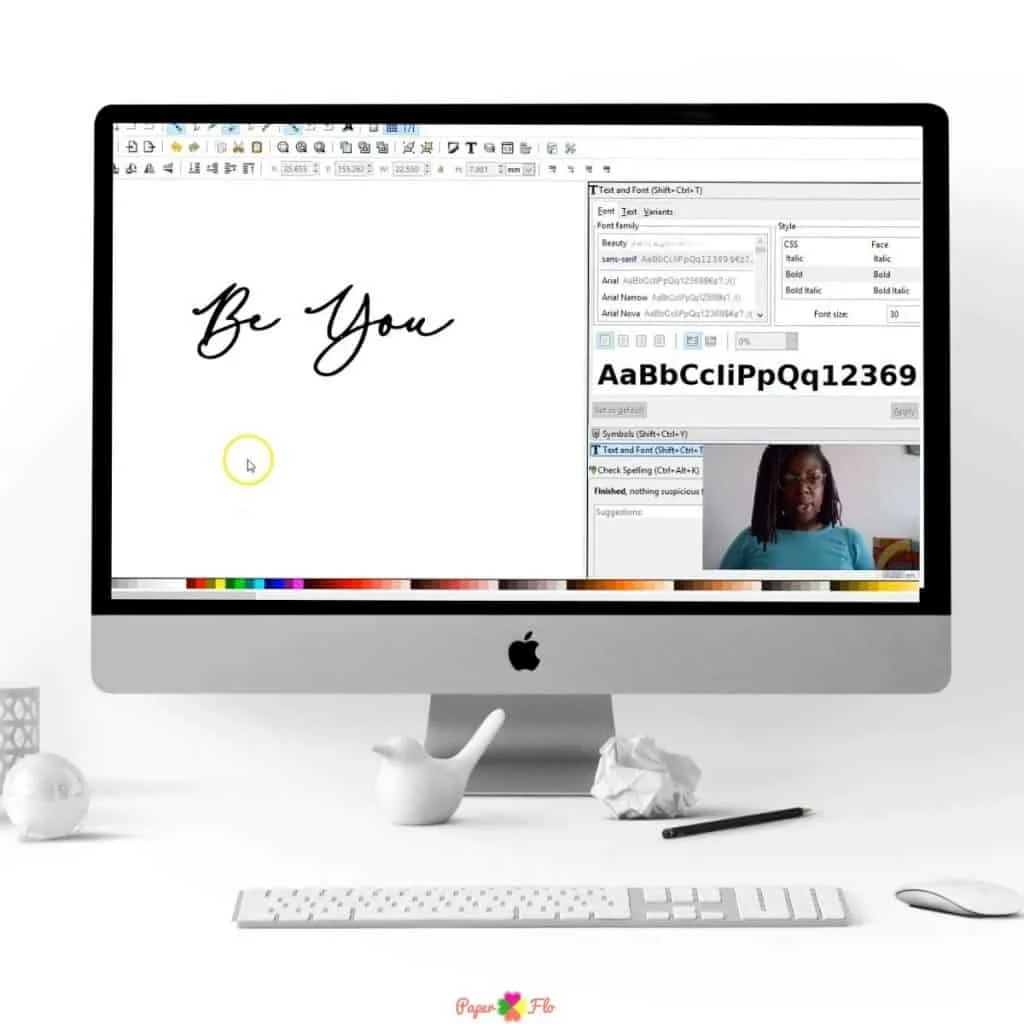
If you want to learn how to add text to your digital drawing using the fonts on your computer, then sign up for my free So Simple SVG Quotes course. You’ll learn how to add words to an image in different fonts using the Inkscape software. This is a great way to personalize any drawing.



How to Draw a Simple Cute Owl
Let’s get ready to draw our owl. Here are the materials you need. The paper drawing supplies can be found in your local art or craft supply store.
Since I know that most people find it more convenient to shop online, I have included links to online stores like Amazon or Etsy.
Drawing Supplies
Digital Drawing Supplies
- Graphic tablet (I use this one from Amazon (optional))
- Computer
- Inkscape software program
Paper Drawing Supplies
Inkscape Tips
Are you wondering why I like to use Inkscape for drawing on my laptop? Well in case you’re not familiar with the program, Inkscape is an open-source graphic software. Which means it’s free to use.
There is also a mobile version. Sometimes, if I’m not on my pc, I use an online drawing app, like the apps I wrote about in this post on 7 online drawing apps that you can use.
To make drawings in Inkscape, I use the calligraphy and brush strokes tool. You can find the exact settings that I use in the instruction sheet at the bottom of this post.
Here are some tips for making the digital version.
- Make sure that your settings on the calligraphy tool match mine before starting. (see the instruction sheet below)
- Zoom in and out (Ctl+scroll up/down) with the mouse to see details of your drawing.
- Remember to save as you go along. The last thing you want is to lose your drawing because you forgot to save your work.
- Save it as an svg (scalable vector graphic) to be able to use the drawing as a cut file.
Get Creative Crafter Tips
Click here to join over 5,000 crafters in the free Paper Flo Designs VIP membership. Every week, you’ll get access to free graphics, easy to follow craft tutorials and craft project ideas.
Draw an Owl Step by Step
Remember, you can print and follow the instructions on the printable sheet or just watch the video for the next steps.
How to Draw an Owl Head
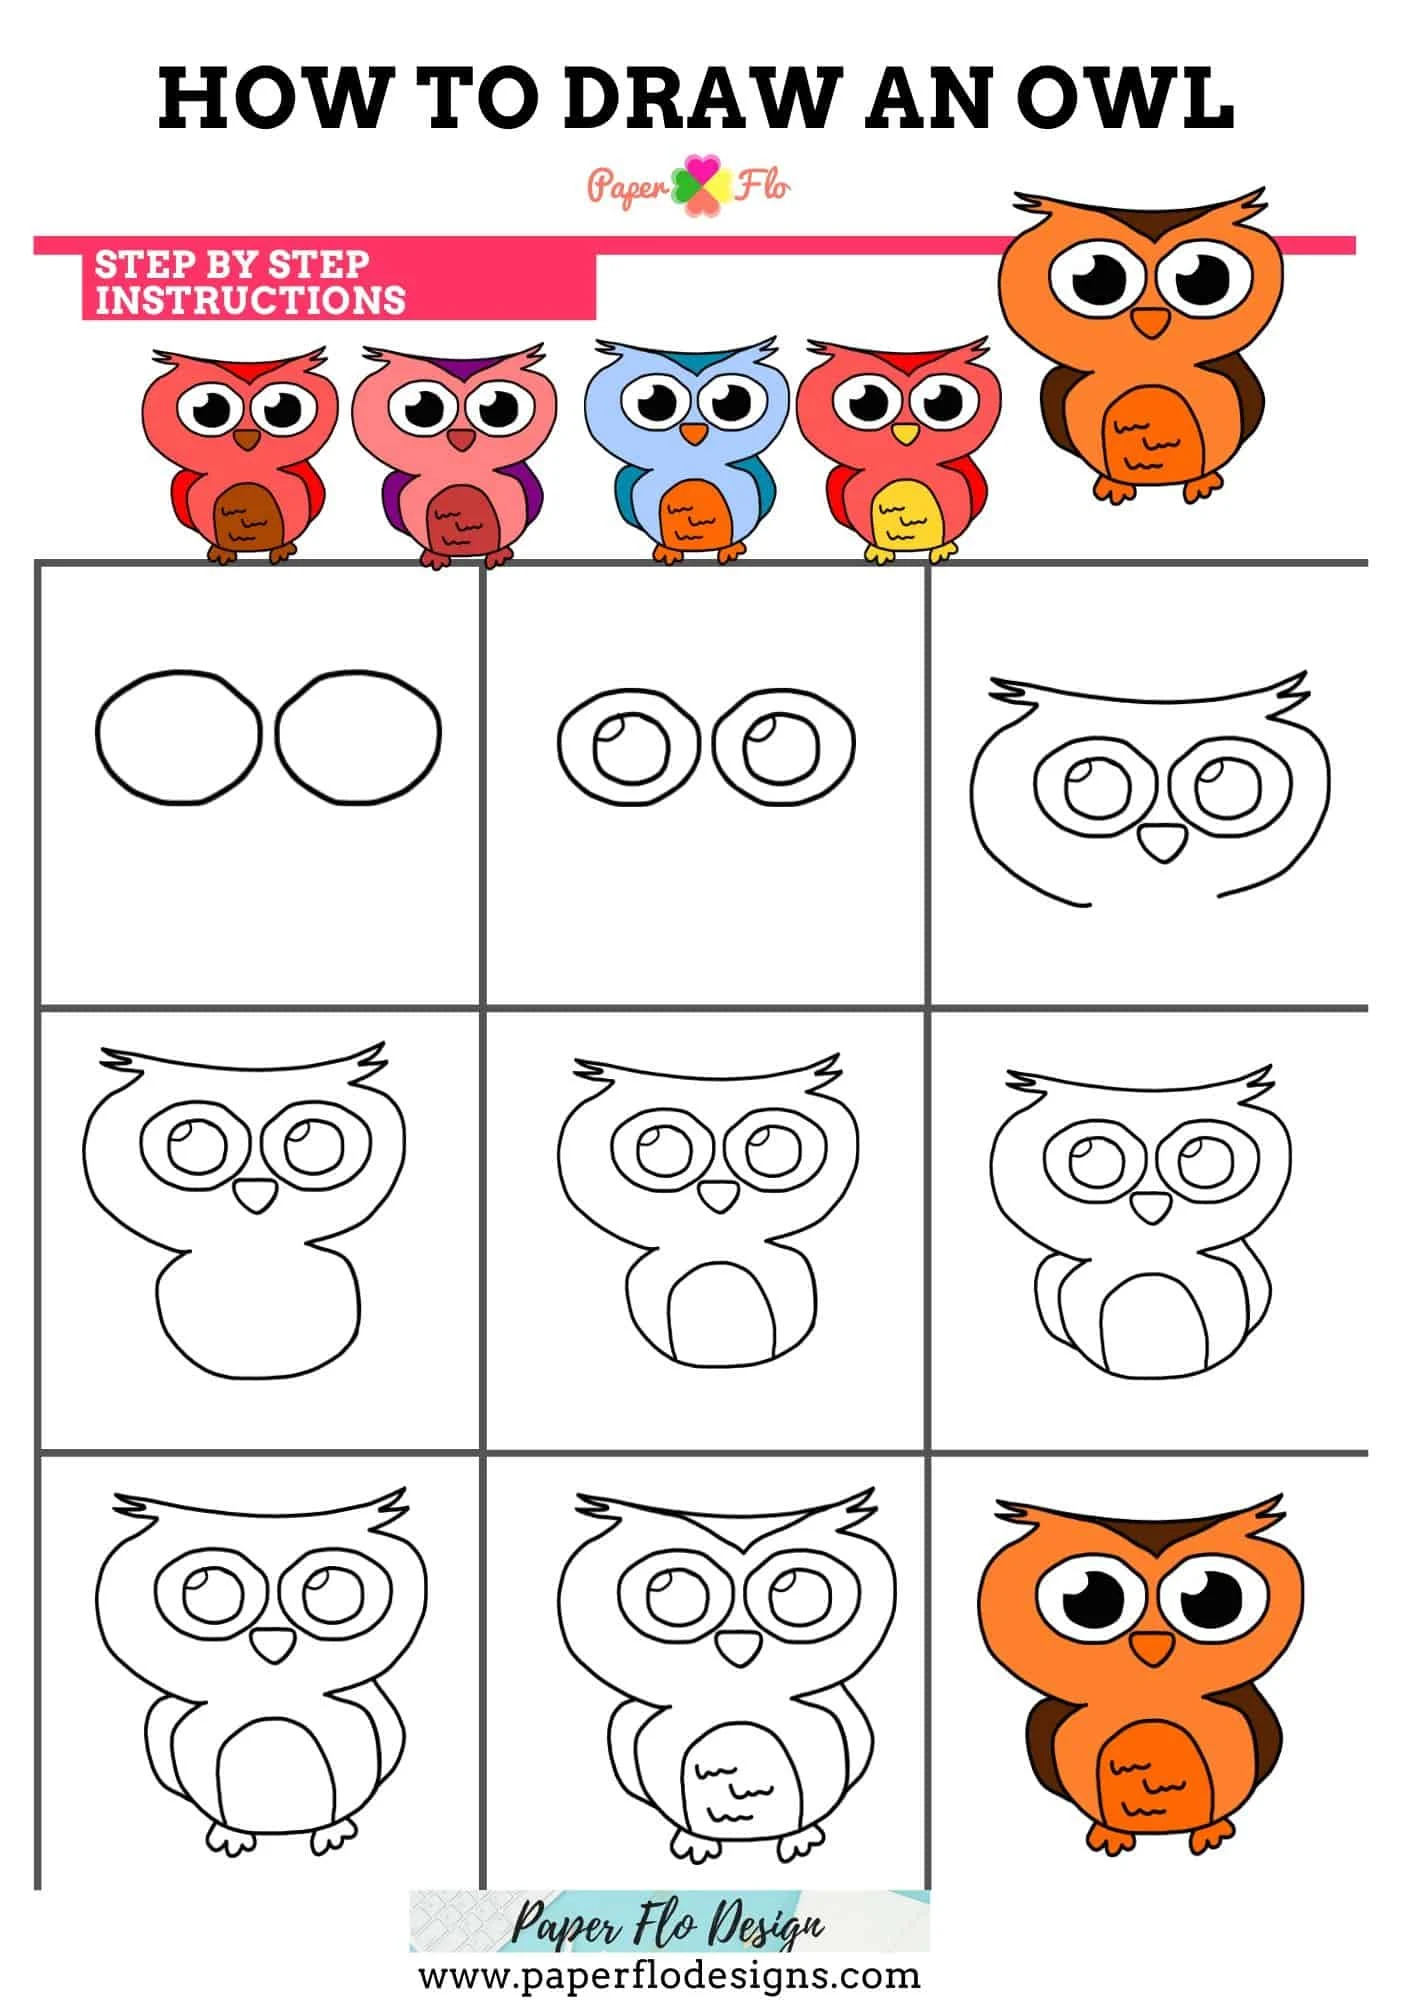
Let’s make a face for the owl head. Draw two large circles that touch but don’t overlap. Then draw two slightly smaller circles inside of these. Now add a smaller circle to the top left side of the last circle. (I forgot to do this step in the video, so I added it near the end).
To make the head, we’ll draw a curved line, like a semi-circle, and then follow that line until you get back to the beginning.
Great Horned Owl version
Draw curved triangular shapes for the pointed feathers at the top of the head.
We’ll add an upside-down triangle shape for the beak, and another line to separate the pointed top feathers from the face.
Draw the Owl Wings
To draw the owl wings we can make a curved line from around the top of the left side of the body to about midway down the body. Then repeat this step on the right side.
Draw Owl Feet
The easiest way to draw feet on the owl is to draw a short line going down from under the owl, continue the line going outwards and diagonally down, then draw the number “3” on its side, now make a line going inwards and diagonally up and finish it off with a short vertical line going back up to the owl.
Repeat this step to make the other foot.
The owl drawing outline is complete and you can move on to coloring the outline.

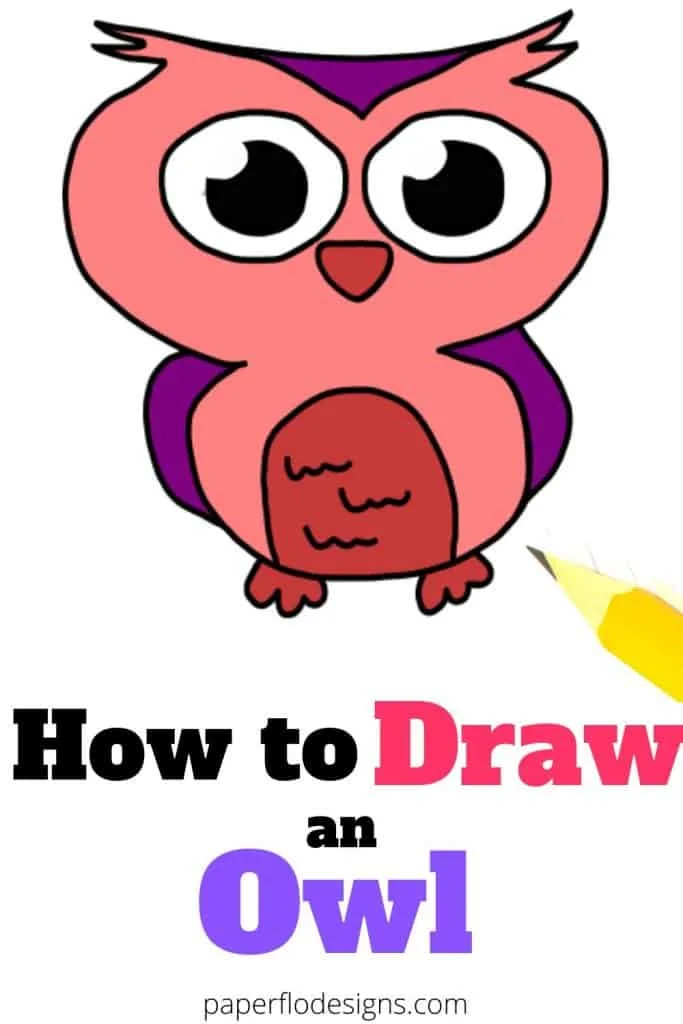
Color the Owl Drawing
You’re ready to color your drawing.
To do this, use the fill bucket tool (fill bounded areas tool). Make sure that your areas are bounded (that means that they are fully closed with no open spaces between two points).
If you have gaps, double click on the gap, zoom in and pull (click and drag) the nodes to close the gap. Watch the video to see how I do this.
Click the fill bucket tool and then click on a color from the color menu bar at the bottom of the screen. I’ll choose a tan color as my first fill color.
Next, click on a section of the owl to fill it with color.
Repeat this process to color in every section of the owl.
In the next step, I’ll select the color and send it to the bottom. I do this so that I can see the outline which I drew in black.
Your easy owl drawing is done. How about turning your drawing into a forest scene by adding a cute fox and a few trees. I have a post that shows you how to draw a simple fox here.
Ready to draw more animals? Here is another tutorial to learn to draw a simple bat.
If you liked this lesson, you’ll love my So Simple SVG Files course. I will walk you through the steps to make digital drawings using simple shapes in Inkscape. You’ll also learn how to transfer your drawings to your craft projects and get better use from your cutting machine.


Drawing is fun but what’s even better is being able to take that drawing and using it to make crafts. I’ve added some craft ideas for you below.
Crafts to Make with Owls
The nice thing about digital drawings is that you can upload them to a cutting machine and make print and cut designs for lots of craft projects.
Here are some craft ideas from Etsy that you can make with your owl drawing:
- newborn baby outfit
- Seed paper owls
- Engraved stainless steel owl mug
- Motivational water bottle with owl
- owl cupcake toppers

Get these cute cupcake toppers at Created by Izzy Bizzy

Find this coming home outfit at Darlin Divas and Dudes
Those are just a few ideas to get you started. Check out some of my other blog posts for beginner craft project ideas that will inspire you to start making, crafting and drawing today.
Imagine all of the crafts that you can make with this drawing. You can make lots of fun fabric, paper or vinyl crafts.
If you have a die cutting machine and a heat press, try making a t-shirt. If you’re not sure about what supplies you’ll need, I have a blog post that shows you the 10 Best supplies to make iron-on t-shirts. You can print out the list so that you have it on-hand when you need it.
It’s up to you to choose what supplies you want to use. A simple pair of scissors will work to cut the owl from a sheet of heat transfer vinyl but a Cricut or Silhouette machine will make it even easier.
As you can see, you can take your drawing and put it on tons of craft projects!
Have you ever wondered if you can turn the hobby you love into a profitable craft business? Check out my blog post on how to open a craft Etsy shop.
Make sure to save this to your favorite drawing board on Pinterest. Click the link below to save this post for later. The more it gets shared, the more I can continue to make free tutorials for you.
I’d love for you to add a photo of your drawing to the pin so that I can see how it turned out.
How to Draw an Owl - Easy Tutorial


This owl drawing can be done in 10 minutes or less, even if you’re a beginner. You can draw it using a pencil or a graphic tablet. If you want to learn how to draw an owl, follow the easy steps below.
Materials
- Digital Drawing Supplies
- Paper Drawing Supplies
Tools
- Digital Drawing Supplies
- Inkscape software program
- Computer
- Graphic tablet (optional)
- Paper Drawing Supplies
- Drawing pencil
- Drawing Paper
- Art markers or Colored Pencils
Instructions
- Draw two circles in the middle of the page.

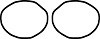
- Draw two smaller circles inside the first set of circles. Add a curve line in the top left corners of each.


- Draw an upside-down triangle for the beak.

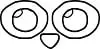
- Draw a semi-circle shape and two wings on each side to make the head.

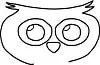
- Draw the body.

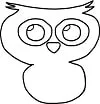
- Draw the wings and the belly and the feet

- Draw a line to separate the "horns" and add feathers

- Color the owl.

Notes
Calligraphy tool settings
No preset
Width: 3
Thinning: 10
Angle: 90
Fixation: 30
Caps: 0.75
Tremor: 0
Wiggle: 0
Mass:2
If you are making a digital drawing, make sure to close any gaps. This will make it easier to color the drawing using the fill bucket tool.
Put the outline in front of the color by using the Raise selection to top button.
Recommended Products
As an Amazon Associate and member of other affiliate programs, I earn from qualifying purchases.
-
 Tombow Dual Brush Pen Art Markers (Bright)
 -
 Prismacolor Premier Colored Pencils | Art Supplies for Drawing, Sketching, Adult Coloring | Soft Core Color Pencils, 72 Pack
 -

 Canson XL Series Mix Media Paper Pad,
 -

 So Simple SVG Files course
 -

 AmazonBasics Sketch and Drawing Art Pencil Kit - 17-Piece Set
 -

 Cricut EasyPress® 3 - 12 in x 10 in
Need more ideas for what to draw for Thanksgiving? I have a whole collection of tutorials for you here.
