
Spooky animals like bats are fun to draw and can be done very easily. I’ll show you my method for how to draw a cartoon bat.
This simple technique is easy enough for anyone to follow. To make the drawing of a bat, we’ll start by drawing the basic body shape, then add the wings and then a face to it.


Don’t worry, this tutorial can be done by both digital and traditional methods. This means that you can use a digital drawing tablet or a pencil and paper.
If you’re looking for halloween cartoon drawings, then this is a good place to start. Once you’re done, you’ll be able to add another design, like a cute spider hanging just below a spider web to keep with the theme.
Bring the bat to life by uploading your finished drawing to your cutting machine. Cut a template using your simple bat drawing and apply it to any surface that you like.
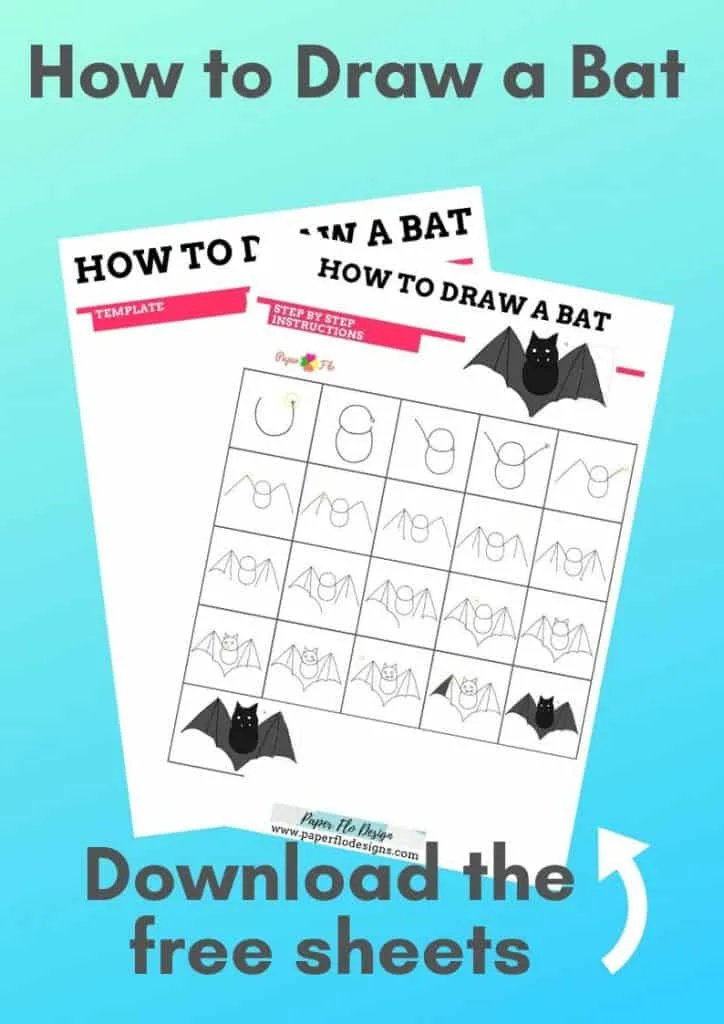
You can print the instructions and the template below. Follow this tutorial and watch the video to learn how to draw a halloween bat drawing.

Want to make a Halloween scene to your bat drawing? Copy and paste or just duplicate the first bat that you made and move them around the canvas to make a creepy drawing.
Add more to your Halloween scene by drawing a ghost and different faces on each bat and adding a few pumpkins, a spooky old tree, and jack-o-lanterns.
If you want to learn how to make more digital drawings, you’ll love my So Simple SVG course.


I get commissions for purchases made through some of the links in this post. There is no extra cost to you. See my full disclosure here.
How to Draw an Easy Bat
Let’s start by gathering your materials to draw the bat.
Drawing Supplies
Here is a list of drawing supplies. The first set is for drawing in the traditional method on paper.
The last set is for digital drawing.


drawing pencils
Amazon Basics Sketch and Drawing Art Pencil Kit - 17-Piece Set


Mix media paper pad
Canson XL Series Mix Media Paper Pad


Art markers
Tombow 56185 Dual Brush Pen Art Markers


Light table for tracing
LED Light Box 9x12 Inch Light Pad
Digital Art Supplies


Graphic tablet (optional)
Huion H610 Pro Graphic Drawing Tablet 8192 Pen Pressure Sensitivity with Carrying Bag and Glove
I like to use Inkscape to make my drawings. Inkscape is open-source graphic software. Which means it’s free to use. Sometimes, I use an online Inkscape drawing app.
We’ll use the calligraphy and brush strokes tool. The settings that I use are in the instruction sheet at the bottom of the post.


If you’re making the digital version, make sure that your settings on the calligraphy tool match mine before starting.
Follow the video at the bottom to see the steps I used to draw the bat.
Draw a Halloween Bat Step by Step
For the first step, draw a “U” shape. This will be the bat body.See the picture below. Next, draw a circle on top of the “U”. This will be the bat head.
The two of these objects make the base of the bat.
You can download the template to help you make the base of the bat.
Draw the Bat Wings
The base of the bat is complete. Let’s move onto how to draw bat wings.
An easy way to make bat wings is to draw a v shape at the base of the bat’s head.


To do this, draw one diagonal line going up from the left side of the head and another diagonal line going up from the right side of the head.
These will be the tops of the bat wings.
Starting at the top of the left bat wing, draw a diagonal line going down to the left.
From the top of the right bat wing, draw a diagonal line going down to the right.
These are the edges of the bat wings.

SO QUICK SVG COURSE
STEP BY STEP VIDEO COURSE FOR CRAFTERS
Create and design your first svg to use in your crafts or even sell.
Learn to make an SVG with Google in one click!
From the top left corner of the bat wing, draw a line straight down.
Draw a diagonal line from the left tip going down towards the body.
Make sure that you leave some space between this line and the body.
Repeat these two steps on the top right corner of the bat wing.
We’re ready to connect the wings.


Next, draw a curved line from the left edge to the line closest to the edge.
Make a curved line from this line to the next line.
Draw a curved line from this line, down towards the middle of the bat body.
Repeat the last 3 steps on the right bat wing. This time you’ll go from right to left.
The last curved line should touch the middle and form a point to close the bat wing.


Draw the Bat Ears
To finish the bat head, we still need to add a pair of ears.
Draw a triangle on the left side of the head and draw another triangle on the right side of the head.
Draw a Bat Face
Let’s make a face for him now.
Draw a small circle on the left side of the bat head.
Make a small circle on the right side of the bat head.


Draw a curved line to make a smile.
Make an upside-down triangle on the left side of the smile.
Draw an upside-down triangle on the right side of the smile.
Great, we just gave him some fangs!


The bat drawing outline is complete and you can move on to coloring the outline.
Coloring the Bat Drawing
You’re ready to color your drawing of a bat.
To do this, use the fill bucket tool (fill bounded areas tool). Make sure that your areas are bounded (that means that they are closed with no gaps).


If you have gaps, double click on the gap, zoom in and pull the nodes to close the gap. Watch the video to see how I did this.
Click the fill bucket tool and then click on a color from the color menu bar at the bottom of the screen. I’ll choose grey as my fill color. This is so that we can still see the face and wing details, which were done in black. Choose any color that you like.


Next, click on a section of the bat to fill it with color.
Repeat this process to color in every section of the bat.
Use the Raise selection to top button to raise the outline to the front. This will send the color behind the outline.
Your easy bat drawing is done. Wasn’t that fun?!
If you liked this lesson, you’ll love my So Simple SVG Files course. I will walk you through the steps to make digital drawings using simple shapes in Inkscape. You’ll also learn how to transfer your drawings to your craft projects and get better use from your cutting machine.
Now that you know how to draw a halloween bat, draw a pumpkin on one side of him and draw a jack-o-lantern on the other side. This would make a perfect Halloween drawing.
Crafts to Make with Halloween Bats
The nice thing about digital drawings is that they can be easily transformed into physical printed designs for lots of craft projects.
Here are some crafts that you can make with your bat drawing:
- bat earrings
- templates
- necklace with bat design
- bat masks

Source: Kitschy Koo Designs

Source: Tranquilvania Jewelry
Those are just a few ideas to get you started. Check out some of these ideas for easy crafts that you can try.
Imagine all of the crafts that you can make with the bat drawing. You can make lots of fun card stock, felt, leather or vinyl crafts.
If you have a Cricut cutting machine or Silhouette machine and a heat press, you can make iron-on t-shirts and it will make it even easier to cut out the drawing.


As you can see, you can take your drawing and put it on tons of physical crafts!
You don’t have to be an expert to turn a hobby into a money making craft business. Find out how you can open a craft Etsy shop today.
Make sure to save this to your favorite drawing board on Pinterest. Click the link below to save it for later.
Also, be sure to add a photo of your drawing to the pin so that I can see that you tried it.
How to draw a cartoon bat


Spooky animals like bats are fun to draw and can be done very easily. I’ll show you my method for how to draw a cartoon bat.
Materials
- Digital Drawing Supplies
- Paper Drawing Supplies
Tools
- Digital Drawing Supplies
- Inkscape software program
- Computer
- Graphic tablet (optional)
- Paper Drawing Supplies
- Drawing pencil
- Drawing Paper
- Art markers or Colored Pencils
- Light Table for Tracing (optional)
Instructions
- Draw a “U” shape. This will be the bat body.


- Draw a circle on top of the “U”. This will be the bat head.


- Draw the bat wings. Draw one diagonal line going up from the left side of the head.


- Draw a diagonal line going up from the right side of the head.


- Starting at the top of the left bat wing, draw a diagonal line going down to the left.

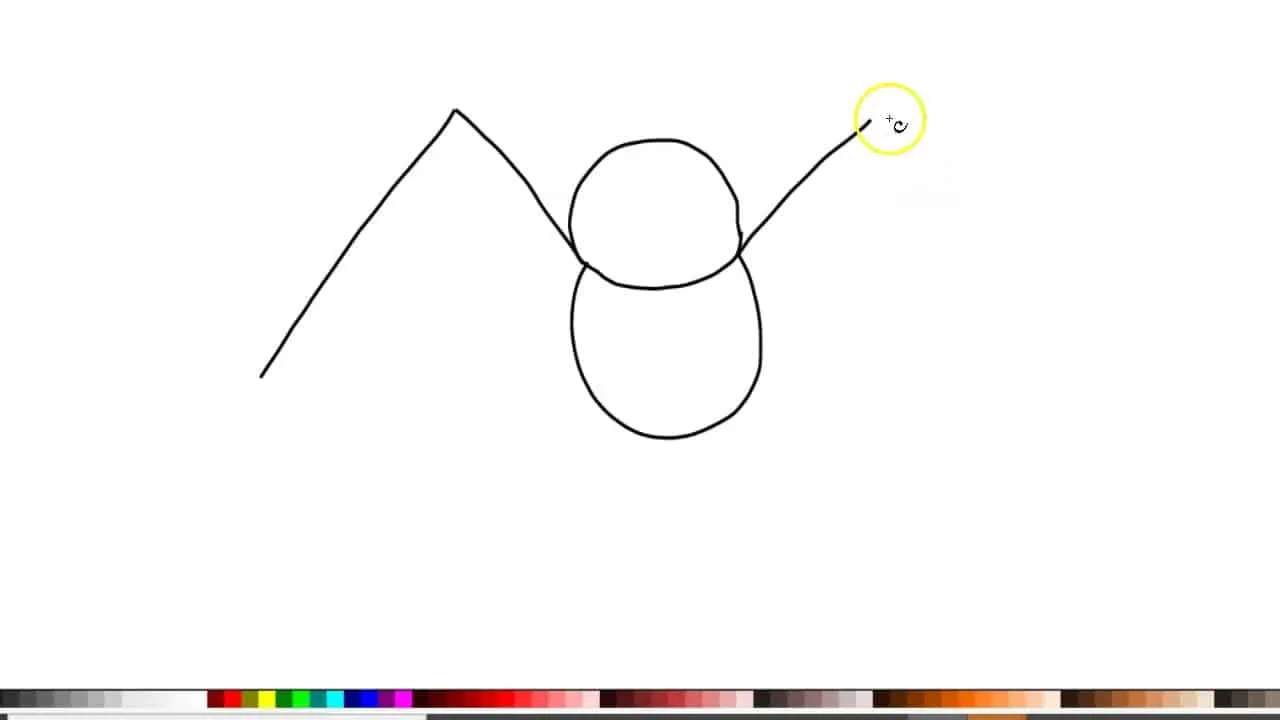
- From the top of the right bat wing, draw a diagonal line going down to the right.


- Repeat these two steps on the top right corner of the bat wing.
- Draw a curved line from the left edge to the line closest to the edge.
- Draw a curved line from this line to the next line.
- Draw a curved line from this line, down towards the middle of the bat body.
- Repeat the last 3 steps on the right bat wing. Go from right to left.
- Continue the line to the middle and form a point to close the bat wing.
- Add a pair of ears.
- Draw a triangle on the left side of the head.
- Draw another triangle on the right side of the head.
- Add a face. Draw a small circle on the left side of the bat head.
- Draw a small circle on the right side of the bat head.
- Draw a curved line to make a smile.
- Draw an upside-down triangle on the left side of the smile.
- Draw an upside-down triangle on the right side of the smile.
- Color the bat with the fill bucket tool.
- Put the outline in front of the color by using the Raise selection to top button.


Notes
Calligraphy tool settings
No preset
Width: 3
Thinning: 10
Angle: 90
Fixation: 30
Caps: 0.75
Tremor: 0
Wiggle: 0
Mass:2
Pro Tip:
Print the template to help you make the base of the bat.


Recommended Products
As an Amazon Associate and member of other affiliate programs, I earn from qualifying purchases.
-
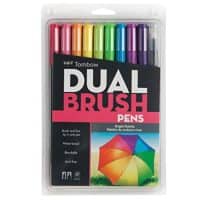
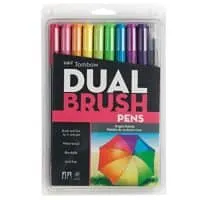 Tombow Dual Brush Pen Art Markers (Bright)
 -
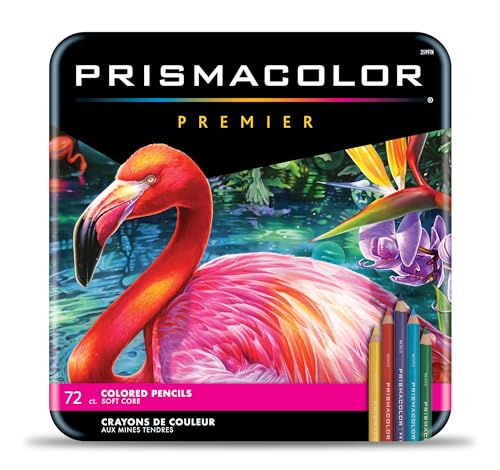 Prismacolor Premier Colored Pencils | Art Supplies for Drawing, Sketching, Adult Coloring | Soft Core Color Pencils, 72 Pack
 -

 Canson XL Series Mix Media Paper Pad,
 -

 So Simple SVG Files course
 -

 AmazonBasics Sketch and Drawing Art Pencil Kit - 17-Piece Set
 -

 Cricut EasyPress® 3 - 12 in x 10 in


