
With these easy tutorials, you’ll be ready to make flower drawings in just a few minutes. Think of all the art and craft projects that you can make with them.
The techniques cover steps to make the following flowers.

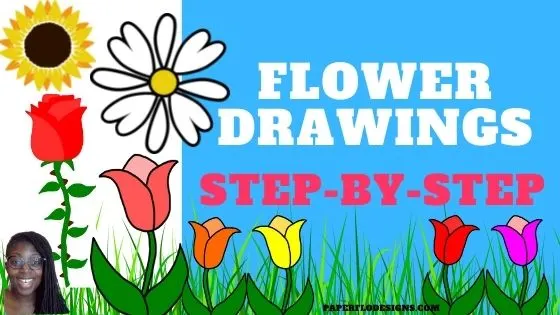
These short tutorials can be done by both digital and traditional methods. I like to use a digital drawing tablet but you can use a pencil and paper.
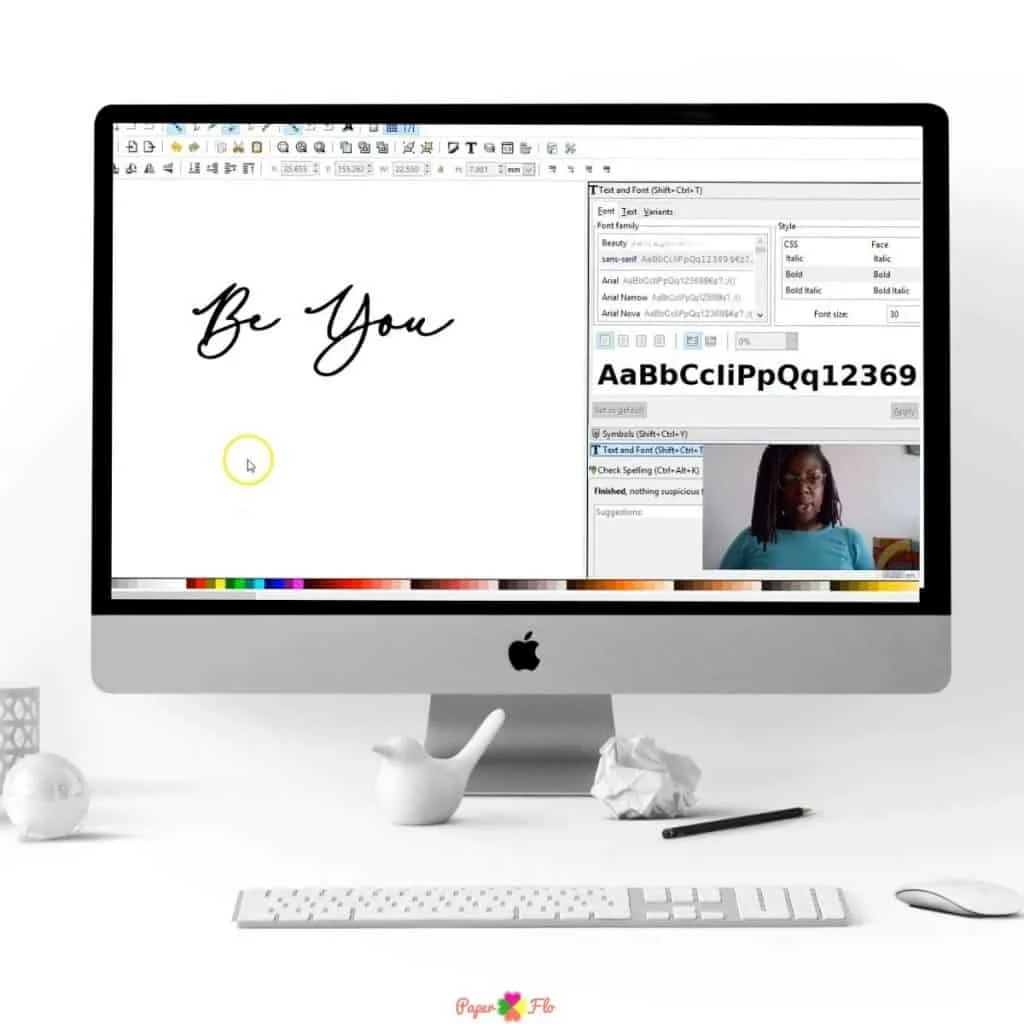
For most of my drawings, I use Inkscape. Inkscape is open-source graphic software. Which means it’s free to use. Sometimes, I use an online Inkscape drawing app like the ones here.
If you’re a beginner, then this is a good place to start. Once you’re done, you’ll be able to upload your finished drawing to your cutting machine like Cricut or Silhouette and make easy crafts using your flowers.


I get commissions for purchases made through some of the links in this post. There is no extra cost to you. See my full disclosure here.
Let’s start with the rose drawing. Watch the video below.
Draw a Rose Step by Step
To draw a rose draw the letter u and erase the outside of the U. Next draw a curved line from the top left side of the U down to the bottom of the right side.
Keep repeating these smaller curved lines on the inside until you have 3 layers on the right and three layers on the left.


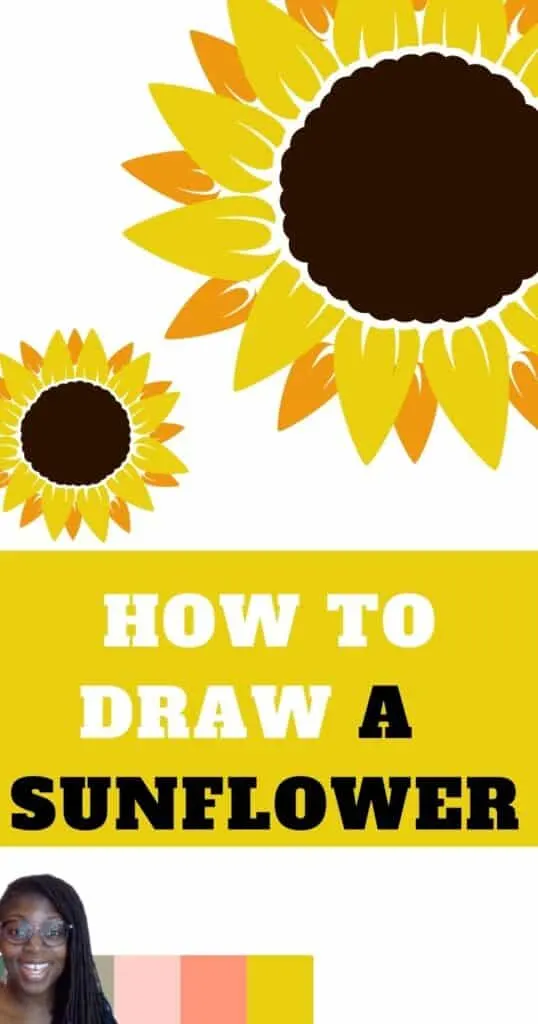
How to draw a sunflower
Make a teardrop shape to form a petal. Then draw a small curve inside the bottom of the teardrop (the curve is shaped like the letter J).
Repeat the sequence of teardrop shapes with curves about 10 to 12 times, going around in a circle. Make smaller petals between all of them.
Draw a small circle in the middle center point of the petals.

How to draw a daisy
To draw a daisy, draw an upside-down teardrop shape for the first petal. Make a second petal by drawing a narrow heart.
Repeat the teardrop shape and the heart shape several times, going around in a circular shape. Four of each would be fine.
Leave a little space between each one. Now draw a small circle in the middle.


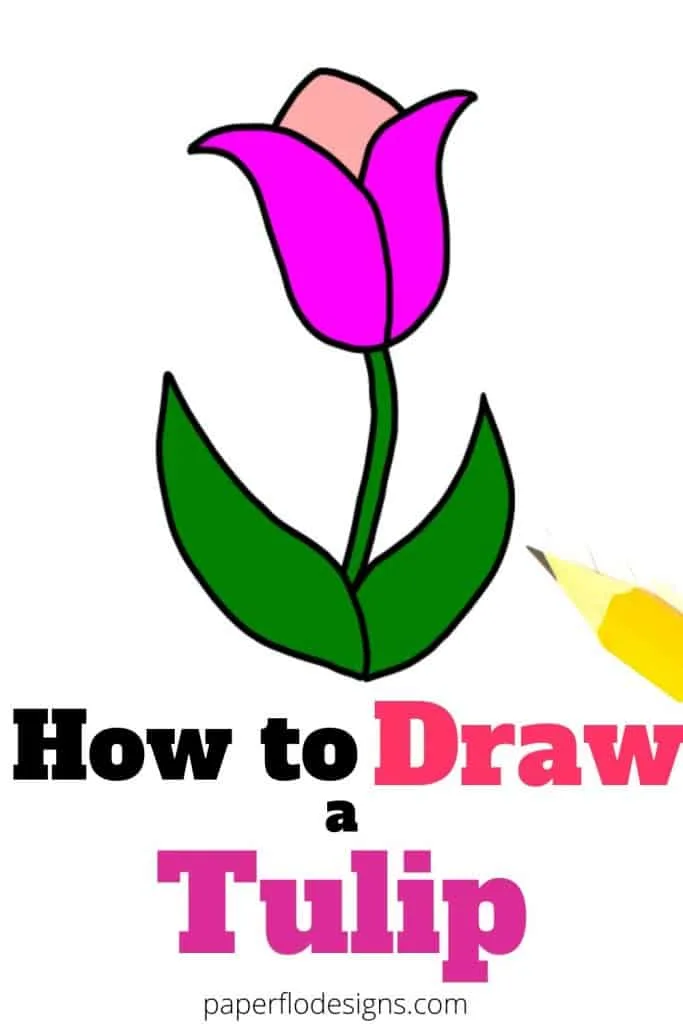
How to draw a tulip
To draw a tulip draw the letter u making sure to curve the top of the U towards the outside.
Starting from the left side, make a line from the top left side down to the middle center. Next, draw another line from the top right down to the center.
Make the inside petals by drawing an upside-down v shape. Now draw two curved lines to make a stem, two teardrop shapes on either side of the stem.

To personalize any one of your drawings, you can add a name just under the flower. Here are three ways that you can personalize your drawing.
For a step-by-step tutorial on how to do this with Google fonts, sign up for my free So Quick SVG lesson.





Make sure that you have the right materials to draw. I’ve added links for where to find these supplies on amazon and Etsy below.
Drawing Supplies
Digital Drawing Supplies
Inkscape software program
Computer
Graphic tablet (this is the one I use and got from Amazon)
Paper Drawing Supplies
Art markers or Colored Pencils like these from Amazon
Light Table for Tracing (optional)
If you like these tutorials on flower drawings and want to refer back to them, save this post to your favorite board about tips for drawing on Pinterest
