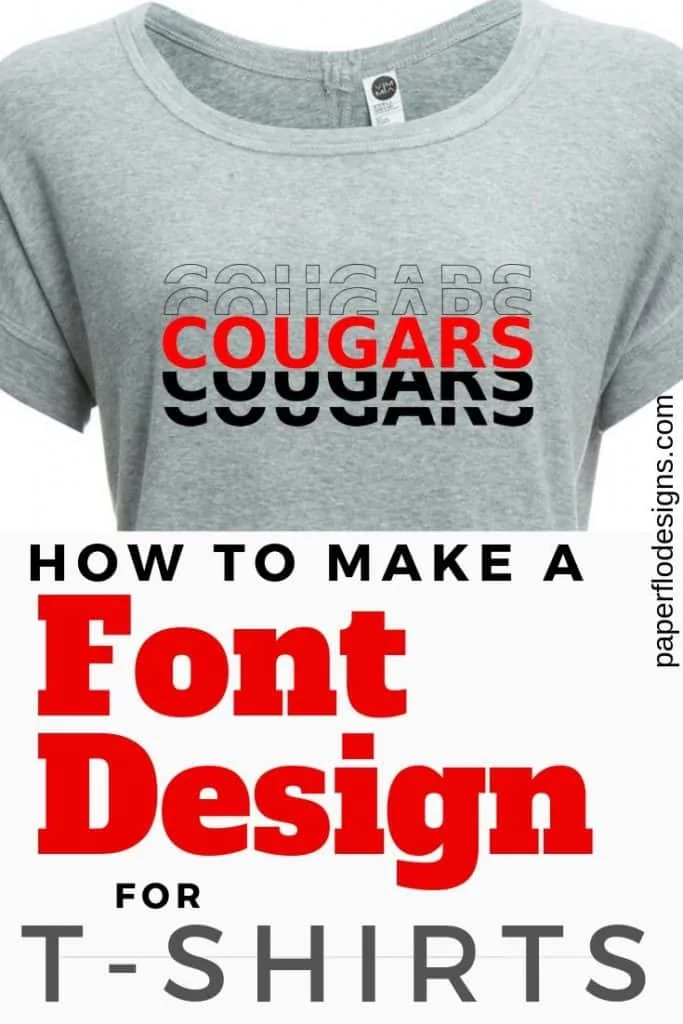
Have you tried to make a font design for a tshirt ? It looks so easy but after watching tutorial after tutorial, you’re probably screaming for an easier way. You my friend, are in the right place.
I’ll show you how to make a beautiful repeat font pattern that you can use on your shirts.
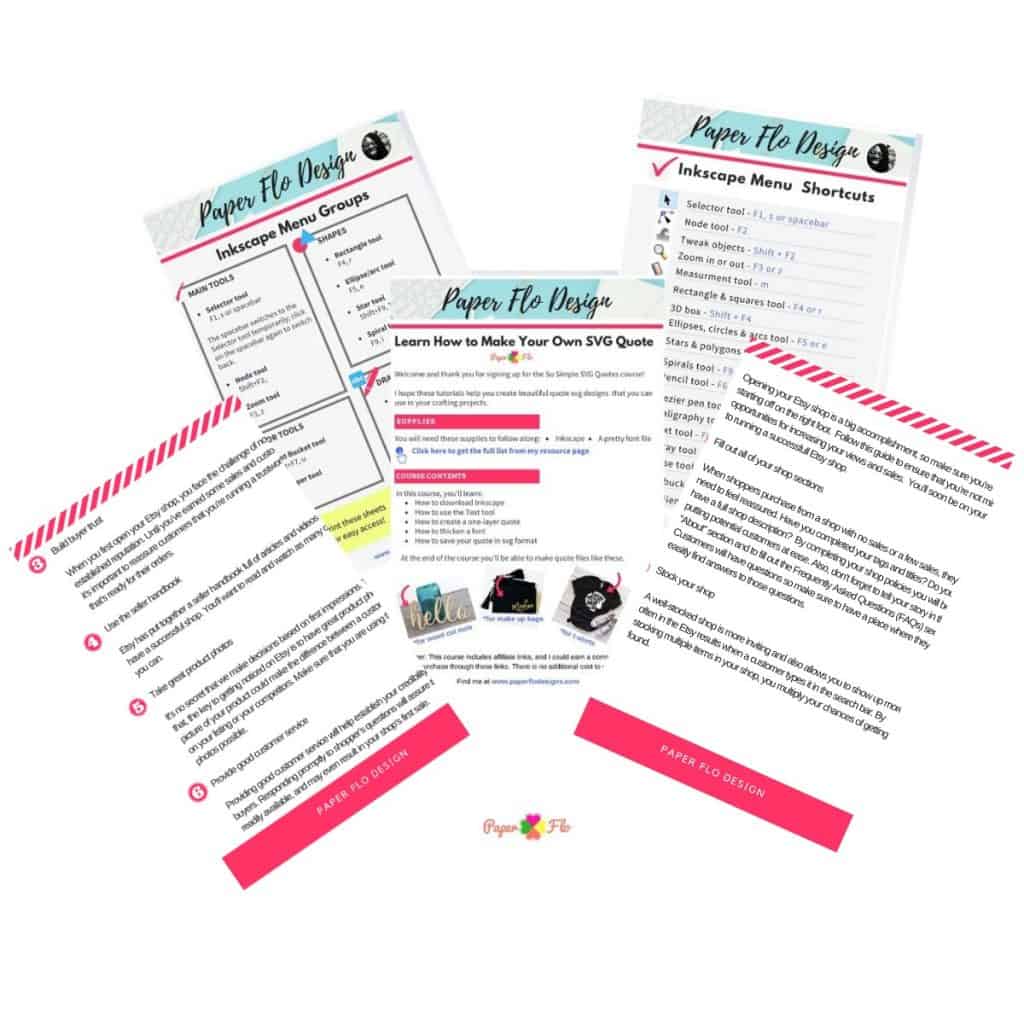
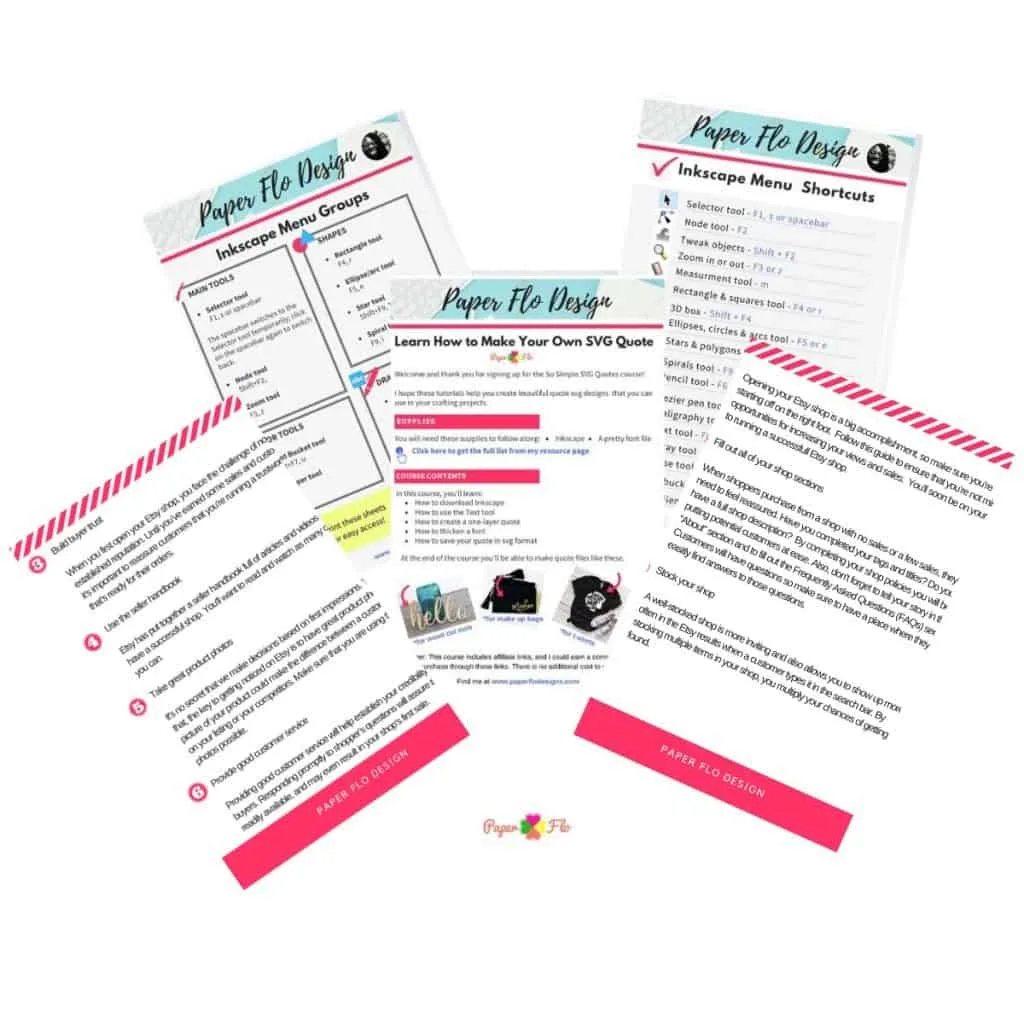
Get a printed version of the steps at the end of the post.




I get commissions for purchases made through some of the links in this post. There is no extra cost to you. See my full disclosure here.
Inkscape Cricut Fonts
I know you’ve probably watched like a gazillion YouTube videos on making fonts for Cricut.
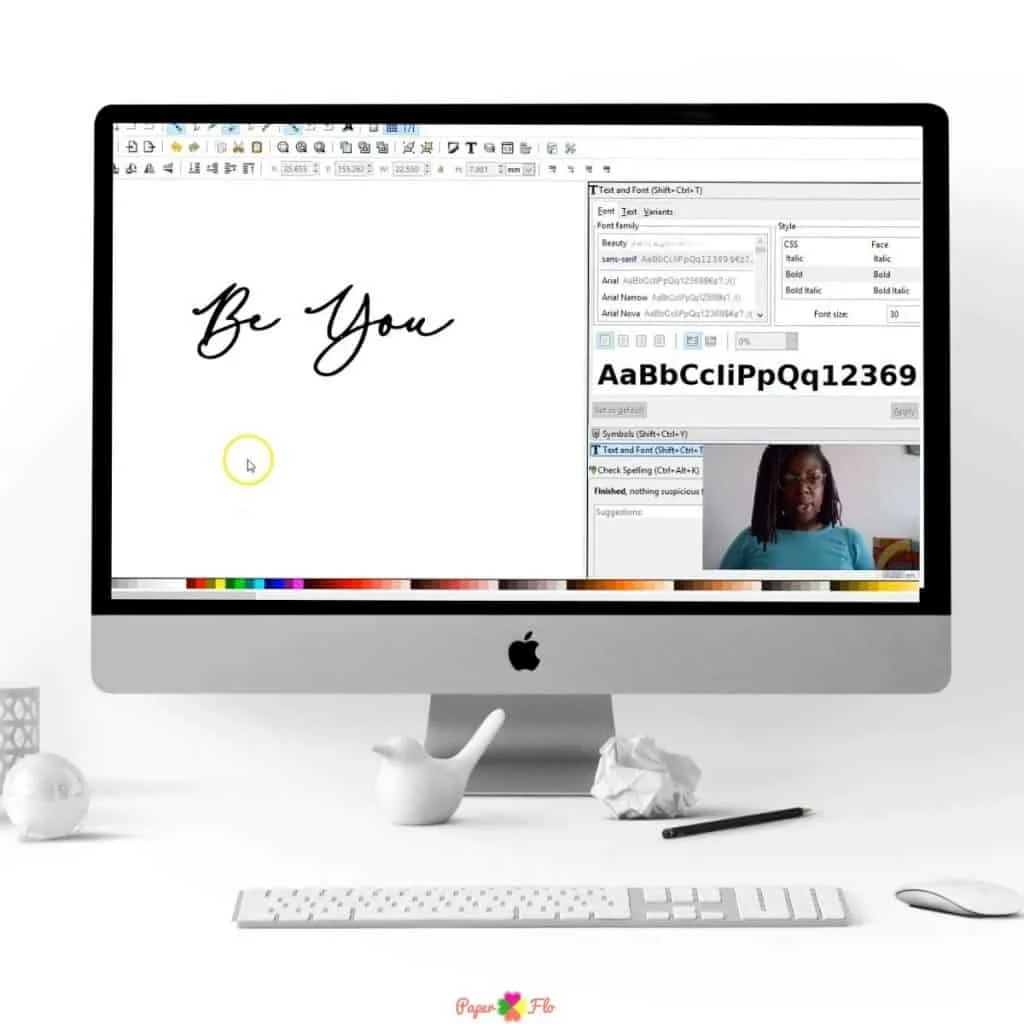
Your eyes are glazed over, but fear not. I’ve put together a short video that shows you the simple steps to make a cool designer worthy font.


You don’t need to be a designer to do this. If you know how to use a computer and a mouse then you’ll be able to follow the steps to make the font.
I use a graphic tablet but it’s totally optional.
Here are a few tips to get started. Pretty soon you’ll be ready to start a craft side hustle with your fonts.

Supplies & Tips to Make a Designer T-shirt Font
Let’s talk about the supplies you need to make this font for tshirt designs.
Most likely, you already have a computer and a mouse. You won’t be able to do this on a phone. Well, maybe if you use an svg editing app but, that tiny screen will make it difficult to see the entire design clearly.
So yeah, you’ll be better off using your computer.
If you’re a student of my So Simple SVG Quotes course, you know how to use Inkscape to make an easy quote svg file.

SO QUICK SVG COURSE
STEP BY STEP VIDEO COURSE FOR CRAFTERS
Create and design your first svg to use in your crafts or even sell.
Learn to make an SVG with Google in one click!
Here is a list of what you’ll need to make this font design.
- Inkscape software
- Computer
- Graphic tablet (optional)
- Chunky Font (optional)


Start by opening a new screen in Inkscape.
Select the Create and Edit Text Objects tool and click and drag a text box on the screen.


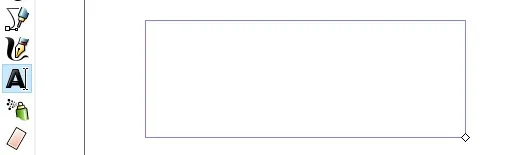
Click on the text to select it.
Type the text that you want to use for your design.


Duplicate the text four times.
Click and drag two of the text designs below the original text.




Click and drag the other two duplicated texts above the original text.
Select the rectangle tool.


Draw a rectangle and duplicate it.
Take the first rectangle and place it so that it covers 1/4 of the bottom text.
Select difference to slice the text.
Duplicate the first rectangle and place it so that it covers 1/2 of the bottom text.




Select difference to slice the text.
Hold and click shift at the same time, click both the rectangle and the text that it covers.
Repeat this process with the remaining two text designs.


Straighten each text design if necessary to align them as a group.


Change the colors to your preference.


Save your design.
Easy Things to Make and Sell with Fonts
Once you’ve made your design, you can use it to place it on a t-shirt, but that’s not all.
If you’ve only made shirts up to this point, try making other Cricut projects like:
You can add drawings or designs to your text font. Add a simple rose drawing to your project. It’s an easy way to make a craft instantly prettier.


If you like making iron-on crafts, invest in a small heat press like the Cricut EasyPress Mini or, if you’re ready to step up your game, invest in a bigger Cricut EasyPress machine.
How to Make a Tshirt Font

Learn how to make a beautiful repeat font pattern that you can use on your shirts.
Materials
- Inkscape software
Tools
- Computer
- Graphic tablet (optional)
- Chunky font (optional)
Instructions
- Click and drag two of the text designs below the original text.
- Click and drag the other two duplicated texts above the original text.
- Select the rectangle tool.
- Draw a rectangle and duplicate it.
- Take the first rectangle and place it so that it covers 1/4 of the bottom text.
- Hold and click shift at the same time, click both the rectangle and the text that it covers.
- Select difference to slice the text.
- Duplicate the first rectangle and place it so that it covers 1/2 of the bottom text.
- Select difference to slice the text.
- Repeat this process with the remaining two text designs.
- Straighten each text design if necessary to align them as a group.
- Change the colors to your preference.
- Save your design.
Recommended Products
As an Amazon Associate and member of other affiliate programs, I earn from qualifying purchases.


Did you like that lesson? If so you’ll love my So Simple SVG Files course. Imagine being able to make gifts for your friends and family with your own designs made on your cutting machine.
Sign up today to get started.