
Learn the tips to help you edit svg files for your crafts


I get commissions for purchases made through some of the links in this post. There is no extra cost to you. See my full disclosure here.
Have you ever sat in front of your computer screen, desperately trying to make a quick svg?
Maybe you found one but it’s still missing something and you find yourself spending way to much time searching for the finishing touches to pull it all together?
Here are a few of my favorite tips and resources to edit svg files to use for Cricut.
We all have the same amount of time each day.
And we all want to maximize that time so that we can finish a task when we say we’re going to finish it.
If you don’t have a lot time to spend on your craft making hobby, finding a shortcut is a good idea.


When I can find a shortcut to finish a task, it’s like finding gold!
That’s what is great about these svg tips.
They provide a shortcut for creating and editing svg files; choosing custom colors, adding text and finding reference photos.
This means more time for you to actually make a project with your cutting machine.
SVG tips: 3 of my favorite resources
SVG tip 1
Use Canva color palette if you want to match a specific color to your svg.
SVG tip 2
Use ready-made font files from Google fonts and Font Bundles.
SVG tip 3
Use reference photos from stock photos sites like Unsplash.
The video below explains how I use each of these resources in making svg files.
What programs can edit SVG files?


These days, you have so many options to choose from when it comes to programs that can edit svg files.
Some editing software programs are very simple and some can do a whole lot more than just editing svg files.
This means that you can not only edit your files but also make animations, use gradient colors, make 3-D images and a whole host of other things that you can save for later.
Don’t be intimidated by all the bells and whistles. You don’t have to use every option just because it’s there.
Let’s say you’re hosting a craft night party and you need to cut and print designs onto shirts. To get a nice crisp, clear image, you may want to enlarge your image before uploading it to your cutting machine.
You can easily edit the svg file using any of the programs listed below:
Open Source Software (Free to Use)
Premium Software (Pay to Use – Subscription)
Premium Software (Pay to Use – One Time Payment)



What is the easiest program to edit svg files?
As far as graphic editing software programs go, it all comes down to a matter of personal preference.
What you may consider easy, someone else may consider difficult.
My advice is to test out a few and stick with the one that works best for you.
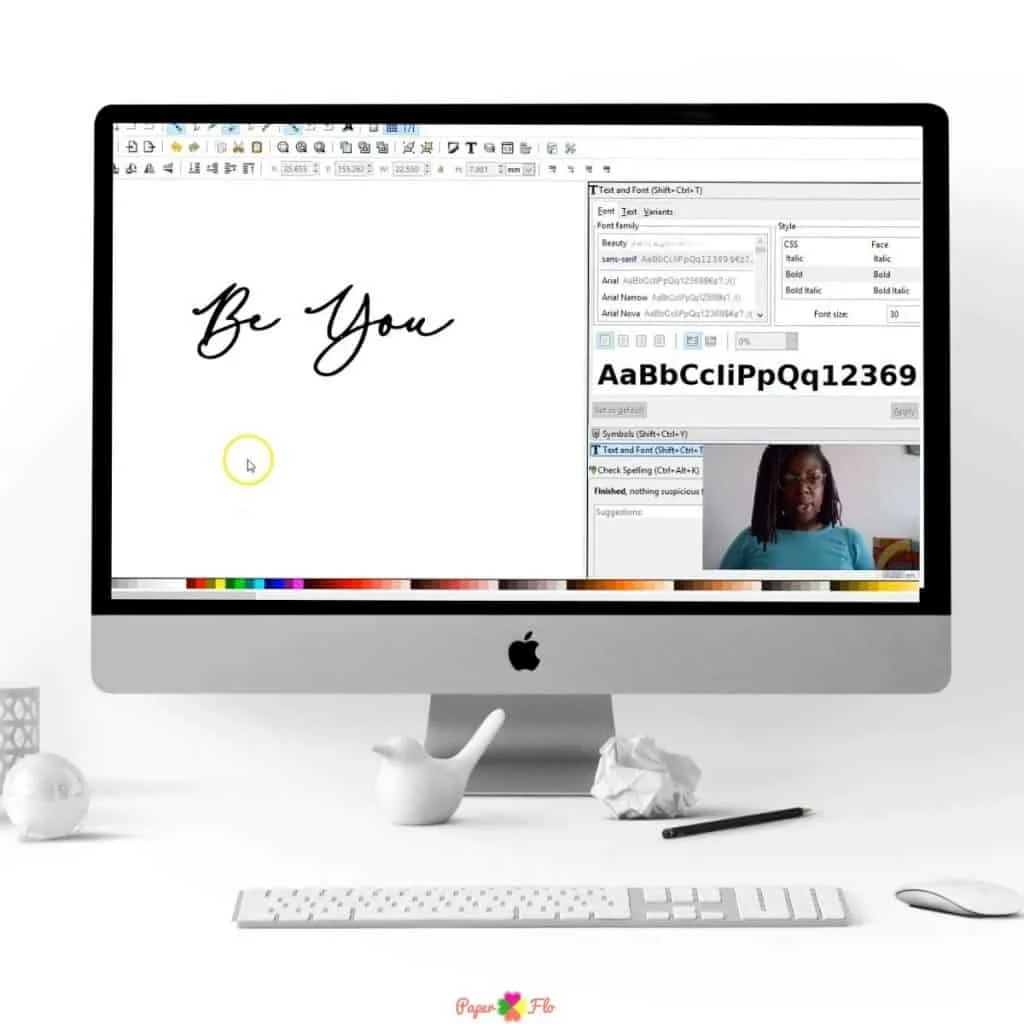
I use Inkscape and I really like it. You can draw with or without layers, add text, shadows or gradients.
The program allows you to save in several different file formats and convert images to svg.
It does everything that I need an svg editing software program to do.


How to edit SVG files in Photoshop
Photoshop is a popular option for making svg files.
You can use the program on both macs and pc computers, so that makes it versatile.
To edit svg files in Photoshop, you will need to upload your file and open the PSD vector layers. Once your done editing, remember to save your design in svg file format.
Time needed: 1 hour
Edit svg files in Photoshop
- Upload svg
Upload your file
- PSD vector layers
Open the PSD vector layers
- Edit svg
Edit the svg file by adding or eliminating elements
- Save svg
Save your design in svg file format

Edit SVG Files with Inkscape
I may be biased, but you already know that I think that Inkscape is one of the best svg editor programs available.
For one, you can do pretty much all of the same things in Inkscape that you can do in Adobe Illustrator.
You can upload fancy fonts from Google for free and use them in Inkscape.
There are also lots of elegant fonts that you can get from sites like Font Bundles and Creative Market.
And you certainly can’t beat the price.
Inkscape is free to use because of the open-source license.
You can choose to donate to the association if you’d like but there is no obligation.
Here are the steps to edit an svg file with Inkscape.
- Create a New Document, go to the main menu bar at the top, select “File” and click on “New”.
- Import your svg file using the “Import” function
- Use the drawing or text tools to make amendments. They can be found on the left-hand side vertical menu panel.
- Click on the “Text and Font” tool to change your font in the text panel.
- Remember to convert any object files to path files. To do this, select the objects, go to the main menu bar up top, Select “Path” and click on “Object to Path”
- Click on “File” and save as an svg.
Ta- da! That’s pretty much all you need to do to edit an svg file.
You now have a cut file that you can upload to Cricut Design Space (or upload to Silhouette Studio or any other cutting machine software).
A cut file like this used with a die cut machine makes it a lot easier to make iron-on transfers for shirts and vinyl decals.
Once you start making them, you may find it addicting and who knows, you may want to make money at home selling SVG files.
Now it’s your turn! Want to try editing your own svg file?
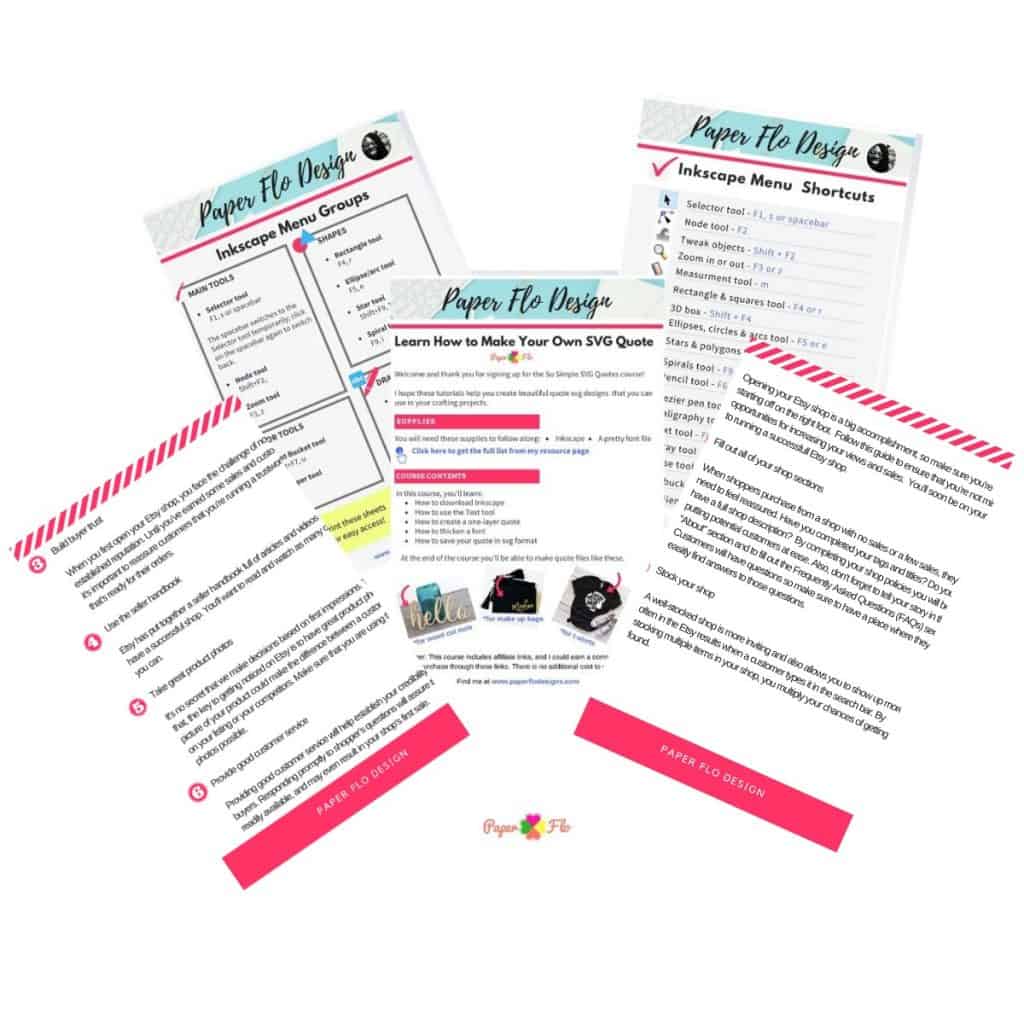
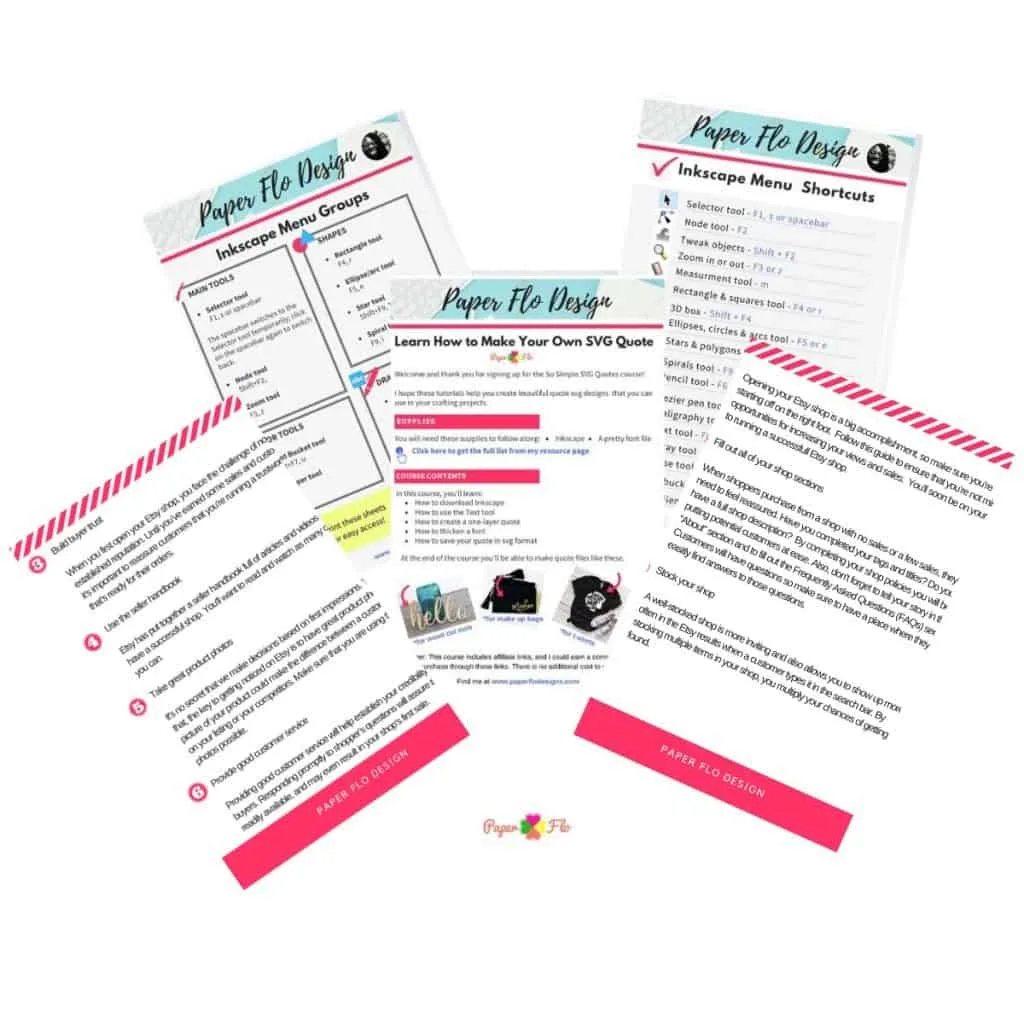
Click on the button below to get your free step by step video course.

SO QUICK SVG COURSE
STEP BY STEP VIDEO COURSE FOR CRAFTERS
Create and design your first svg to use in your crafts or even sell.
Learn to make an SVG with Google in one click!
