
Learning how to use sublimation paper with Cricut is easier than you think. This guide will simplify the process, helping you seamlessly integrate it into your busy crafting schedule and tight budget.
I’ve had my fair share of mistakes like the time I reversed a quote on a mug (don’t forget to mirror your designs, lol).
But here’s the secret: each error is a lesson in disguise, or at least on the road to knowing better for next time.
So, pick up your Cricut, and get ready to sublimate with it like a pro.

Getting the Hang of Sublimation Paper with Your Cricut
So, you’ve got your Cricut machine sitting pretty and you’re ready to whip up some eye-popping designs?
Great! Sublimation printing is the crafty secret for getting a nice full-color design onto just about anything that’ll stand still long enough.
Your design won’t peel or crack. And get this, unlike heat transfer vinyl, sublimation ink doesn’t just sit on top; it becomes one with the fabric. Science, right?
Picking Your Crafting Arsenal
For this crafting caper, you’ll need:
- A trusty sublimation printer (Epson’s a crowd favorite)
- The right sublimation ink for your printer model
- A stack of sublimation paper for your masterpiece prints
- Your Cricut, whether it’s a Maker, Explore, or another model
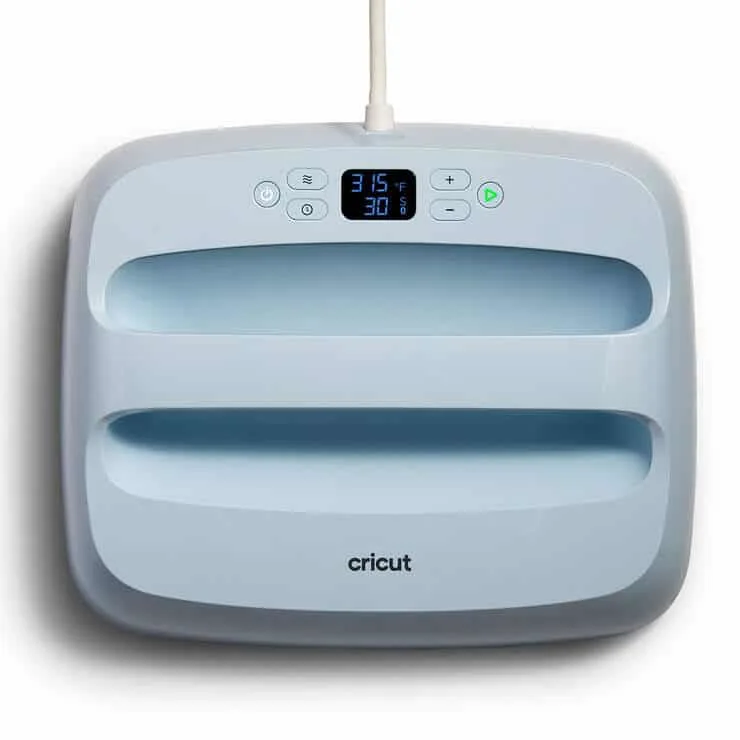
- A Cricut EasyPress if you’re keeping things compact
- Heat-resistant tape (because nobody wants their designs sliding around)
- Butcher paper to keep things clean
- The blank ‘canvas’ of your choice (think mugs, tees, or those cute tote bags)

Step-by-Step Guide to Sublimation Perfection
- Choose the Right Sublimation Paper: Start with high-quality sublimation paper that’s compatible with your ink and printer for the best results.
- Create Your Design: Use Cricut Design Space to craft your custom design. Remember to mirror the image for transfer.
- Select the Proper Sublimation Ink: Make sure you have sublimation ink that works well with your specific printer model.
- Print Your Design: Load your sublimation paper and print your design using a high-quality setting to ensure clarity and color vibrancy.
- Cut Out the Design with Your Cricut: Place the printed sublimation paper onto your Cricut mat and cut out the design accurately.
- Prep Your Blank: Prepare your substrate, whether it’s a t-shirt or a mug, ensuring it’s clean and ready for transfer.
- Heat Press and Transfer: Use your EasyPress at the recommended temperature and time to transfer your design onto the substrate for a flawless finish.
Crafting Up Your Design in Cricut Design Space
Here’s where it gets fun. Fire up Cricut Design Space and let your creativity loose. Remember to flip your design for a mirror image – trust me, you don’t want your text reading backwards (been there, done that, got the wonky mug).
Printing and Cutting Like a Pro
Once your design is looking sharp, print it onto sublimation paper with your printer loaded up with that special sublimation dye. Then let your Cricut do what it does best—slice and dice that design so it’s ready to go onto your blank.

Blank Prep 101
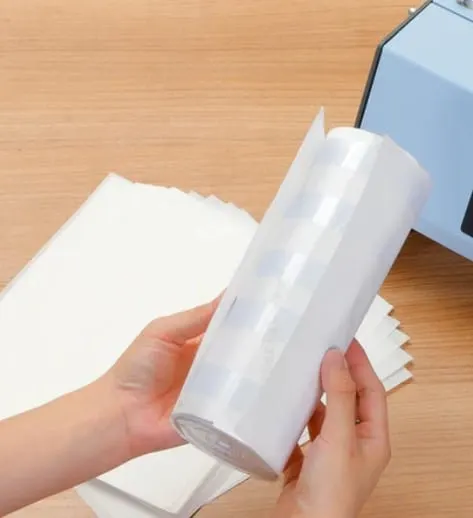
Whether you’re making a mug with the Cricut mug press or a tee, start with a clean slate. A quick once-over with a lint roller can do wonders and giving your item a quick pre-heat can help the ink transfer better.
Heat Pressing 101
This part’s hot—literally. You’ll need to crank up the heat to get the sublimation ink to do its thing. The Cricut EasyPress is great for smaller, flatter sublimation crafts. Just make sure you’ve got your heat settings dialed in for whatever you’re sublimating.
The Big Reveal
After the timer dings, take a breath, peel away the paper, and… voilà! If all went well, your item just went from bland to grand with a dazzling, full-color design.
Leveling Up Your Sublimation Game
Nailing those bright, bold colors is all about dialing in your ICC profile for color accuracy. And don’t skimp on the quality of your sublimation blanks—it’ll show in your finished work.
Quick Tips to Cricut Sublimation Fix Mistakes
This table can help you quickly diagnose and fix common issues that you might have when you’re sublimating with Cricut.
| Common Error | Possible Cause | Solution |
|---|---|---|
| Image is faded | Low ink levels or incorrect heat/pressure | Check ink levels, ensure accurate temperature and pressure settings |
| Design is blurry | Movement during pressing or wrong paper type | Secure design with heat-resistant tape, use proper sublimation paper |
| Colors are off | Incorrect ICC profile or printer settings | Install the correct ICC profile, adjust printer settings for sublimation |
| White specks in design | Dust or debris on the substrate | Pre-press to remove moisture, use a lint roller before pressing |
| Image doesn’t transfer | Wrong material or sublimation paper not facing the right way | Ensure material is poly-coated or polyester, position paper correctly |
| Ghosting or double image | Paper shifts during pressing | Use heat-resistant tape to secure paper to the substrate |
| Transfer has background haze | Too much heat or pressure | Lower the heat press temperature, adjust pressure as needed |
| Ink bleeds outside design | Too much time under heat | Reduce pressing time, check for accurate time settings |
Your Crafting World Just Got Bigger
Got the basics down? Awesome. Now you can go nuts with sublimation projects that turn heads and spark joy.
Here are 10 sublimation projects that you can make with a Cricut machine:
- photo mugs
- Custom t-shirts
- Tote bags
- Coasters
- Phone cases
- Keychains
- Ornaments
- Mouse pads
- Pillowcases
- Throw blankets


Personalize Your World with Sublimation Crafting
Photo Mugs: Starting your morning with a personalized touch is easy. With a sublimation printer and some high-quality sublimation paper, you can slap your own designs onto a mug, perfect for that caffeine kick or a thoughtful gift.
Custom T-Shirts: Unleash your inner fashion designer. Grab your Cricut Maker, select a polyester shirt, and let dye sublimation work its magic to create that one-of-a-kind tee for you or your pals.
Stylish Tote Bags: Tote bags are the ultimate blend of fashion meets function. Using your Cricut cutter and sublimation process, you can press a unique design onto a tote to lug around your essentials in style.
Designer Coasters: Save your tables and show off your style. With a heat press, you can transfer your own sublimation designs onto coasters, making for a great conversation starter at your next get-together.
Chic Phone Cases: Keep your phone safe and looking cute. A little bit of heat, some sublimation transfer paper, and your creative spark can transform a plain phone case into a masterpiece.
Keychain Charms: Never lose your keys again with a custom keychain. They’re a snap to make, super handy, and with sublimation crafting, they can sport your favorite quote or image.
Holiday Ornaments: Personalize your tree or home with ornaments featuring your favorite memories. They make for heartfelt decorations or gifts, especially when crafted with your own sublimation designs.
Creative Mouse Pads: Elevate your desk space with a custom mouse pad designed in Cricut Design Space, printed on sublimation paper, and pressed to perfection.
Pillowcase Art: Dream in color with a custom pillowcase. With the right sublimation products and an Epson printer on your side, your bedroom can showcase your personal flair.
Cozy Throw Blankets: Wrap yourself in memories or your favorite patterns. Sublimation allows you to create high-quality, custom throw blankets that feel as good as they look.
Conclusion
Feeling inspired to broaden your sublimation horizons? I’ve got a list of blanks that are perfect for sublimation – from tees to totes and everything in between. Why not take a peek at my guide on what materials you can sublimate on, and get ready to add that personal touch to even more of your projects?
FAQs for the Curious Crafter
Wondering if you need a Cricut machine to do sublimation? Nope, you can also use a heat press. And while a Cricut isn’t a must-have for sublimation, it’s like the cherry on top for cutting those designs just right.
What is the difference between sublimation paper and heat transfer vinyl (HTV)?
Sublimation paper is used for dye sublimation, where high temperatures turn the sublimation dye into a gas that bonds with polyester fabric or coated items, creating a seamless, full-color design that’s embedded into the surface. In contrast, HTV lays on top of your fabric and is applied using a cutting machine like a Cricut and a heat press. HTV is more tactile and sits on the surface, while sublimation results in a no-feel print where the ink becomes part of the item.
What type of sublimation paper should I use?
For the best results, use high-quality sublimation paper designed for the types of printers you have, like an Epson sublimation printer. The paper should be compatible with your printer’s ink and the substrate you’re transferring to. For instance, if you’re using Cricut Infusible Ink products, you might opt for their specific infusible ink transfer sheets, which are engineered to work seamlessly with Cricut machines for your DIY projects.
How do I prepare my sublimation paper for use with a Cricut?
To prepare your printed sublimation paper for use with a Cricut cutting machine, ensure your image is printed with a transparent background and includes black registration marks if you’re using Cricut’s Print Then Cut feature. These marks help the Cricut cutter precisely trim the design. Then, affix your sublimation transfer paper to a Cricut cutting mat and proceed with the cutting instructions in Cricut Design Space.
What temperature and press time should I use for sublimation?
Sublimation requires high temperatures—typically between 380°F to 400°F (193°C to 204°C). The press time can vary based on the substrate, but it’s usually around 40-60 seconds for items like polyester shirts or mugs. Always refer to specific guidelines for your sublimation blanks and heat press for the best outcome. An Easy Press or other types of heat presses can be used, just make sure they can reach and maintain the necessary high temperatures.
How do I care for sublimated items?
To maintain the quality of your sublimated items, wash fabrics in cool to warm water with a mild detergent. Avoid bleach and fabric softeners to preserve the vibrancy of the design. For hard surfaces, a gentle wipe with a soft cloth should be sufficient. Sublimated items typically boast great durability and resistance to washing, so you can enjoy your custom creations for a long time.
