
If you own a Cricut machine, you can attest to the world of creative options it has opened for you.
From cutting unique styles and designs to working with various materials that make almost any artistic project possible.
It allows you to save time and makes long and tedious parts of crafting so much easier. Like turning a picture into an svg file to make a t-shirt.

I get commissions for purchases made through some of the links in this post. There is no extra cost to you. See my full disclosure here.
If you haven’t yet jumped onto the Cricut bandwagon, you are missing out on unleashing your imaginative genius through arts and crafts. A well-structured room will help you express your creativity.
Here’s a quick guide on how you can set up a Cricut craft room.
No time to read the post right now? Save it to your craft ideas board on Pinterest for later.


Setting up a Cricut Craft Room
Your workspace plays a vital role in motivating creativity. As a DIY enthusiast, you have to consider crucial elements for your workspace.
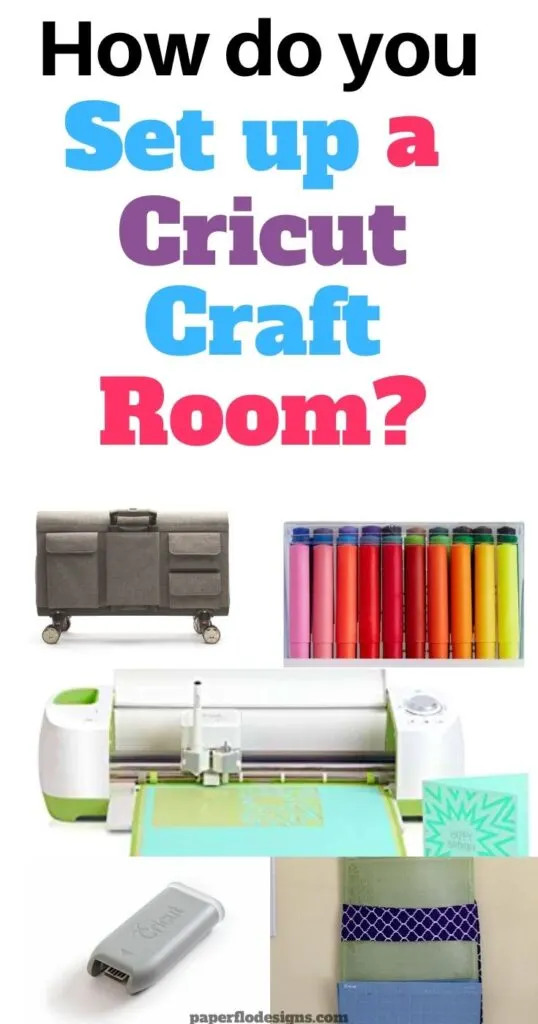
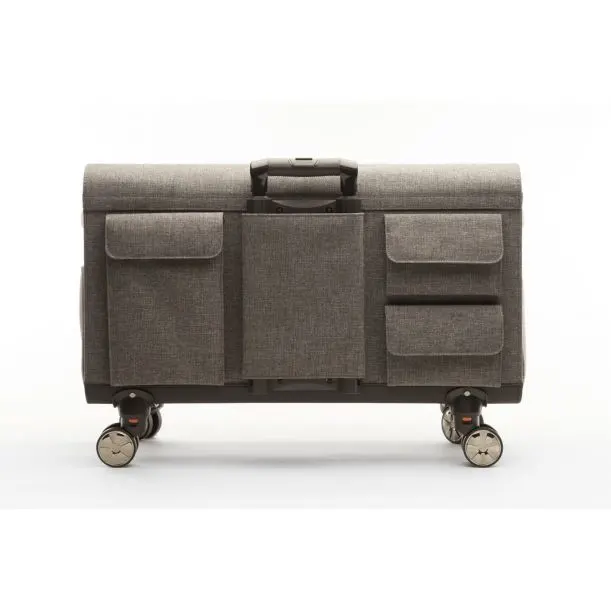
You’ll need a spacious working space to create room to work while avoiding clutter. A large desk with sufficient legroom and drawers plus a moveable cart for storage is a good idea.

Pick a desk and chair that works for you. Get a chair with good back support, preferably in a color that complements the desk.
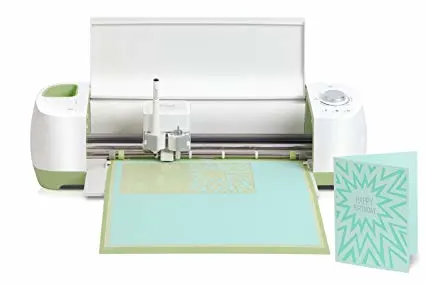
Besides the fixtures, there are the essential elements: your Cricut machine, your computer, and your software. You can choose a Cricut machine and computer at your discretion that best suits your design needs.
When it comes to your software, the model of your Cricut will determine whether you will use Cricut Design Space or Cricut Craft Room. You will have to check which is compatible with your machine.

Once you have your main work tools in place, get the devices to support your arts and crafts. Some of the main items you will need include some storage facilities for your bits and bobs.
Your options for storage depend on your style of choice. For example, you can go for shelving, baskets, trays, jars, or bins. Organize your storage options on your wall to maximize space and help declutter the room, so you don’t stifle your creative juices in the chaos.
How do I organize my Cricut station?
Once you’ve got the main storage options, you’re ready to organize your Cricut station.
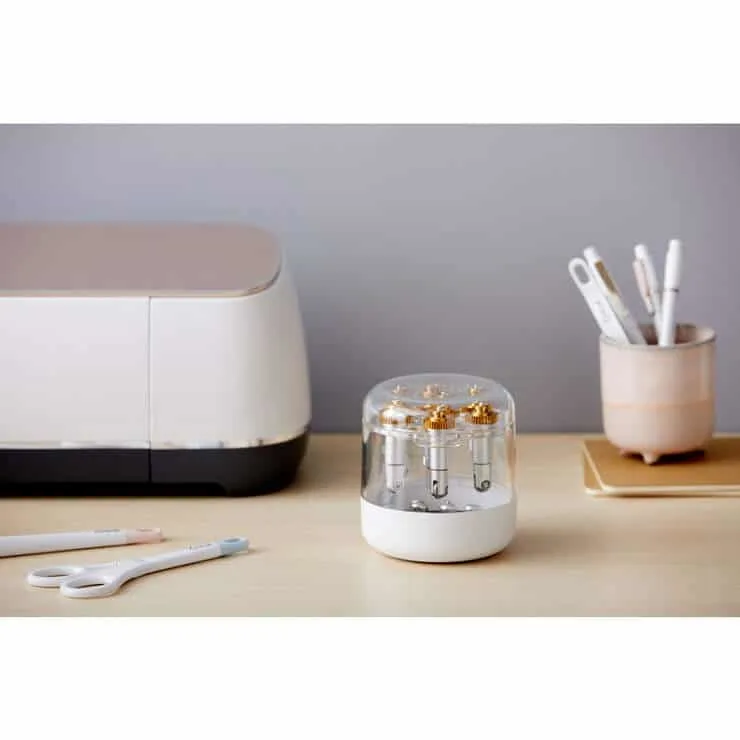
Start by rounding up your crafting tools: the glues, paints, pens and markers, paper, fabric, and other such materials. Organize them carefully in your storage containers.


Consider adding a lazy susan rack to your counter so you can bring your odds and ends near you when you are working. Plus, it’ll save you tons of time searching through drawers.
Finally, add a wall of inspiration on one side of the room. Here you can put up paintings or past projects that will nudge you in the right direction.
Find some wall-hanging options that won’t damage your walls. Instead, pick those that will make your space stand out. A bland room won’t do much for your inspiration.
If you don’t have space, don’t worry, you can turn a closet into a fantastic storage cabinet for your Cricut tools and supplies. Simply add a few organizers, and you are good to go.

All in all, organizing your Cricut room is all about making it neat and inspiring enough. With a good workspace and storage for your supplies, your craft room is ready to squeeze those creative juices.
